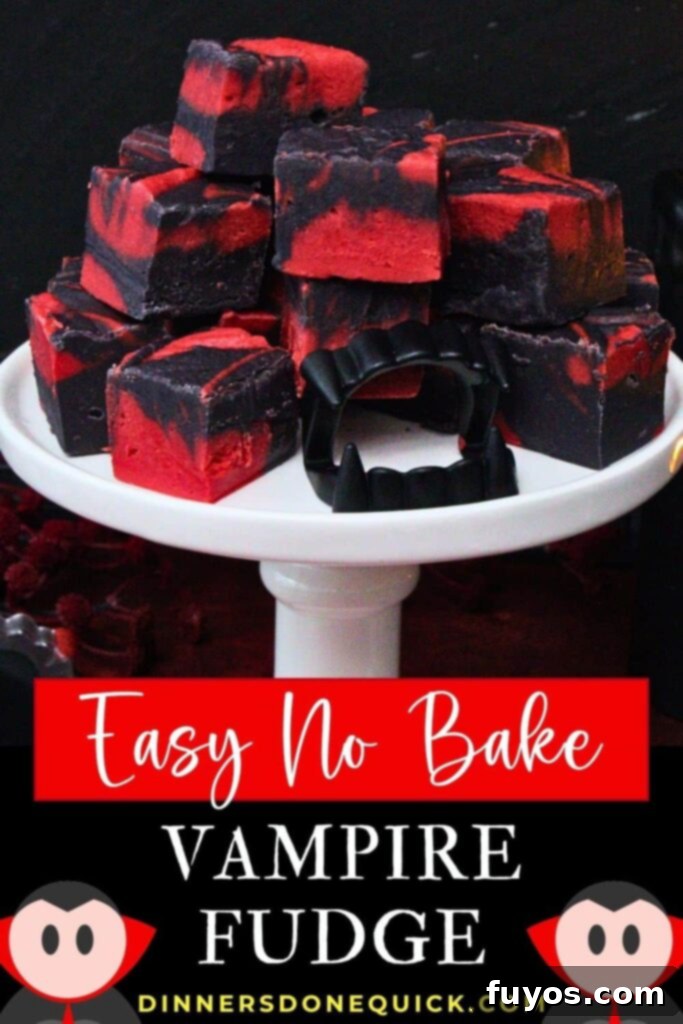
Irresistibly Spooky: Easy No-Bake Vampire Fudge for Halloween & Themed Parties
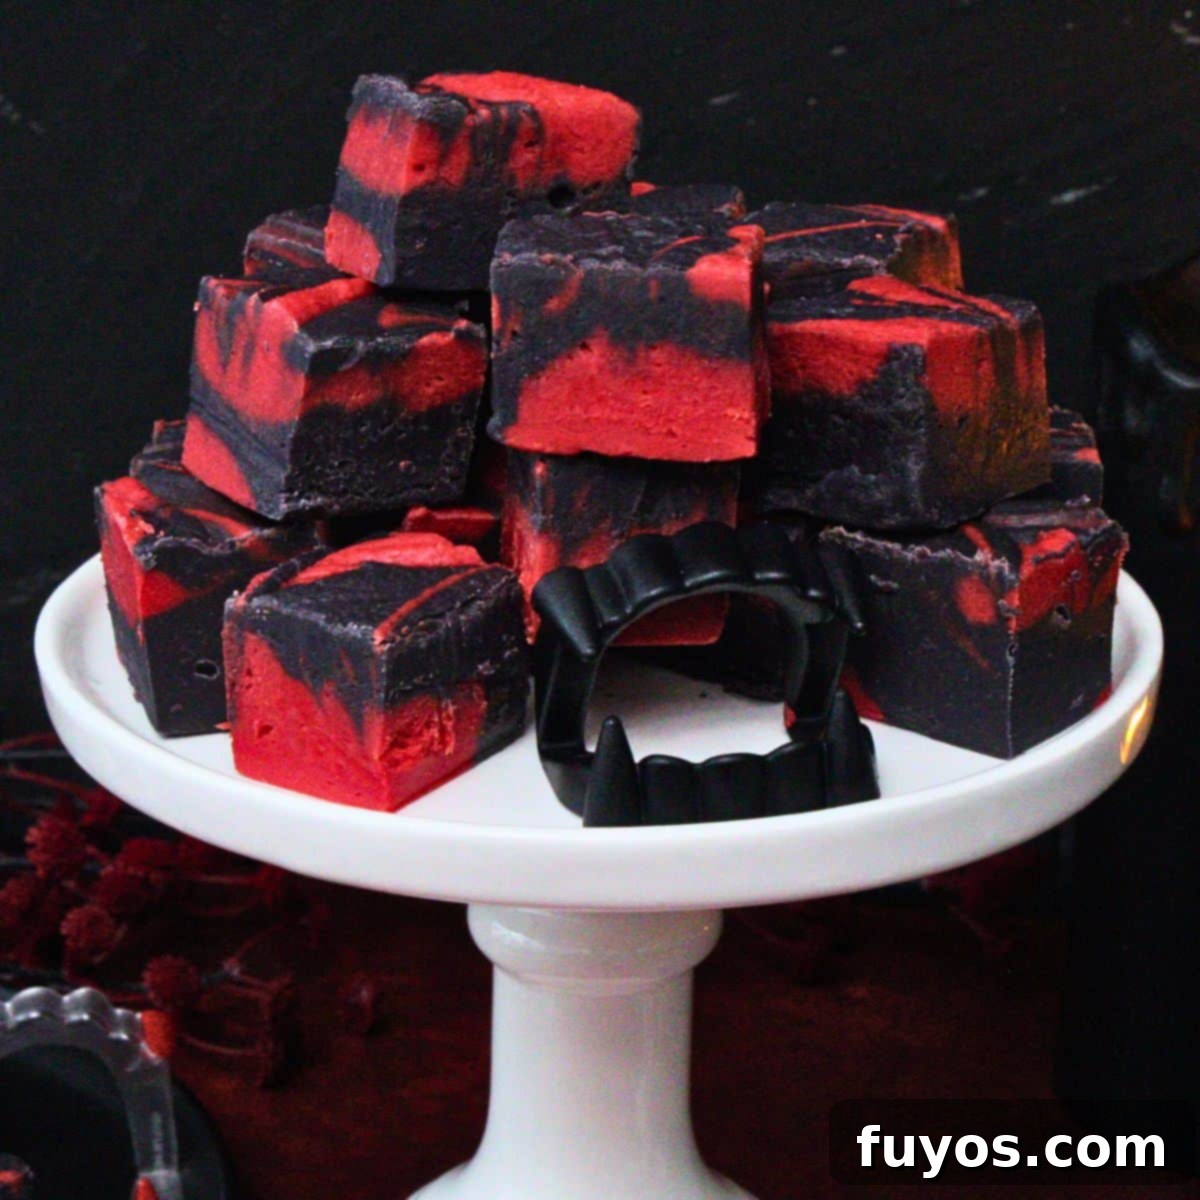
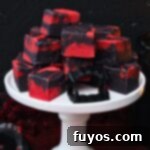
Prepare to enchant your guests with this incredibly easy and dramatic vampire fudge, a spectacular no-bake treat perfect for Halloween, gothic gatherings, or any themed party! This recipe utilizes vibrant black and blood-red colored candy melts, transforming them with minimal effort into a sweet, swirled dessert that’s as delicious as it is visually striking. Forget complicated baking; all you need is a microwave to create this captivating confectionery that everyone will be dying to sink their teeth into.
Why You’ll Adore This Easy Fudge Recipe
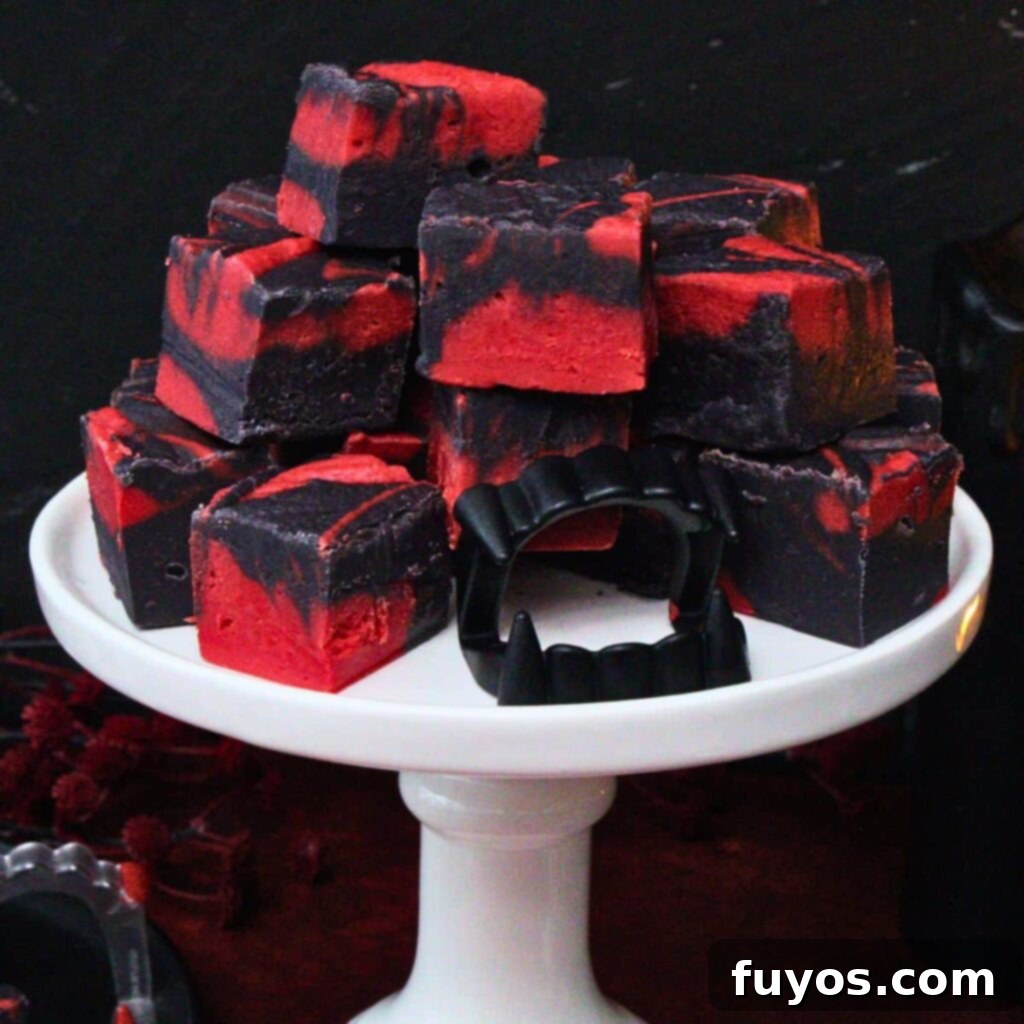
There are countless reasons to fall in love with this vampire fudge recipe. It takes a beloved classic — fudge — and elevates it into something truly imaginative, dramatic, and perfectly suited for the spookiest season. The rich, decadent chocolate base guarantees to satisfy any sweet tooth, while the bold, contrasting colors of black and red create an eye-catching centerpiece on any dessert table.
One of the best features of this recipe is its sheer simplicity and convenience. It’s incredibly easy to make large batches, and even better, it can be prepared well in advance. This makes it an ideal choice for busy party hosts, a delightful addition to elaborate dessert boards, a fun treat for school events, or a unique edible gift. You have the freedom to personalize it with spooky sprinkles, playful gummy fangs, or other Halloween-themed embellishments. Alternatively, keep it elegantly simple, letting the mesmerizing marbled design speak for itself and draw your guests in.
Whether your goal is an air of elegant gothic mystery or a vibe of gory, playful fun, this no-bake vampire fudge effortlessly delivers both exceptional flavor and theatrical flair. The minimal effort required, thanks to the microwave-only method, means you can spend less time in the kitchen and more time enjoying your celebration. Just a few simple steps—prep, set, and enjoy—are all it takes to bring this fantastic treat to life!
Quick + Easy Recipes
straight to your inbox
Essential Ingredients for Vampire Fudge
Crafting this dramatic no-bake fudge requires only a few core ingredients. The key to its striking visual appeal lies in the black and red candy melts, which provide both color and a smooth, consistent texture once melted. Sweetened condensed milk forms the creamy base, while a touch of vanilla extract can enhance the flavor. Optional gummy vampire fangs add an extra layer of spooky fun, making each piece a miniature edible masterpiece.
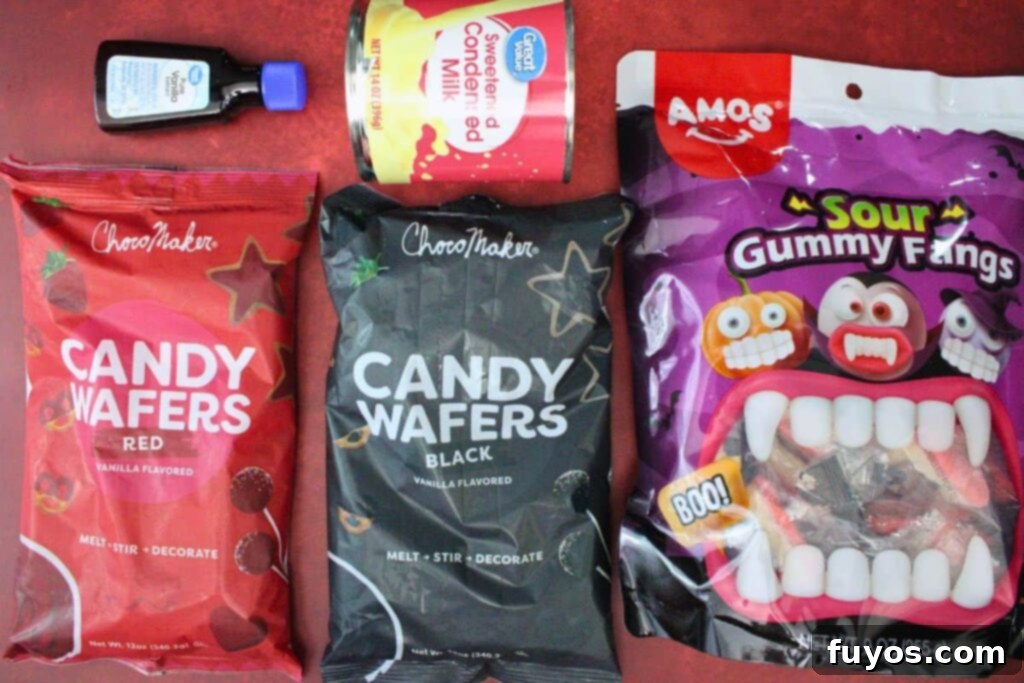
- 12 ounce bag black candy melts
- 12 ounce bag red candy melts
- 14 ounce can sweetened condensed milk, divided
- 1 tsp vanilla extract (optional)
- 16 gummy vampire fangs (optional, for decoration)
Ingredient Tips and Substitutions for Perfect Fudge
- While candy melts are my preferred choice for their ease of use and vibrant, consistent colors, you can certainly substitute them. An equivalent amount of high-quality white chocolate chips can be used, but you’ll need to tint them with oil-based red and black food coloring. It’s crucial to use *oil-based* food coloring; water-based dyes will cause chocolate to seize and become unusable. Candy melts are widely available at most grocery stores and craft shops, making this option much simpler for a fuss-free treat.
- The vanilla extract is entirely optional and serves primarily to enhance the overall flavor. Feel free to experiment with other extracts to introduce exciting new taste profiles. Strawberry, cherry, or raspberry extracts would be particularly delightful, not only complementing the red coloring but also adding a burst of fruity essence that evokes a “bloody” theme.
Step-by-Step Guide to Crafting Vampire Fudge
Making this striking vampire fudge is remarkably straightforward. Follow these simple instructions to create a beautifully marbled, delicious Halloween treat that requires no oven and minimal cleanup.
- Prepare Your Pan: Begin by lining an 8×8 inch square pan with parchment paper or nonstick foil. Ensure there’s an overhang on the sides, which will act as “handles” later for easy removal of the set fudge.
- Melt the First Color: In a large, microwave-safe bowl, combine one bag of candy melts (either black or red to start, it doesn’t matter) with half of the sweetened condensed milk. You can eyeball the half, or measure out approximately 7 ounces for precision.
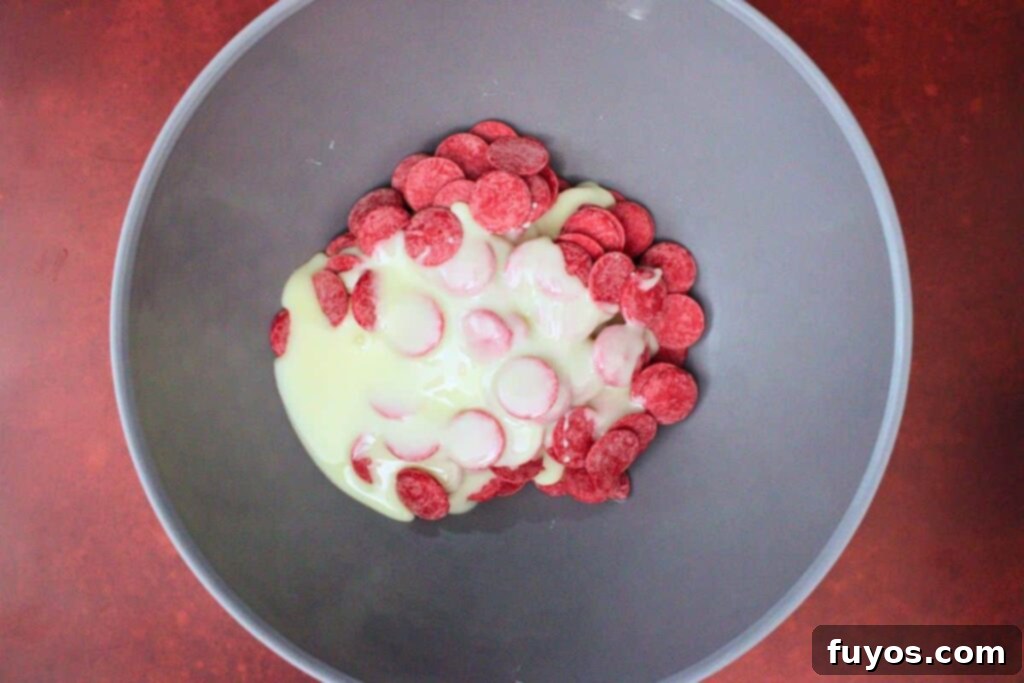
- Microwave and Stir: Cook the mixture on high in the microwave for 1 minute. Remove and stir thoroughly until smooth. If it’s not fully melted, continue microwaving in additional 30-second increments, stirring well after each interval, until the mixture is completely smooth and creamy. If using, stir in half of the vanilla extract for added flavor.
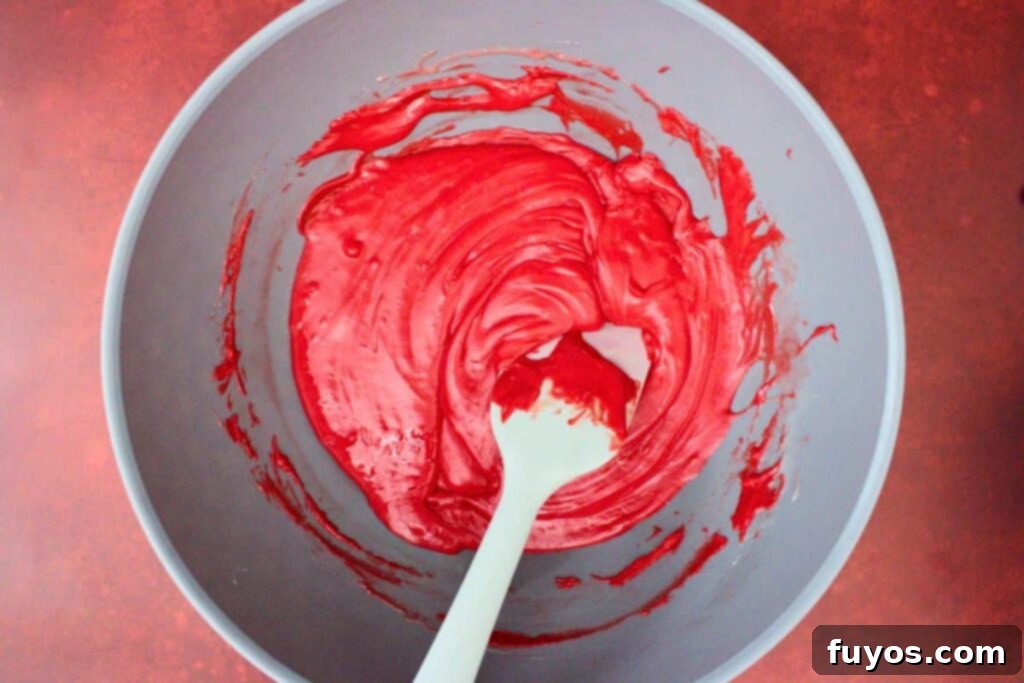
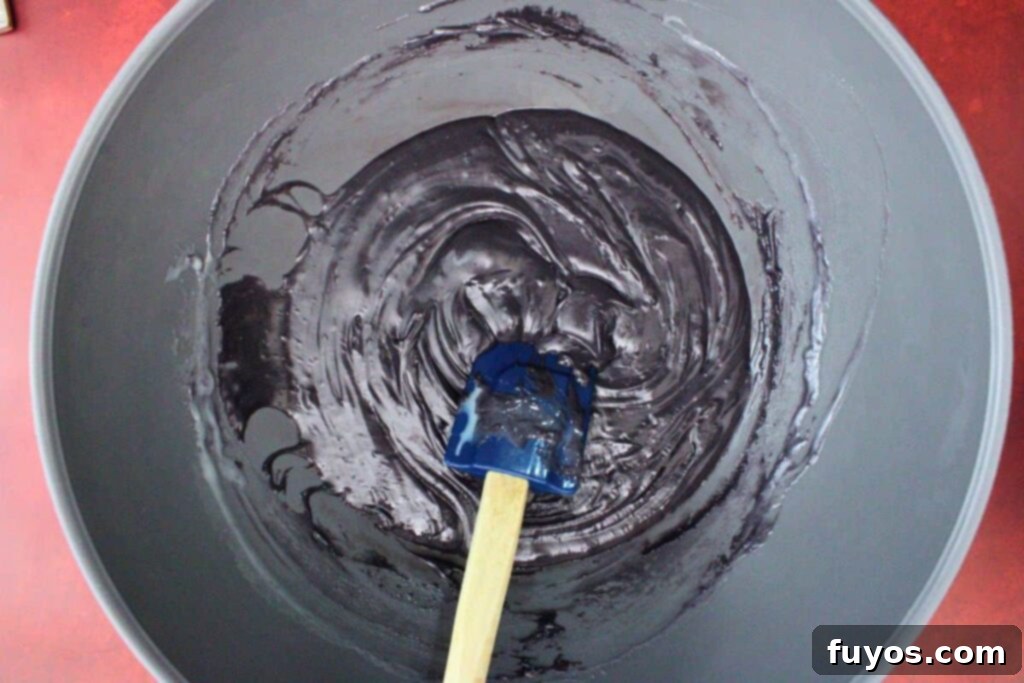
- Melt the Second Color: Repeat the melting process in a second microwave-safe bowl with the remaining bag of candy melts (the other color) and the second half of the sweetened condensed milk. Cook and stir until smooth, then incorporate the other half of the vanilla extract, if desired.
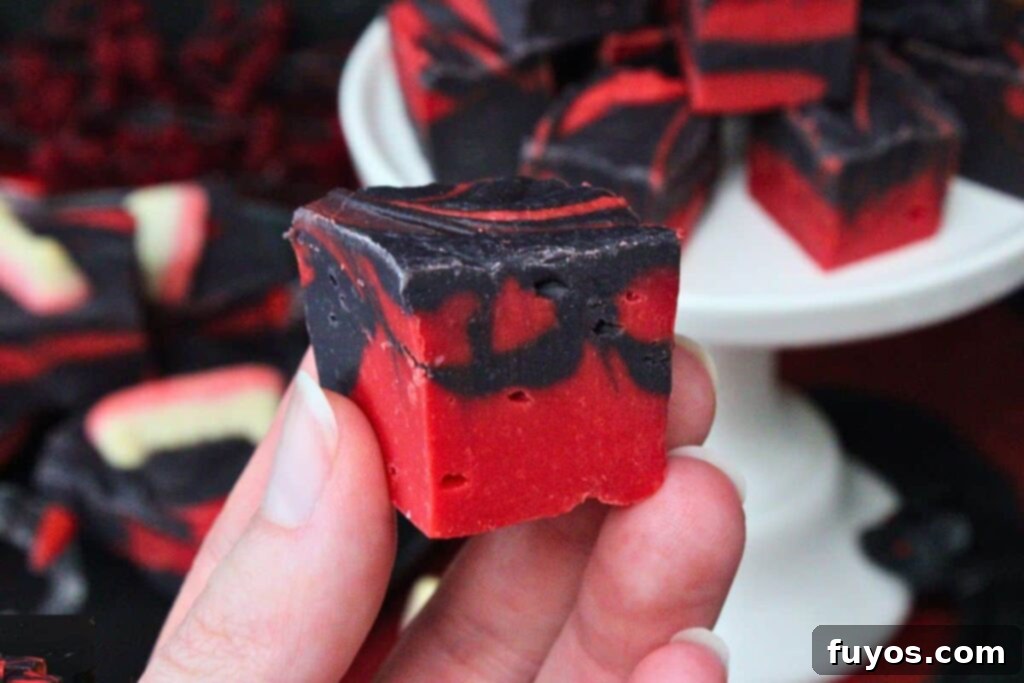
- Create the Swirls: This is where the magic happens! Carefully pour spoonfuls of the black and red melted fudge mixtures into your lined pan, alternating colors in distinct “globs.” Once both colors are in the pan, take a butter knife and gently run it back and forth, side to side, and up and down through the mixtures to create beautiful marble patterns and swirls. Be careful not to overmix, as you want to preserve the distinct color separation. If you plan to add sprinkles or gummy teeth, now is the time; scatter them over the wet chocolate and gently press them in to ensure they stick as the fudge sets.
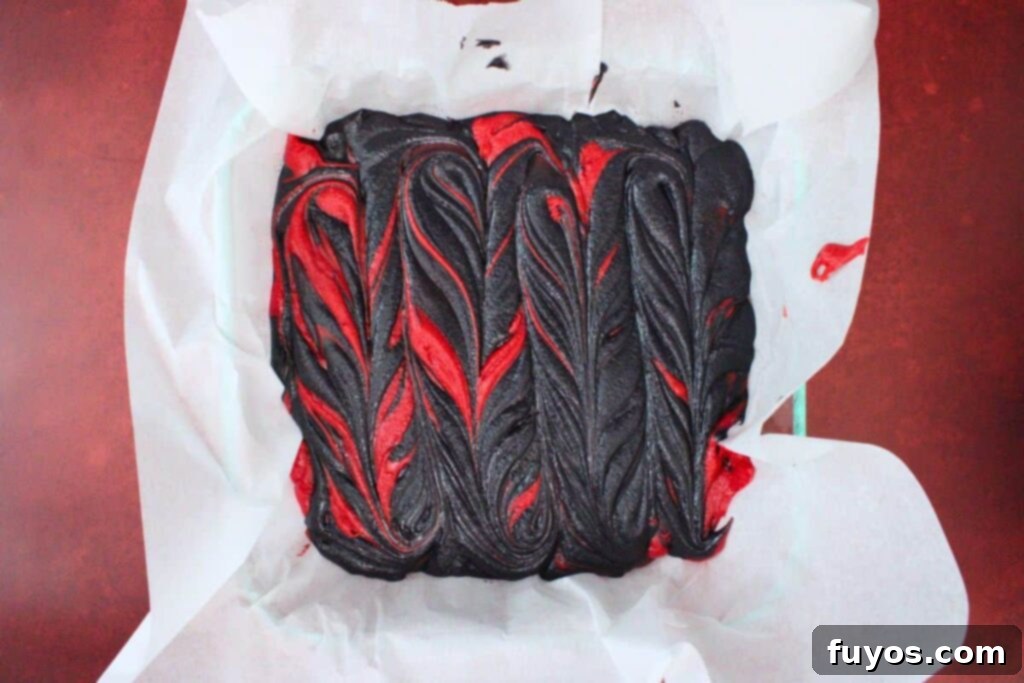
- Chill to Set: Transfer the pan to the refrigerator and chill for approximately 3 hours, or until the fudge is completely firm and set. This is crucial for easy slicing.
- Slice and Serve: Once fully set, use the parchment paper overhang to lift the fudge block out of the pan. Trim any uneven edges for a clean presentation, then cut the fudge into desired 1-inch or 2-inch squares. Now, your dramatic vampire fudge is ready to be enjoyed by all your eager guests!
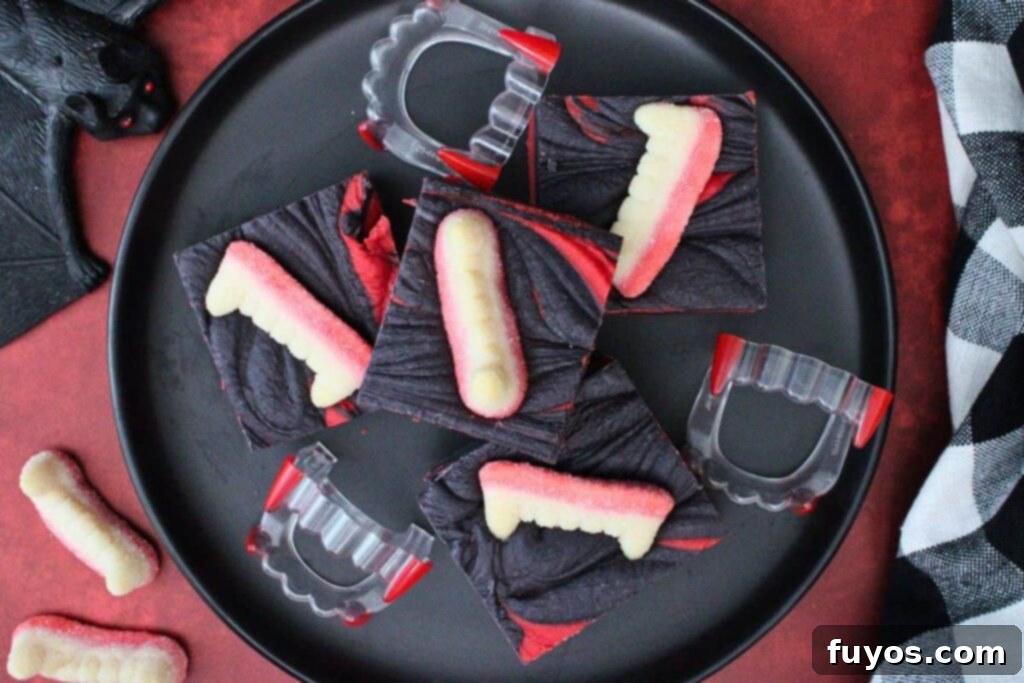
Perfect Pairing Suggestions for Your Vampire Fudge
Elevate your themed party experience by pairing this exquisite vampire fudge with complementary desserts and drinks. The rich flavors and dramatic colors of the fudge provide a fantastic foundation for a truly immersive culinary spread.
Other Desserts to Complement
- Red velvet cupcakes – Their deep red hue and rich, moist texture beautifully echo the “bloody” theme and chocolate notes of the fudge.
- Black forest cake bites – The classic combination of cherry and chocolate in black forest cake perfectly complements the rich flavors of the fudge.
- Chocolate-dipped strawberries – Especially when adorned with a red drizzle or “blood” effects, these add a fresh, juicy contrast and thematic flair.
- Berry mousse cups – Offer a light, airy, and fruity contrast to the dense, rich fudge, cleansing the palate with a refreshing touch.
- Vanilla ice cream – A cool, creamy scoop of vanilla ice cream provides a delightful balance to the intensity and sweetness of the fudge.
- Poached pears – Cooked in red wine to perfectly match the vampire theme, these are elegant served solo or as part of a galette.
Beverage Pairings
- Hot chocolate – A comforting and classic pairing that enhances the chocolatey goodness of the fudge.
- Chai latte – The warm, spicy notes of a chai latte offer an intriguing and cozy contrast.
- Raspberry or cherry herbal tea – Light, fruity, and non-alcoholic options that align with the red theme.
- Cold brew with cream – The robust bitterness of cold brew cuts through the sweetness of the fudge beautifully.
- Chocolate espresso martini – For an adult indulgence, this sophisticated drink mirrors the richness of the fudge.
- Raspberry or cherry liqueur – Adds a boozy, fruity kick that works well with the “bloody” aesthetic.
- Port wine – Its deep, dark fruit notes and rich body are a fantastic match for chocolate fudge.
- Merlot or cabernet sauvignon – Red wines with berry notes can complement the rich dessert without overpowering it.
- Baileys or Kahlúa on ice – Creamy, coffee, or chocolate liqueurs provide a smooth, complementary sip.
Spooktacular Halloween Pairings
- Vampire themed cocktails – Pair your fudge with signature drinks like my Vampire Mimosa, Vampire Bite Shots, Vampire Kiss Cocktail, or Vampire Tequila Sunrise for a full-on gothic experience!
- Black cocoa cookies – Their intense dark color and rich chocolate flavor make them a perfect textural and visual complement.
- Mummy brownies – Playful and easy to make, these spooky treats will round out your Halloween dessert spread.
- Witch Hat Cookies or truffles – Add more whimsical, themed elements to your party table.
- Charcuterie board – A carefully curated board featuring dark fruits (like raspberries, blackberries, and cherries), an assortment of cheeses, and dark chocolate pieces will create an elegant yet spooky display.
Frequently Asked Questions About Vampire Fudge
Can I Make This Recipe Ahead of Time?
Absolutely! This fudge is an ideal make-ahead treat. It actually sets and slices best when thoroughly chilled, even overnight. This makes it perfect for prepping several days ahead of a party or event, allowing you to focus on other preparations closer to serving time. Simply store it in an airtight container until you’re ready to serve.
Can I Make This Fudge on the Stove Instead of the Microwave?
Yes, you can certainly make this fudge on the stovetop. To do so, melt the candy melts and sweetened condensed milk in a saucepan over low heat, stirring continuously until the mixture is smooth and fully combined. Once melted, remove it from the heat and stir in the vanilla extract. However, be aware that this method typically takes a little longer, which means one color may start to set before the second is ready. This can make achieving a perfectly marbled effect more challenging. In such cases, you might prefer to layer the colors instead of swirling them, pouring one color into the pan and then topping it with the second.
Expert Tips for the Best Vampire Fudge
Achieving perfectly swirled and delicious vampire fudge is easy with a few insider tips. Pay attention to these details to ensure your no-bake treat turns out fantastic every time.
- Microwave Wattage Matters: I developed this recipe using a 1000W microwave, where each batch of candy melts melted completely in approximately 1 ½ minutes. Microwave wattages vary widely, so you might need to adjust your cooking times accordingly. Always start with shorter intervals (like 30 seconds) and stir frequently to prevent scorching and ensure even melting.
- Work Swiftly for Optimal Marbling: Speed is key for the best marbling effect. The first batch of fudge will begin to set while you’re melting the second color. For truly stunning swirls, you want both mixtures to be relatively soft when you combine them in the pan. If one color starts to firm up too much, marbling becomes more difficult. If this happens, don’t worry—you can simply layer one color on top of the other for an equally delicious, albeit less swirled, result.
- Don’t Panic About Black Candy Melts: It’s common for black candy melts to appear somewhat gray or muted when they are warm and freshly melted. This is completely normal! Rest assured that as the fudge cools and sets, the color will deepen and transform into a rich, true black, creating that dramatic contrast you’re looking for.
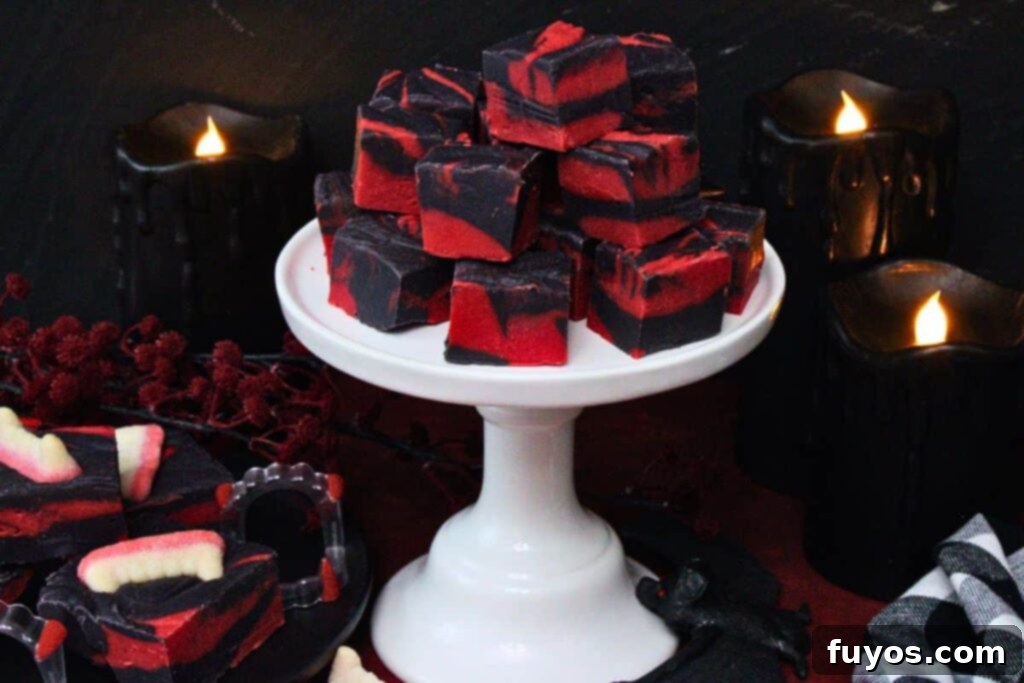
Storage and Creative Serving Ideas
Proper storage ensures your vampire fudge stays fresh and delicious for longer, while thoughtful serving suggestions can elevate its presentation and impact at any event.
Fudge Storage Tips
- Refrigerator Storage: Store your freshly cut vampire fudge in an airtight container in the refrigerator for up to 1-2 weeks. This keeps it firm and preserves its texture.
- Freezer for Longer Preservation: For extended storage, individually wrap each fudge square in parchment or wax paper, then place the wrapped pieces into a freezer-safe storage bag or container. You can freeze the fudge for 2-3 months. When ready to serve, simply allow the pieces to thaw at room temperature until they reach your desired consistency.
Serving Suggestions to Impress
- Spooky Platter Presentation: Maximize the gothic appeal by serving your fudge on a black slate board, a coffin-shaped tray, or a dark, elegant cake stand. The dark backdrop will make the red and black swirls pop.
- Dramatic Drip Effect: For an extra “bloody” and dramatic touch, add a red drizzle (using decorating gel, a fruit syrup, or even thinned cherry preserves) down the sides of stacked fudge pieces or directly onto the serving plate. Be prepared to serve immediately, as the drip effect tends to run quickly.
- Individual Party Favors: Turn your fudge into delightful party favors! Package individual squares in mini treat bags, tied with black or red twine, for a charming and memorable takeaway for your guests.
Explore More Halloween Fudge Recipes
Poison Apple Fudge: No Bake Spooky Halloween Treat!
- Caramel Apple Fudge
- Candy Corn Fudge
- Monster Fudge
Final Delicious Thoughts on Vampire Fudge
This effortless vampire fudge recipe, with its mesmerizing swirls of red and black candy melts, is truly a spooky, festive, and incredibly delicious treat that will be the highlight of any Halloween celebration! Its simplicity allows for fantastic customization with different flavors, letting you tailor it perfectly to your liking and creative vision.
What makes this recipe truly exceptional is its “no-bake” nature – requiring only a microwave – and its fantastic make-ahead potential. With minimal hands-on time, you can prepare this stunning dessert well in advance, chill it until perfectly set, and then simply slice and serve. This means less stress on the day of your Halloween parties, leaving you more time to enjoy the festivities with a beautiful and fun treat that keeps wonderfully. For even more fantastic ideas to complete your dessert table, be sure to explore all of my No-Bake Halloween Treats for a wide array of different recipes to try!
Vampire Fudge (Easy No Bake Halloween Treat)
Equipment
-
Microwave
-
Square pan (8×8 inches)
-
Parchment paper
-
2 Microwave safe bowls
-
Spatula (or sturdy spoon; for stirring)
-
Butter knife (for swirling colors)
Ingredients
- 12 ounce bag black candy melts
- 12 ounce bag red candy melts
- 14 ounce can sweetened condensed milk, divided
- 1 tsp vanilla extract, divided (optional)
- 16 gummy vampire fangs, or other decorations as desired (optional)
Instructions
-
Line an 8×8 inch square pan with parchment paper or nonstick foil.
-
Add one bag of candy melts (either color) and half the sweetened condensed milk (approximately 7 ounces) to a large microwave-safe bowl.12 ounce bag black candy melts, 14 ounce can sweetened condensed milk, divided
-
Cook on high for 1 minute, stir, then cook in additional 30-second increments, stirring each time, until melted and smooth. Stir in ½ tsp vanilla extract (if using).1 tsp vanilla extract, divided
-
Add the remaining candy melts and the other half of the sweetened condensed milk to a second microwave-safe bowl and repeat the cooking process. Stir in the other ½ tsp vanilla (if using).12 ounce bag red candy melts, 14 ounce can sweetened condensed milk, divided, 1 tsp vanilla extract, divided
-
Pour the black and red melted mixtures into your lined pan, alternating colors in distinct globs across the pan.
-
Run a butter knife back and forth, side to side, and up and down the pan to marble the colors together and create beautiful swirls. If adding sprinkles or gummy teeth, place them on top while the chocolate is still wet and gently press them in to ensure they adhere.16 gummy vampire fangs, or other decorations as desired
-
Chill the fudge in the refrigerator until completely set, which will take approximately 3 hours.
-
Use the parchment paper overhang to easily remove the fudge from the pan. Trim any uneven edges, then cut the fudge into 1-inch or 2-inch squares as desired. Enjoy your spooky treat!
Notes
- While candy melts are recommended for ease, this recipe can be adapted using an equivalent amount of white chocolate chips tinted with oil-based gel red and black food coloring. (Avoid water-based coloring as it will seize the chocolate.) Candy melts are readily available at grocery and craft stores.
- The vanilla extract is optional and intended solely to enhance flavor. Feel free to substitute with other extract flavors like strawberry, cherry, or raspberry for a fun twist that complements the red coloring.
- Exact nutritional values may fluctuate based on specific brands and flavors of ingredients used, any added decorations, the size of each cut, and the quantity consumed. Please use the provided nutritional information as a general guideline only.
Nutrition
Number of total servings shown is approximate. Actual number of servings will depend on your preferred portion sizes.
Nutritional values shown are general guidelines and reflect information for 1 serving using the ingredients listed, not including any optional ingredients. Actual macros may vary slightly depending on specific brands and types of ingredients used.
To determine the weight of one serving, prepare the recipe as instructed. Weigh the finished recipe, then divide the weight of the finished recipe (not including the weight of the container the food is in) by the desired number of servings. Result will be the weight of one serving.
Did you try this recipe?
Mention @TheDinnersDoneQuick or tag #dinnersdonequick! for even more!
Pin Recipe
Leave A Review
