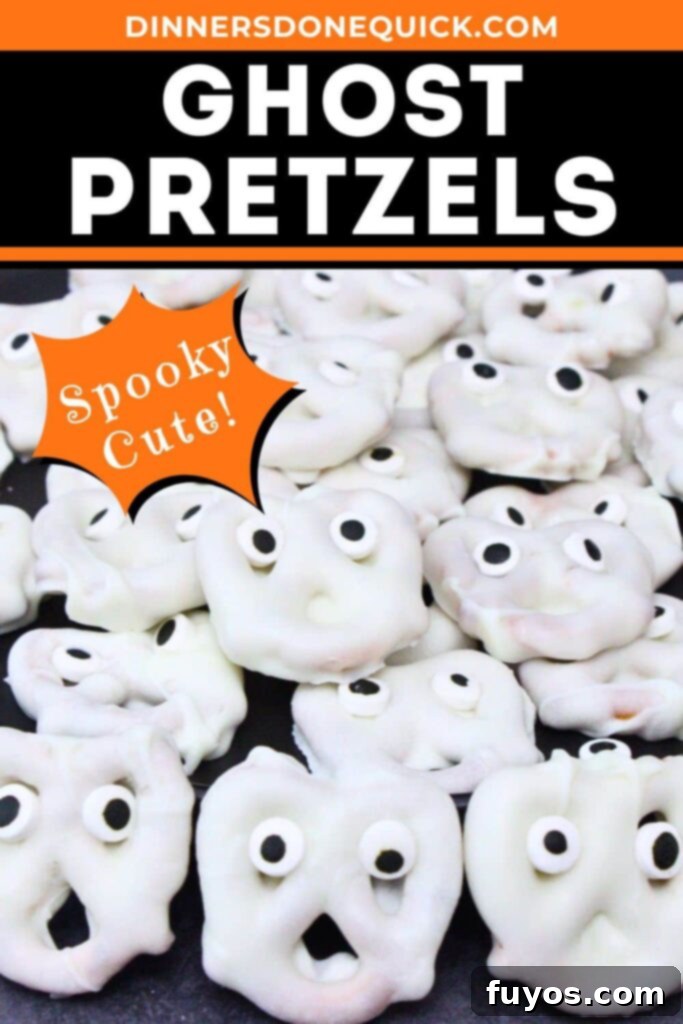
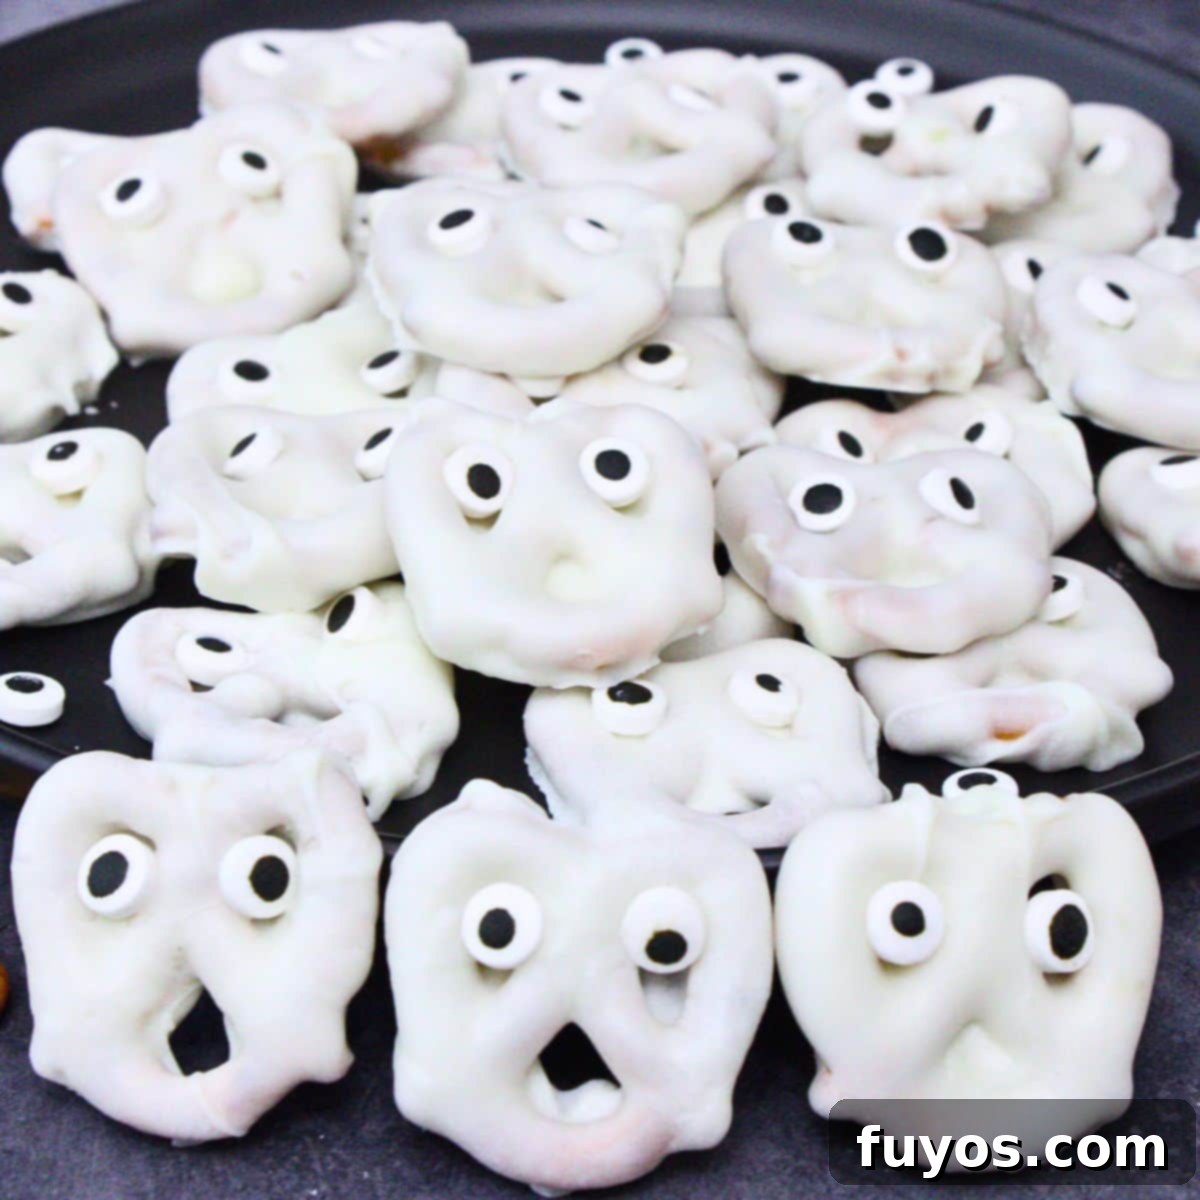
Spooky, Sweet, and Simple: The Ultimate Guide to 3-Ingredient No-Bake Ghost Pretzels for Halloween
Get ready to conjure up some magic this Halloween with these absolutely adorable ghost pretzels! They are the epitome of a perfect holiday treat – charmingly cute, just the right amount of spooky, and incredibly easy to whip up. Forget complicated baking projects; this recipe calls for only three simple ingredients and relies solely on your microwave, making it an ideal no-bake solution for busy schedules. Whether you’re planning an elaborate Halloween party, a cozy movie night, or just looking for a fun activity with the kids, these spooky treats are a fantastic choice. Best of all, they can be prepared in advance, taking the stress out of last-minute party planning. Little hands will love getting involved in decorating these ghostly delights, making it a memorable experience for the whole family!
Why You’ll Love This Easy Halloween Treat Recipe
These white chocolate-dipped ghost pretzels are more than just a snack; they’re a delightful experience that brings joy to any Halloween gathering. Here’s why they’ll become your go-to festive treat:
- Sweet & Salty Perfection: This irresistible combination of creamy, rich white chocolate perfectly coating crisp, salty pretzels creates a flavor profile that is truly addictive. Each bite offers a delightful balance that keeps everyone reaching for more, making it a universally loved treat that caters to all palates.
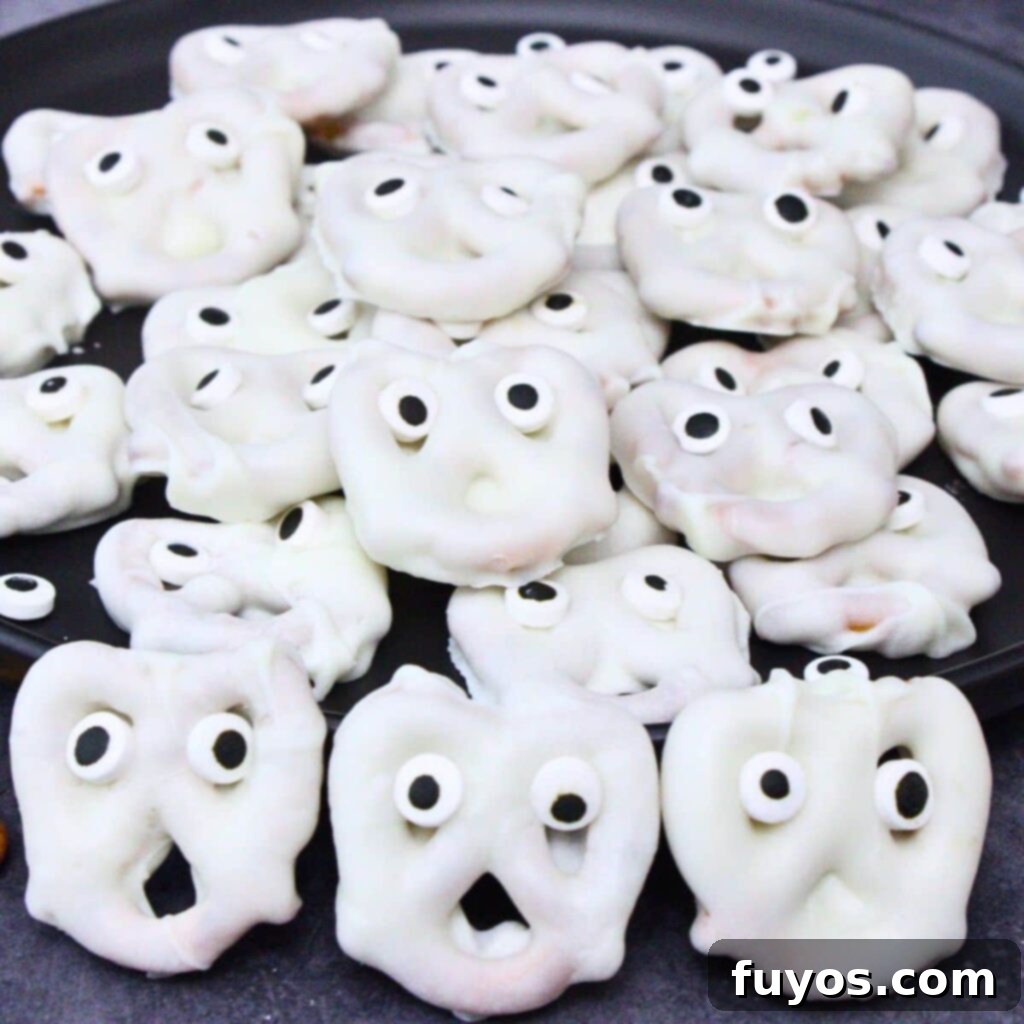
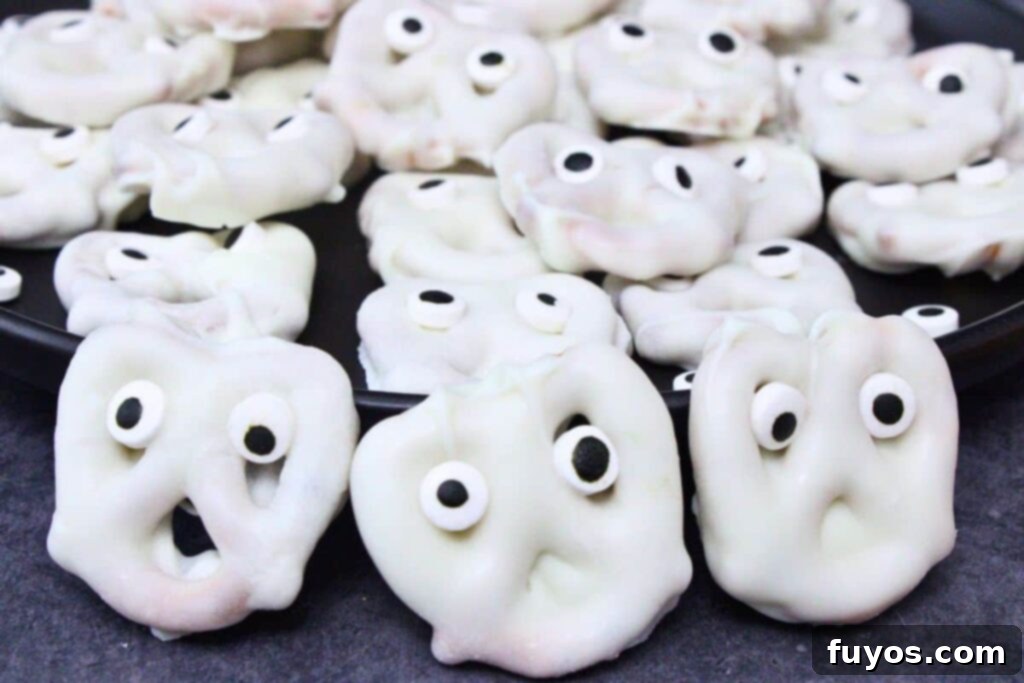
- Adorably Spooky: Transform ordinary pretzels into charming little ghosts with just a few simple steps. Their playful, ghostly faces make them an absolute showstopper and a festive, fun addition to any Halloween celebration, from school parties to adult gatherings. They add a touch of whimsy without being too frightening.
- Kid-Friendly & Fun: This is truly a recipe for all ages! Not only are these ghost pretzels a delicious snack that kids will adore eating, but they are also incredibly easy and safe for children to help prepare and decorate. It’s a wonderful opportunity for family bonding in the kitchen without the need for ovens, hot stoves, or sharp tools.
- No-Bake & Quick: Say goodbye to oven preheating and lengthy cooling times. These delightful treats come together in mere minutes, requiring only a microwave for melting the chocolate. This makes them perfect for spontaneous crafting sessions, last-minute party contributions, or when you need a speedy, impressive dessert.
- Customizable Creativity: Unleash your inner artist! While candy eyes are classic and simple, you can personalize each ghost with mini chocolate chips, colorful icing, or even edible markers to draw unique expressions. Give every spooky character its own distinct personality, making each pretzel a tiny work of art that guests will love.
- Portable Snack & Make-Ahead Friendly: These robust little snacks are ideal for packing in lunchboxes, serving in snack bowls at parties, or handing out as thoughtful party favors. Their stability and ease of preparation mean you can make them several days in advance, allowing for stress-free party planning and ensuring you always have a delightful treat on hand for any occasion.
Quick + Easy Recipes
straight to your inbox
Ghost Pretzels: Ingredients List
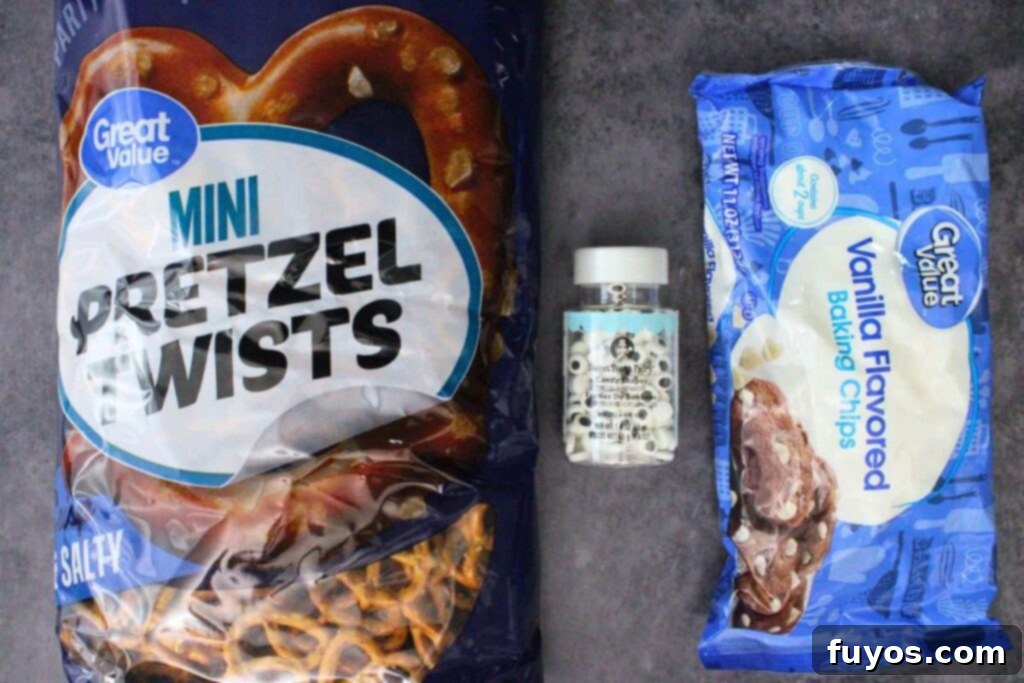
You’ll be amazed at how such a small list of ingredients can create such a fun and festive treat! These ghost pretzels truly shine with minimal fuss.
- 36 mini twist pretzels
- 1 ½ cups white chocolate chips
- 72 candy eyeballs
Ingredient Tips and Smart Substitutions
- The mini pretzel twists are truly ideal for achieving that classic ghost shape, allowing the bottom opening to resemble a mouth. If you opt for a larger pretzel twist, you’ll need to adjust by using more chocolate to ensure full coverage and a sturdy base for the candy eyes. For a different presentation, feel free to substitute with gluten-free pretzels or dip pretzel rods instead, which can create a longer, skinnier ghost shape.
- Instead of standard white chocolate chips, which melt beautifully, you can also use about 8 ounces of white candy melts or white almond bark. Candy melts often provide a smoother, more consistent coating and dry faster, making them a great choice for intricate designs or when you’re short on time.
- The candy eyeballs add a fun, whimsical touch that really brings these ghosts to life! However, if you don’t have them on hand or prefer an alternative, you can easily use mini chocolate chips (placed flat-side down), mini M&Ms, or simply pipe on small dots of black icing with a toothpick or small piping bag to create expressive eyes.
Step-by-Step Instructions: How to Make Ghost Pretzels
Follow these simple steps to create your adorable ghost pretzels. It’s a quick process that anyone can master, perfect for a fun afternoon activity.
- Prepare your workspace: Line a large cookie sheet (or any similar flat surface like a cutting board) with parchment paper or a silicone baking mat. This crucial step prevents the chocolate from sticking and makes cleanup a breeze once your pretzels have cooled and hardened.
- Melt the white chocolate: Add your white chocolate chips to a microwave-safe bowl. Heat on high for 1 minute, then remove and stir thoroughly. Continue to cook in additional 30-second increments, stirring well after each interval, until the chocolate is completely melted and smooth. Be careful not to overheat the chocolate, as it can seize and become unworkable. If you are using melting wafers or almond bark, always follow the specific package directions, as their melting points and methods may differ from chocolate chips.
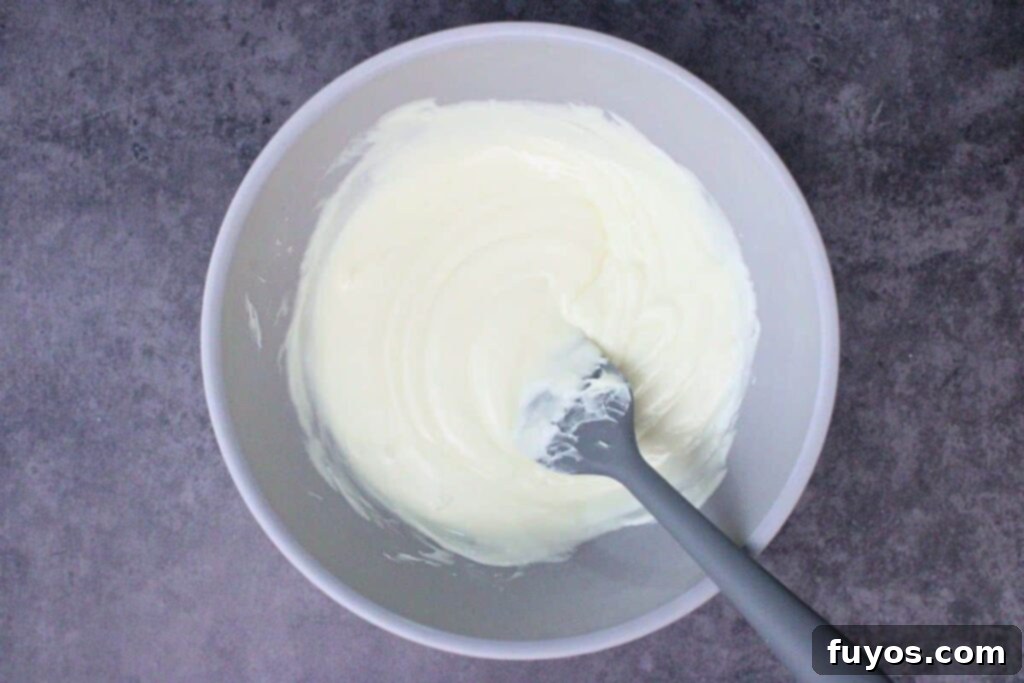
- Dip and decorate your pretzels: Carefully dip each mini pretzel twist into the melted white chocolate, ensuring both sides are fully coated. Gently shake off any excess chocolate – it’s important to leave the bottom opening of the pretzel somewhat clear, as this creates the illusion of an open mouth for your ghost. Using a fork or a pair of kitchen tweezers can make transferring the dipped pretzels to your prepared baking sheet much easier and less messy. While the chocolate is still melted and wet, quickly place one candy eyeball into each of the two upper loops of the pretzel. Repeat this process until all your pretzels are dipped and adorned with eyes.
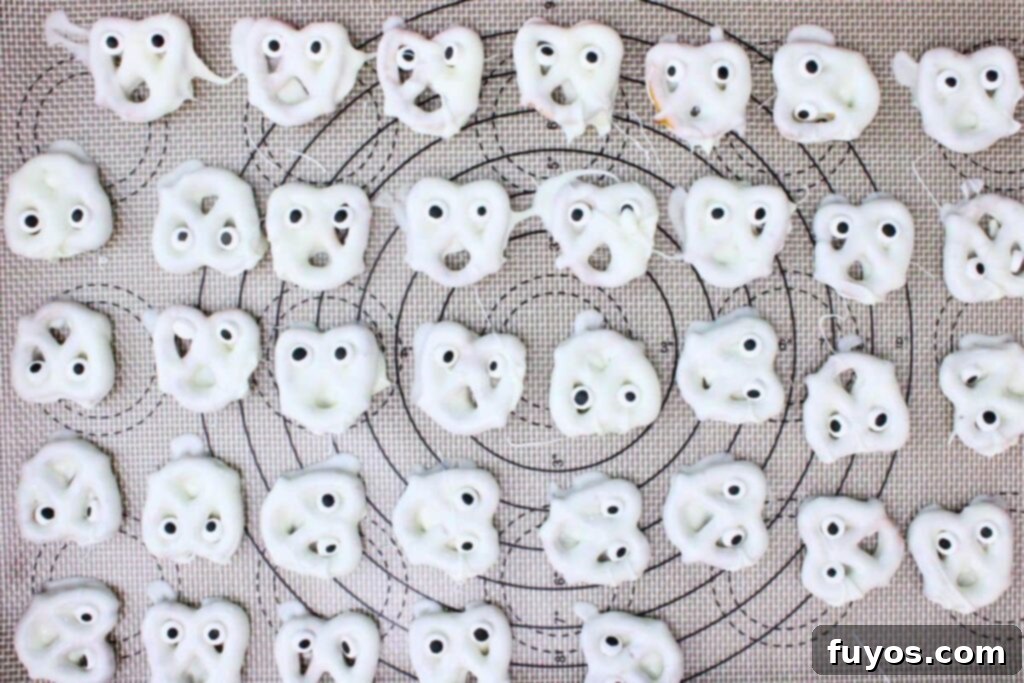
- Cool until solid: Once all your ghost pretzels are assembled, it’s time to let them set. For a quick set, you can pop them into the freezer for about 10-15 minutes, or refrigerate them for 20-30 minutes. If you prefer to cool them at room temperature, this typically takes about 30 minutes to an hour, but the exact time can vary depending on the ambient temperature and humidity levels in your kitchen. Ensure they are completely solid before handling.
- Store and enjoy: Once fully hardened, carefully transfer your ghost pretzels to an airtight container. Store them at room temperature in a cool, dry place for up to 1 week to maintain their freshness and delightful crunch. Now, enjoy your spooky, sweet, and salty treats!
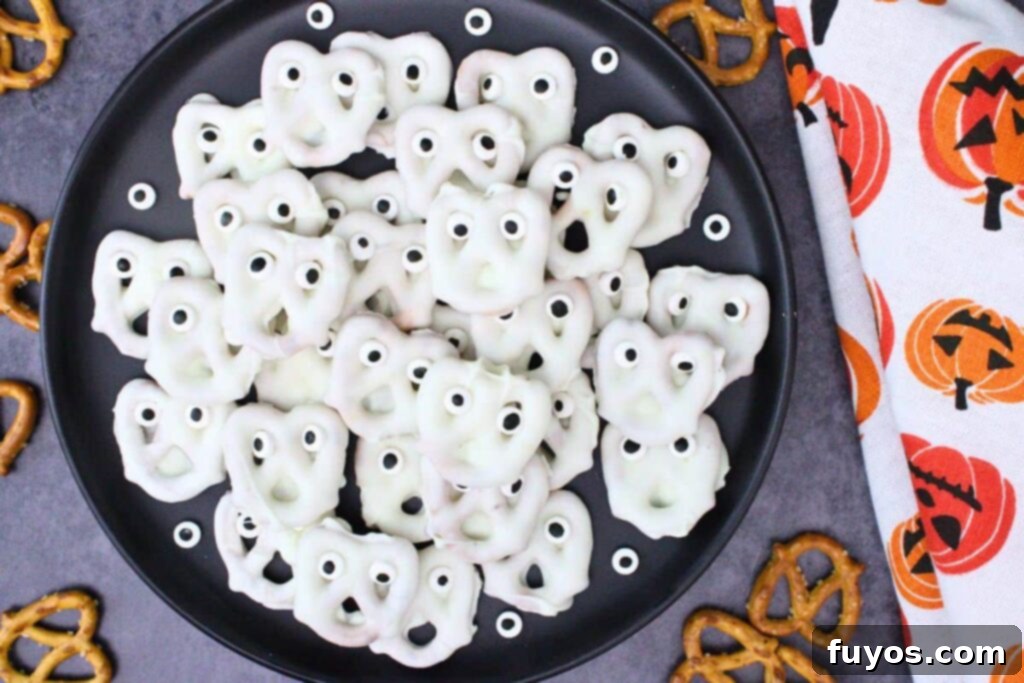
Delightful Pairing Suggestions for Your Ghost Pretzels
These versatile ghost pretzels aren’t just delicious on their own; they make a fantastic addition to a variety of Halloween spreads. Here are some ideas to pair them for maximum enjoyment:
Halloween Desserts
- Chocolate Cupcakes with “Graveyard” Toppers: The intense richness of dark chocolate cupcakes creates a beautiful contrast with the sweet, creamy white chocolate coating of the pretzels. Use crushed Oreos for ‘dirt’ and gummy worms for an edible graveyard scene.
- Pumpkin Bars or Pumpkin Bread: The warm, comforting spices of pumpkin desserts, like cinnamon and nutmeg, pair beautifully with the sweet-salty crunch of the ghost pretzels, enhancing the autumnal flavors.
- Candy Corn Fudge: For a truly vibrant and festive dessert table, serve these ghost pretzels alongside colorful candy corn fudge. The contrasting textures and complementary sweetness will create a delightful Halloween-themed spread.
Spooky Snacks & Appetizers
- Halloween Popcorn Mix: Create an ultimate Halloween snack mix by combining ghost pretzels with classic popcorn, candy corn, mini M&Ms, and perhaps some roasted pumpkin seeds. It’s a perfect blend of sweet, salty, and crunchy for movie nights or parties.
- Festive Cheese Board: Add an unexpected and delightful texture to your cheese board. The salty crunch of the pretzels offers a wonderful counterpoint to creamy cheeses, savory nuts, and fresh or dried fruits, making it a unique element for your charcuterie spread.
- Caramel Apples: The sticky, tart, and sweet profile of classic caramel apples provides a fantastic contrast to the crisp, sweet-and-salty pretzel ghosts. My easy Caramel Apple Witch Brooms are a creative and delicious option that will impress!
Halloween Drinks
- Warm Hot Chocolate: Dip your ghost pretzels into a mug of rich, steaming hot chocolate for an extra indulgent and comforting treat. The melting chocolate coating adds another layer of flavor and texture.
- Pumpkin Spice Latte (or Hot Cider): Embrace the season by pairing these festive pretzels with a warm pumpkin spice latte or a spiced hot apple cider. The seasonal warmth and sweet-spiced notes beautifully complement the candy coating.
- Creamy Milkshakes: For a chilled delight, serve vanilla or chocolate milkshakes alongside your ghost pretzels. The creamy sweetness of the milkshake pairs wonderfully with the salty crunch of the pretzel, creating a satisfying treat.
Adult-Friendly Cocktails
- Classic White Russian: The creamy, luxurious flavors of a White Russian cocktail echo the smooth white chocolate coating of the pretzels, creating a sophisticated and complementary pairing. Try my Chocolate White Russian for an even more decadent flavor compliment!
- Salted Caramel Martini: A salted caramel martini perfectly mirrors the salty-sweet balance found in the pretzel ghosts, making for a harmonious and incredibly delicious adult beverage pairing.
- Pumpkin Ale or Hard Cider: For a seasonal, lightly spiced match, consider serving these pretzels with a pumpkin ale or a crisp hard cider. The autumnal notes provide a lovely backdrop for the sweet and salty snack.
- Themed Cocktails. For a cohesive and visually striking Halloween experience, serve some chilling Ghost Cocktails. Their appearance will perfectly complement your ghostly pretzel treats!
Recipe FAQs: Your Ghost Pretzel Questions Answered
Can I Make These Ghost Pretzels Ahead Of Time?
Yes, absolutely! Ghost pretzels are an excellent make-ahead treat for Halloween parties or any festive occasion. You can prepare them a few days in advance, typically 3-5 days. To ensure they remain fresh and crunchy, simply store them in an airtight container at room temperature. This allows you to tackle party prep without last-minute stress.
Do Chocolate-Covered Pretzels Go Bad? How Long Do They Last?
Chocolate-covered pretzels will eventually lose their crispness over time, but if stored correctly, they can last about 1–2 weeks. The key is to keep them in an airtight container away from direct heat and moisture. Heat can cause the chocolate to melt or become sticky, while moisture can make the pretzels stale and soft. Storing them in a cool, dry pantry is ideal for maintaining their delicious texture.
Can I Use Different Coatings Besides White Chocolate for My Ghost Pretzels?
Absolutely! This recipe is incredibly versatile when it comes to coatings. While white chocolate is perfect for a classic ghost look, you can easily dip the pretzels in various colored candy melts (orange, green, purple for Halloween!), yogurt coating, or even tinted white chocolate using food-grade oil-based food coloring. This allows you to create colorful and themed ghosts or other monsters, making them super easy to customize for any Halloween party vibe or personal preference.
Expert Tips for the Best Ghost Pretzels
Achieving perfectly spooky and delicious ghost pretzels is easy with these insider tips and tricks:
- Feel free to add 1 Tbsp of coconut oil in with your white chocolate chips when melting. This isn’t strictly necessary, but it will thin the chocolate slightly, making it smoother and easier to dip the pretzels for a more even coating. If you find your chocolate too thick, this is a nice, natural option to help achieve the desired consistency without compromising flavor.
- This recipe scales easily, meaning you can effortlessly adjust the quantities to make a larger batch for a big party or a smaller batch for a family treat. Remember that you won’t use 100% of the chocolate you melt; it’s best to have a generous amount in the bowl so it doesn’t get too low, which can make getting an even coating difficult. Any leftover melted chocolate can be spread thinly on parchment paper and hardened for quick chocolate bark!
- If you notice any drips around the edges of the pretzels after dipping (which is totally normal and often adds to their charm!), simply let the chocolate harden completely. Once solid, you can gently break off the excess with your fingers or carefully pare it away with a small knife for a cleaner look. Alternatively, embrace the drips – they can give your adorable ghosts extra character and a slightly more “melted” spooky appearance!
- A pair of kitchen tweezers can be incredibly useful for precise placement of the small candy eyeballs, ensuring they are perfectly centered. However, your fingers work just as well! Try to center them as best as possible when placing them so they don’t turn sideways, but don’t worry if they do – even slightly askew eyes give them a unique and charmingly goofy look, and they’ll still be absolutely delicious. For a firmer base and to prevent shifting, you could also add a tiny dab of extra melted chocolate to the pretzel cavities before placing the eyes.
Storage and Creative Presentation Ideas
Once your ghost pretzels are ready, knowing how to store them properly and present them creatively will ensure they remain a hit!
Essential Storage Tips
- Airtight Container is Key: Always store your finished ghost pretzels in an airtight container. This protects them from air exposure, which can lead to staleness and a loss of crispness. Keep them at room temperature in a cool, dry pantry for up to 1–2 weeks for optimal freshness.
- Avoid the Fridge: It might seem counterintuitive, but do not refrigerate chocolate-covered pretzels. The moisture in the refrigerator can cause the pretzels to soften and the chocolate to ‘sweat’ or bloom, leading to a dull appearance and a less appealing texture.
- Layer Carefully: If you need to stack multiple layers of ghost pretzels in your container, always place a sheet of parchment paper or wax paper between each layer. This prevents the chocolate coatings from sticking together and, more importantly, keeps those adorable candy faces from smudging.
- Make-Ahead Friendly: As noted, these are fantastic for preparing in advance. You can confidently prep them 2–3 days before a party without any loss of freshness or quality, significantly easing your party planning burden.
Creative Presentation Tips
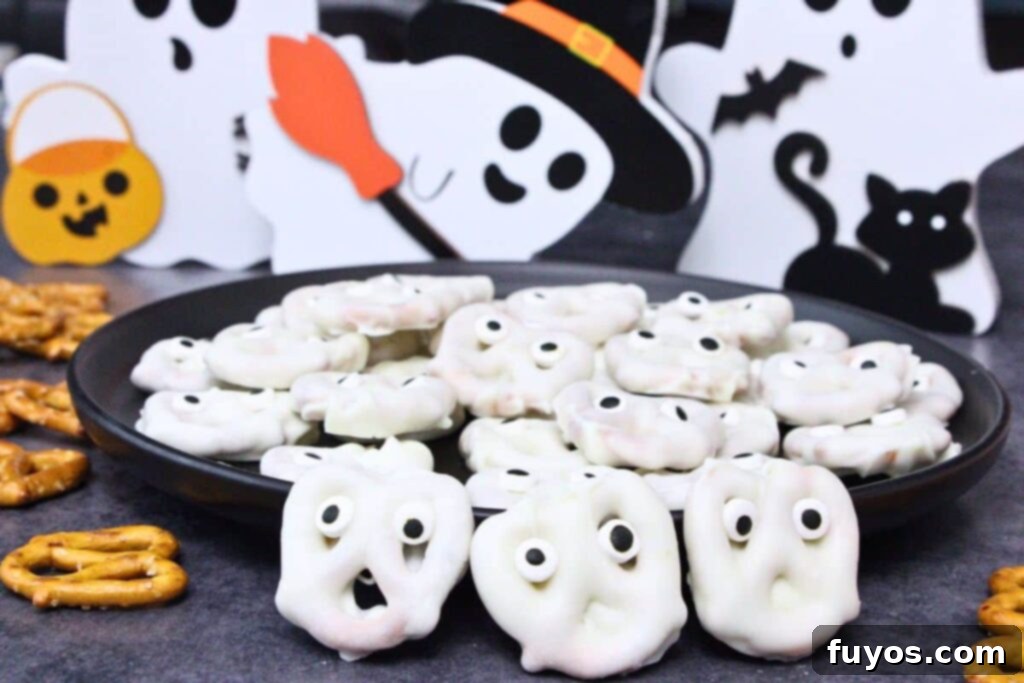
- Spooky Bowls or Platters: Elevate your Halloween aesthetic by serving the ghost pretzels in themed black or orange bowls, small cauldrons, or elegant tiered trays. These simple touches instantly make them more festive and appealing.
- Edible Halloween Display: Incorporate them into a larger Halloween snack mix. Combine ghost pretzels with festive elements like popcorn, candy corn, mini marshmallows, or even green and purple M&Ms for a truly irresistible treat bowl.
- Delightful Party Favors: Individually package your ghost pretzels in clear treat bags, tie them with festive orange, black, or purple ribbon, and add a small “Boo!” tag. They make charming and thoughtful take-home favors for guests of all ages.
- Spooky Dessert Board or Char-BOO-terie: Arrange these ghostly delights alongside other Halloween-themed cookies, candies, and cupcakes for an impressive dessert spread. For a unique twist, incorporate them into a savory “char-boo-terie” board with cheeses, crackers, and fruits, adding a delightful sweet and salty crunch to the mix.
More No-Bake Halloween Treats You’ll Love
Strawberry Ghosts: Easy Microwave Halloween Treat!
Frankenstein Wafer Cookies: Cute No Bake Halloween Treat!
Witch Hat Cookies: Cute No Bake Halloween Treat!
Banana Mummies Recipe: Fun Halloween Treat For Kids!
Final Thoughts on These Spooktacular Ghost Pretzels
These adorable ghost pretzels truly stand out as one of my absolute favorite sweet treats for Halloween! The delightful combination of creamy white chocolate and crunchy, salty pretzels creates an irresistible flavor and texture that is always a crowd-pleaser. With their incredibly simple 3-ingredient recipe, they’re super easy to make, making Halloween prep a breeze.
Ghost Halloween pretzels are perfect for everyone, from little ones who will love helping to decorate them to adults enjoying a festive snack. This no-bake treat only requires a microwave, eliminating the need for complex cooking and making it safe and fun for kids to get involved. Whip them up in advance for your next Halloween party, family movie night, or school event. They make a fantastic addition to any charcuterie spread, dessert table, or simply as a quick, festive snack to enjoy throughout the spooky season!
Craving more deliciously spooky and effortless ideas? Be sure to explore all of my amazing No-Bake Halloween Recipes for even more inspiration to complete your ghoulishly good spread!
Ghost Halloween Pretzels
Equipment
-
Microwave
-
Microwave safe bowl
-
Measuring cups
-
Spatula (or spoon; for stirring)
-
Silicone baking mat (or parchment paper)
Ingredients
- 36 mini pretzel twists
- 1 ½ cups white chocolate chips
- 72 candy eyeballs
- 1 Tbsp coconut oil (optional; smooths chocolate for easier dipping)
Instructions
-
Line a cookie sheet (or similar flat surface) with parchment paper or a silicone baking mat
-
Add your white chocolate chips (and coconut oil if using) to a microwave-safe bowl. Cook on high for 1 minute, stir, then cook in additional 30-second increments, stirring each time, until melted and smooth. If you use candy melts or bark, follow the package directions, as they may differ1 ½ cups white chocolate chips, 1 Tbsp coconut oil
-
Dip your pretzels into the melted chocolate, flipping to make sure both sides are coated. Shake off excess chocolate (you want the bottom hole to look like an open mouth so it shouldn’t be filled in), then transfer the dipped pretzels to the baking sheet (I recommend a fork for this). While the chocolate is still melted, add a candy eyeball into the two upper loops of the pretzel. Repeat until all are assembled36 mini pretzel twists, 72 candy eyeballs
-
Cool until solid – I usually pop them in the freezer for 10-15 minutes to speed things up. Room temperature generally takes about 30 minutes, but can vary by temperature and humidity levels
-
Store in an airtight container in a cool dry place. Enjoy!
Notes
- Mini pretzel twists work best for this (you can substitute gluten-free). For larger pretzel twists, you’ll need to add extra chocolate to fill the space and hold up the eyes. You can also dip pretzel rods instead if preferred!
- Instead of white chocolate chips, you can also use about 8 ounces of white candy melts, or white almond bark
- The candy eyeballs are so fun for this, but you can also use mini chocolate chips, mini M&Ms, or icing instead
- Exact nutritional values will vary based on brand, size, and flavor of ingredients, any decorations added, and actual quantity consumed, so please consider this a guideline only
Nutrition
Number of total servings shown is approximate. Actual number of servings will depend on your preferred portion sizes.
Nutritional values shown are general guidelines and reflect information for 1 serving using the ingredients listed, not including any optional ingredients. Actual macros may vary slightly depending on specific brands and types of ingredients used.
To determine the weight of one serving, prepare the recipe as instructed. Weigh the finished recipe, then divide the weight of the finished recipe (not including the weight of the container the food is in) by the desired number of servings. Result will be the weight of one serving.
Did you try this recipe?
Mention @TheDinnersDoneQuick or tag #dinnersdonequick! for even more!
Pin Recipe
Leave A Review
