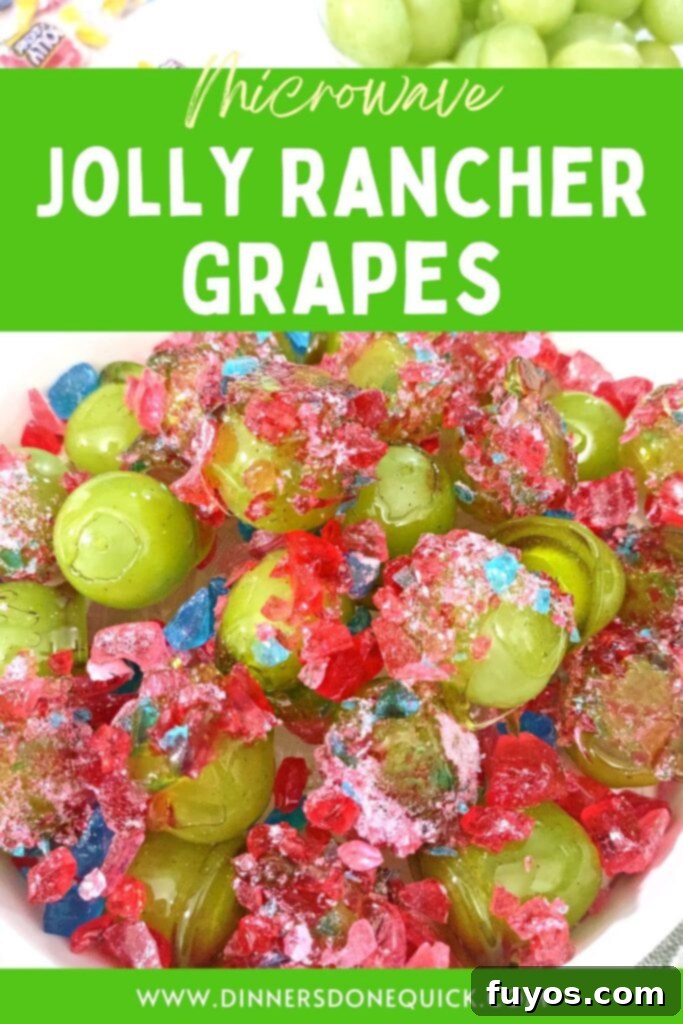
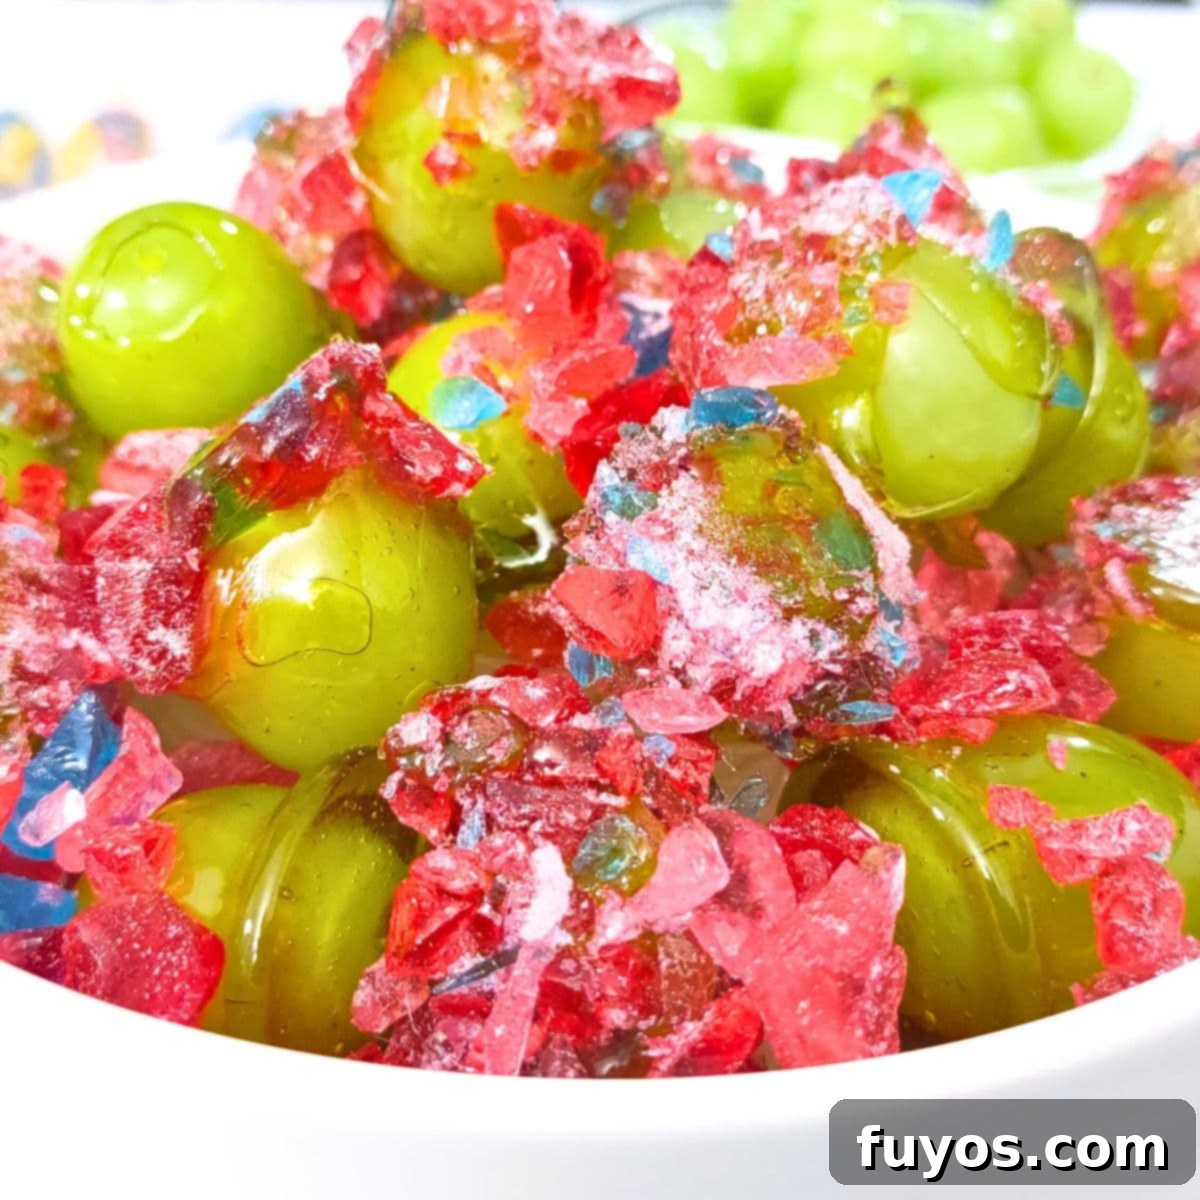
Easy Jolly Rancher Grapes: Your Go-To Microwave Candied Fruit Recipe!
There’s an undeniable magic in candied fruit – that perfect contrast of a hard, sugary shell giving way to juicy, fresh fruit within. It’s a delightful dance of textures and flavors that creates an utterly delicious sweet treat. If you’ve ever dreamt of making your own, I’m about to show you the incredibly simple method for how to make Jolly Rancher grapes, right in your microwave!
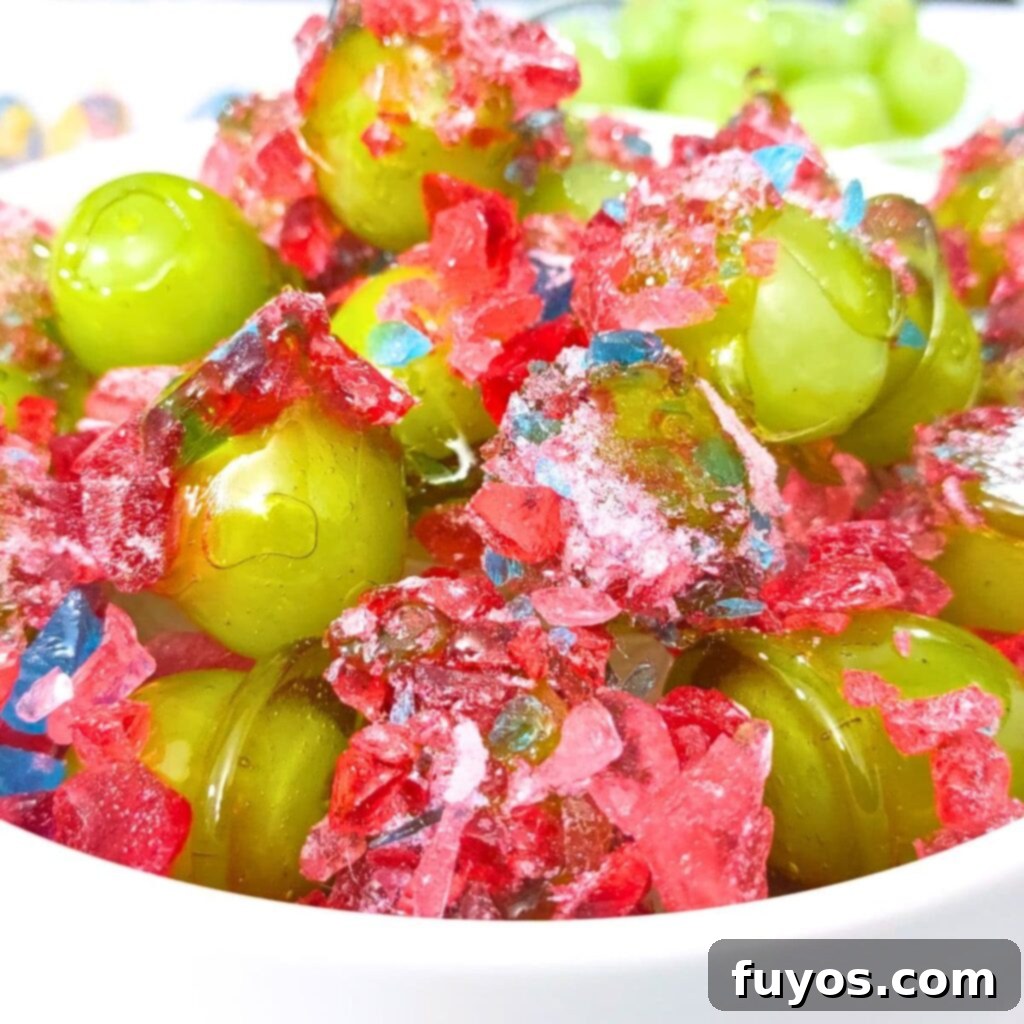
Why You’ll Adore This Candied Grape Recipe
If you’re a fan of vibrant, crunchy, and sweet snacks, these candied Jolly Rancher grapes are about to become your new obsession. You might have stumbled upon my recipe for How to Make Tanghulu in the Microwave, which highlights my love for beautiful candied fruits. However, Tanghulu can sometimes be a bit finicky to perfect. That’s precisely why, when I saw the viral trend of Jolly Rancher grapes sweeping across TikTok, I knew I had to give them a try – and share the easiest method with you!
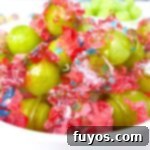
Often referred to as “crack grapes” due to their irresistible, hard candy coating, these treats feature crisp green grapes enveloped in a vibrant, flavorful candy shell. While there are numerous ways to prepare candied grapes – from boiling complex corn syrup mixtures to using pre-made candies – this particular recipe focuses on supreme simplicity and incredible results.
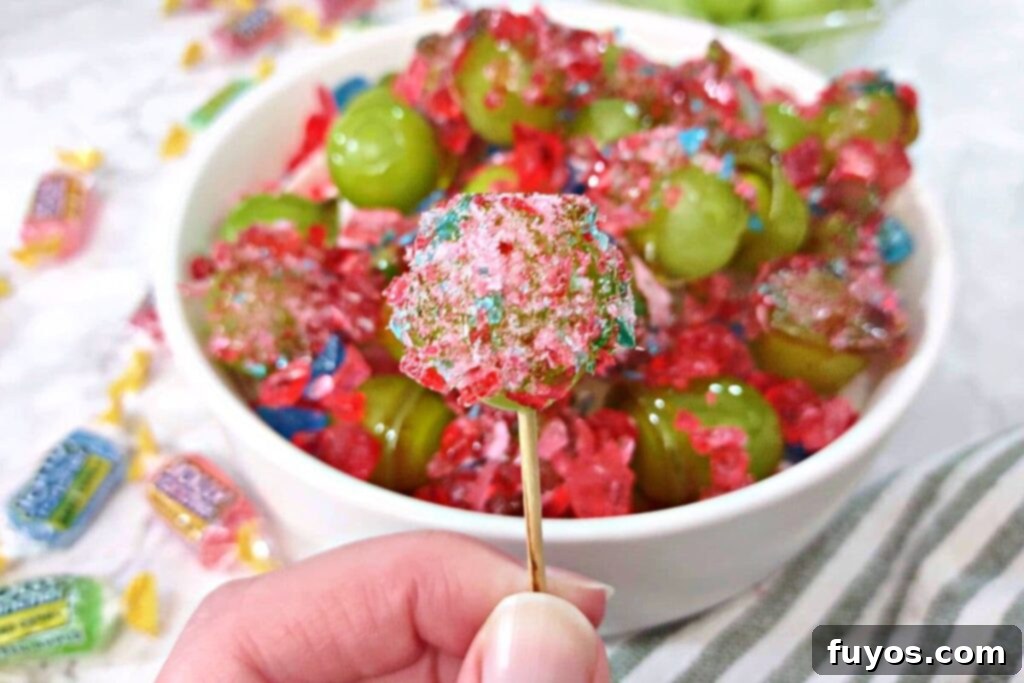
My goal was to streamline the process as much as possible, which is why we’re leveraging the humble microwave and readily available Jolly Rancher candies. The outcome is a candy shell that’s just as hard (and arguably even harder) than traditional Tanghulu, offering a similar delightful crunch and flavor, but with significantly less effort and stress. In my experience, this microwave method is far more approachable for home cooks looking for a quick and impressive dessert.
Of course, the world of candied fruit is vast and exciting, so once you’ve mastered this straightforward technique, feel free to explore other methods and find your personal favorite! But for a truly fuss-free and delicious introduction, these Jolly Rancher candied grapes are simply unmatched.
Quick + Easy Recipes
straight to your inbox
What You’ll Need: Ingredients for Candied Grapes
Gathering your ingredients for these delightful treats is incredibly simple. You only need two main components:
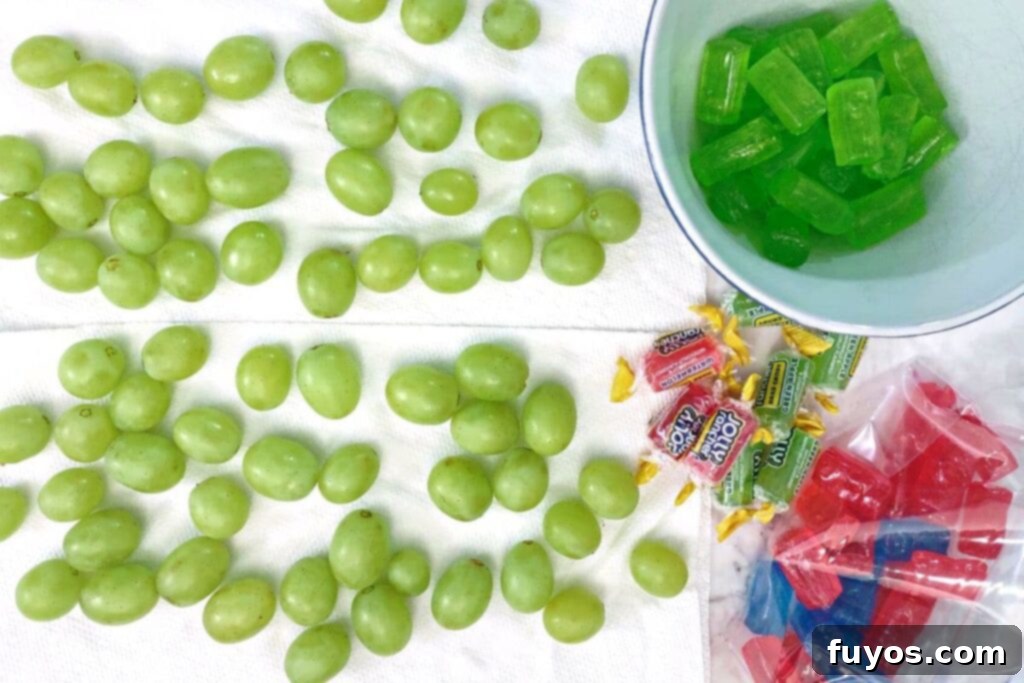
- 2 dozen green grapes: Ensure these are thoroughly washed and completely dried. Any residual moisture will prevent the candy from adhering properly and hardening to a crisp shell.
- 40 Jolly Ranchers hard candies: Feel free to choose any flavor that appeals to you! Make sure they are unwrapped and ready to melt.
special equipment note:
You’ll also need toothpicks or skewers for easy handling of the grapes, a silicone mat or wax paper to place the finished grapes on (to prevent sticking), and a microwave-safe bowl that can withstand very hot, boiling sugar.
Ingredient Notes and Creative Substitutions
While this recipe is a celebration of candied grapes, don’t limit your imagination! Here are some pointers and ways to customize your delicious creation:
- Fruit Varieties: This technique isn’t exclusive to grapes. You can technically use other small, firm fruits like blueberries, raspberries, or even small strawberries for a fun twist. Ensure any alternative fruit is also completely dry before coating.
- Jolly Rancher Colors: For the most visually appealing results, I strongly advise against mixing too many different colors of Jolly Rancher candies for your melted coating. Combining a wide array of colors often results in an unappetizing brown hue. Stick to one or two complementary colors for a vibrant, eye-catching candy shell. While other hard candies *might* work, their melting properties can vary significantly, and I haven’t tested them. Jolly Ranchers consistently deliver the best results for this microwave method.
- Add Flavoring Extracts: Jolly Ranchers come in a variety of delicious flavors, but if you want to elevate your candied grapes with an extra dimension of taste, consider adding a candy flavoring. A ½ teaspoon of an extract like cotton candy extract or even a fruit-specific extract (like strawberry or lime) can be added when you stir the candy mixture midway through the melting process. This infusion provides an exciting burst of flavor that complements the fruit and candy.
- Outer Coating Variations: The recipe calls for rolling the finished grapes in crushed Jolly Ranchers for added color, flavor, and an extra layer of crunchy texture. However, this is a fantastic opportunity for experimentation! You can substitute other crushed hard candies, or small, crunchy candies like Nerds, Pop Rocks for a fizzy surprise, or even finely crushed rock candy for a different kind of sparkle. Each choice will create a unique and fun variation!
How to Make Jolly Rancher Grapes: Step-by-Step Microwave Method
This method is surprisingly quick and simple, making it perfect for a last-minute treat or a fun kitchen activity. Remember to work quickly once the candy is melted, as it hardens fast!
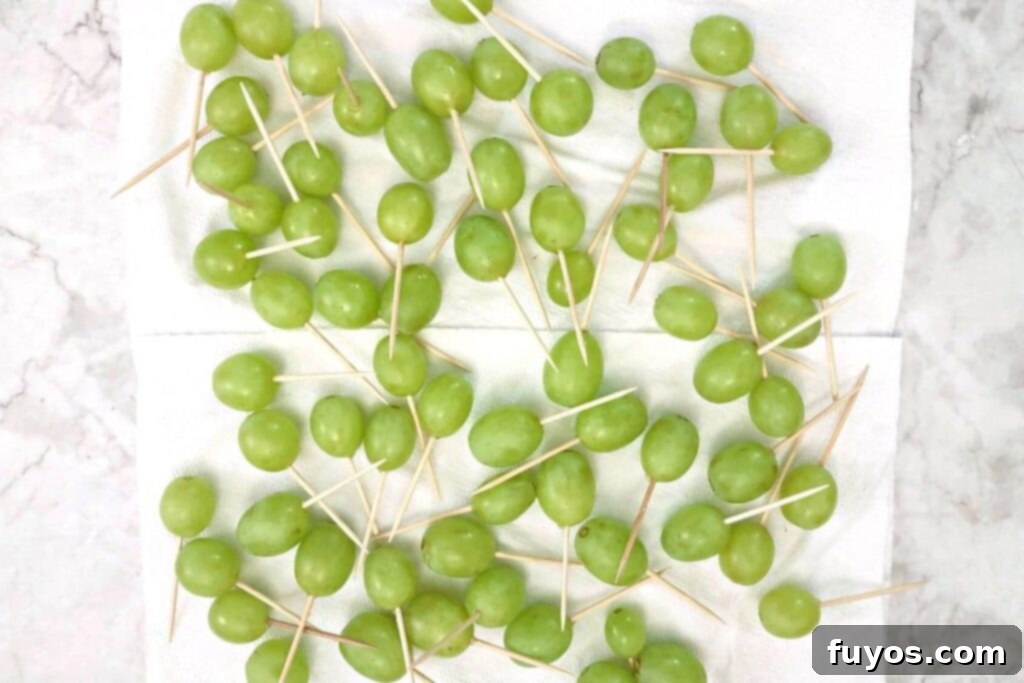
- Prepare Your Grapes: Begin by washing your green grapes thoroughly and ensuring they are completely dry. Moisture is the enemy of a perfectly hard candy shell! Once dry, carefully insert a toothpick into the round end (opposite the stem side) of each grape. These will serve as handles for dipping.
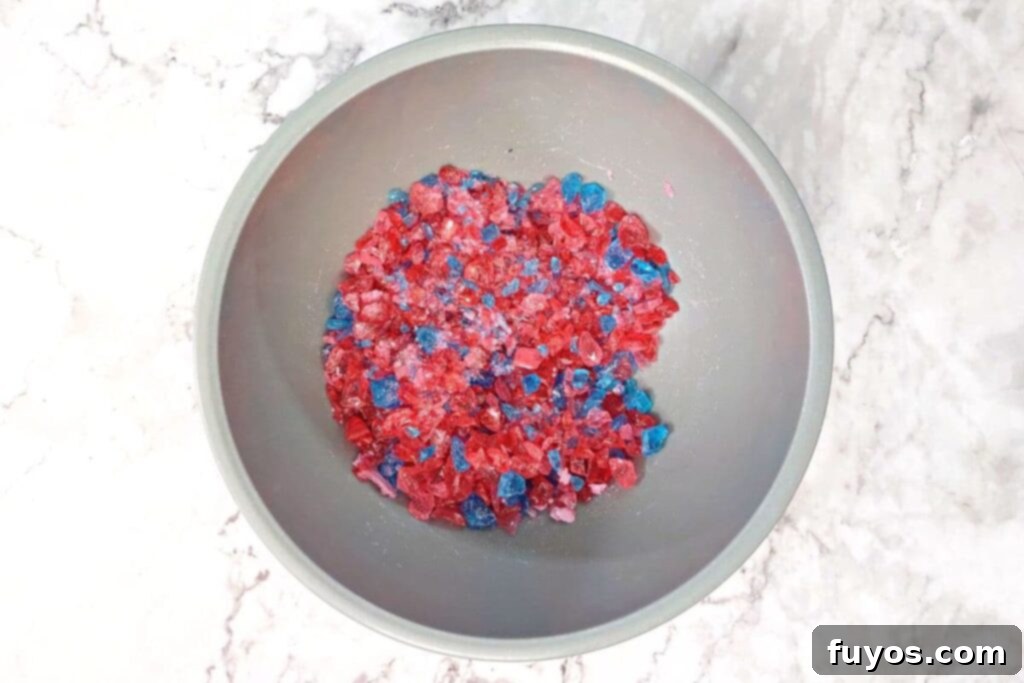
- Crush Initial Jolly Ranchers: Take about 15 of your unwrapped Jolly Ranchers and crush them into small to medium-sized pieces. You want a good amount of fine powder mixed with small candy shards for optimal sticking. You can achieve this by using a food processor, a blender, a mortar and pestle, or the simplest method: place them in a sturdy Ziploc bag and gently but firmly tap them with a meat mallet, rolling pin, or another heavy object. Once crushed, place them in a small bowl, ready for coating.
- Prepare Candies for Melting: Place the remaining 25 unwrapped Jolly Ranchers candies into a microwave-safe dish. For best aesthetic results, I recommend sticking to a maximum of two complementary colors for this batch. This helps prevent the candy from turning a muddy brown color.
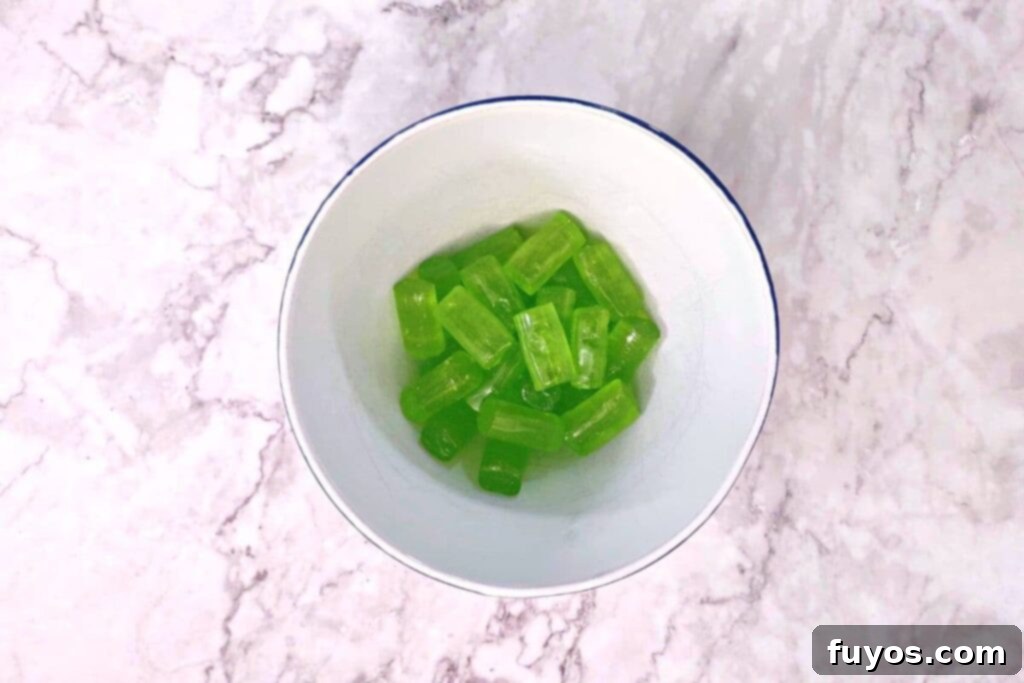
- First Microwave Melt: Microwave the candies on high for 60 seconds. At this point, the candies should begin to melt and appear gummy. Carefully remove the bowl (it will be hot!) and stir the mixture with a spoon. This helps to distribute the heat and start the melting process evenly.
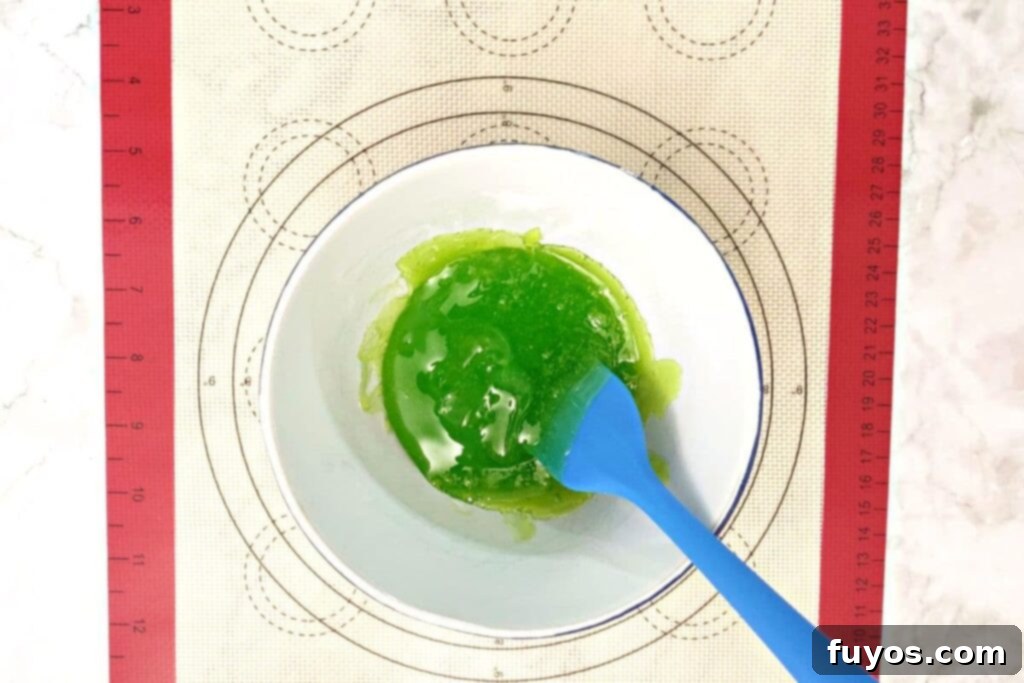
- Complete Melting: Return the bowl to the microwave and heat on high for an additional 30 seconds. By now, the mixture should be fully melted, smooth, and bubbly. Stir it well one last time to ensure consistency.
- Dip the Grapes: This step requires speed and caution! The melted candy is extremely hot. Working quickly, hold a grape by its toothpick and dip it into the hot melted Jolly Ranchers, turning it to coat thoroughly. Allow any excess candy to drip off back into the bowl. Be very careful to avoid touching the hot candy.
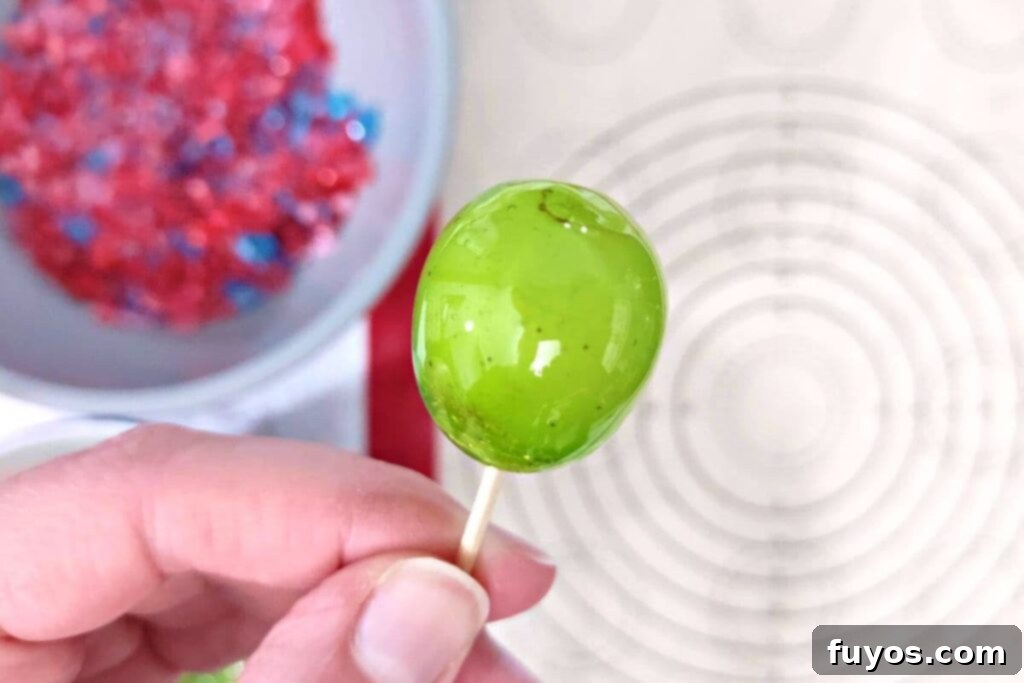
- Apply Crushed Candy: While the candy coating on the grape is still warm and tacky, immediately roll the coated grape in the bowl of crushed Jolly Rancher candies you prepared earlier. Ensure it’s fully covered for that extra crunch and visual appeal.
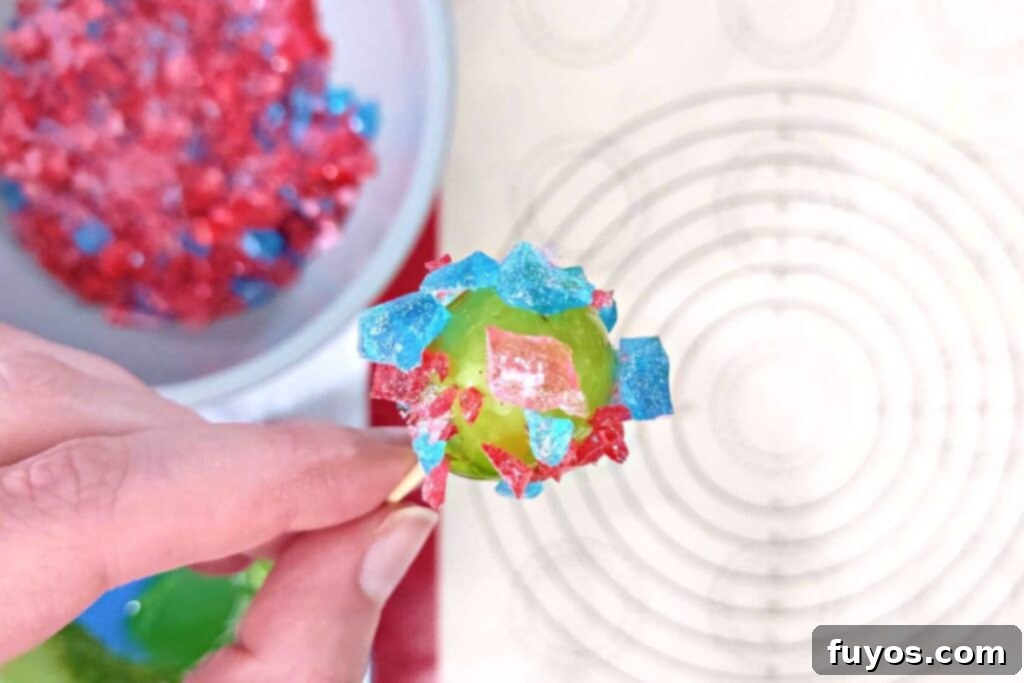
- Cool and Harden: Gently place the coated grape onto a piece of wax paper or a silicone baking mat, with the toothpick facing upwards if possible (some might still tip over, which is fine). This allows the candy to cool and harden without sticking.
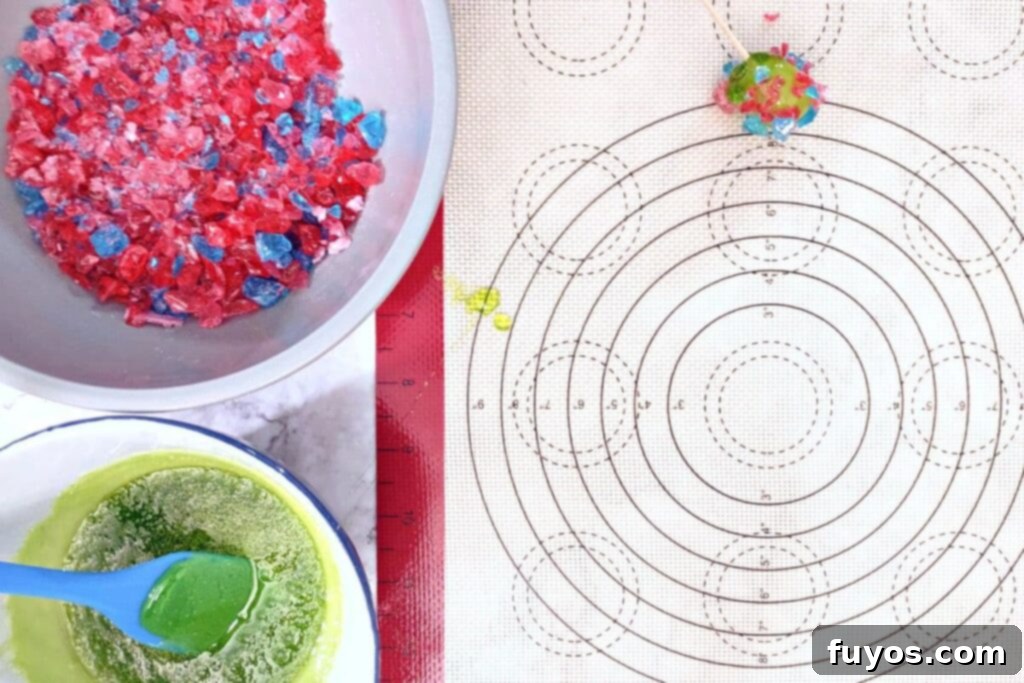
- Repeat the Process: Continue dipping and coating the remaining grapes until all are finished. If your melted candy starts to harden in the bowl, simply return it to the microwave for 15-20 seconds to re-warm and soften it.
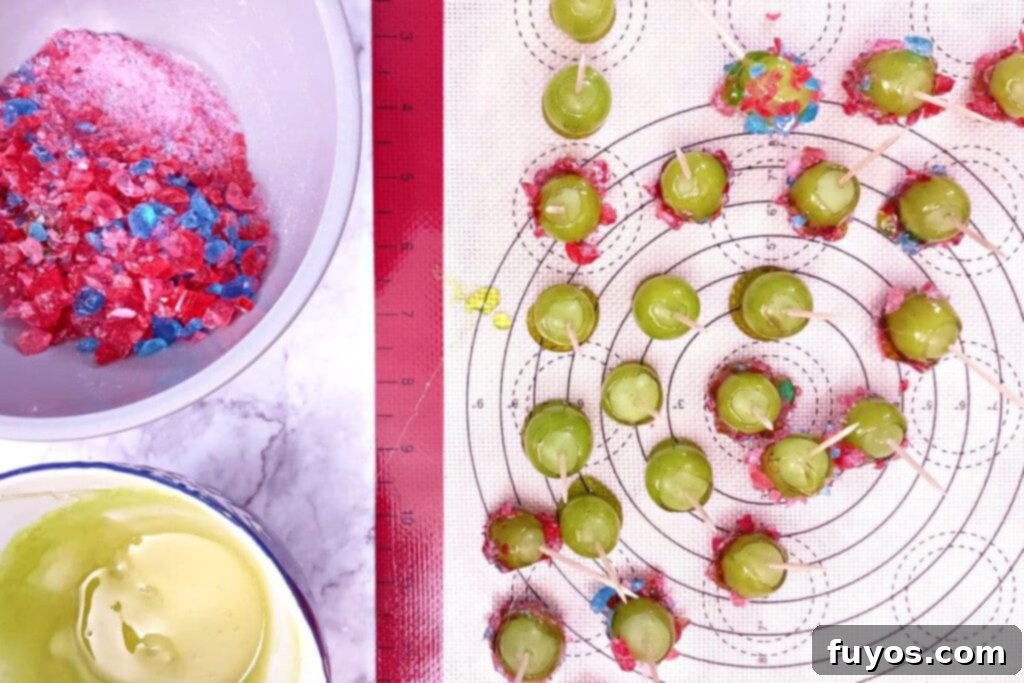
- Enjoy Your Treat: The candied grapes will cool and harden completely in about 3-5 minutes, creating a satisfyingly crisp shell. Once firm, they are ready to be enjoyed immediately!
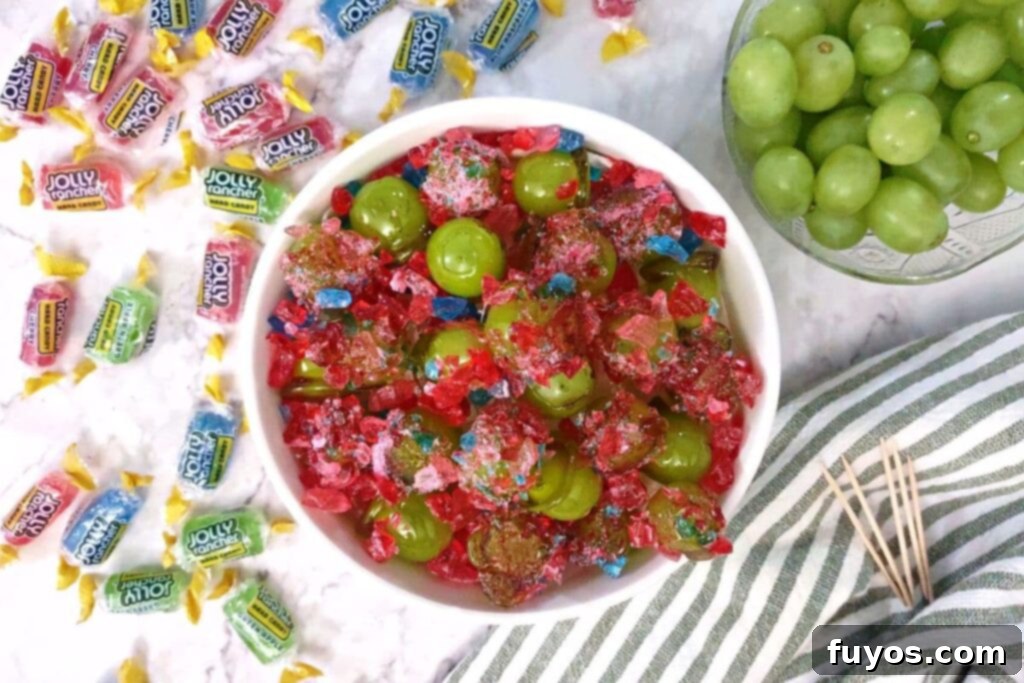
Serving Suggestions: What to Pair with Candied Grapes
While these crunchy, sweet Jolly Rancher grapes are undeniably delicious on their own, their vibrant colors and exciting texture make them incredibly versatile. Here are some fantastic ideas for serving them:
- Dessert Topping: Use them as a whimsical garnish for cakes, cupcakes, cheesecakes, or a simple bowl of vanilla ice cream. Their crunch adds a delightful contrast.
- Smoothie or Drink Garnish: Skewer a few candied grapes and use them to adorn your favorite smoothies or cocktails. They add a pop of color and an extra layer of sweetness.
- Fruit Salad Upgrade: Toss a few into a fresh fruit salad for an unexpected sugary crunch.
- Charcuterie Boards: Add them to a dessert-focused charcuterie board alongside cheeses, nuts, and other sweet treats for an elegant touch.
- Standalone Snack: Of course, they are perfect for simply popping off the toothpick and enjoying as a delightful snack any time of day!
These Jolly Rancher candied grapes would pair exceptionally well with my Pineapple Green Apple Smoothie for a refreshing complement, a creamy Green Pina Colada Smoothie, a summery Ginger Peach Sangria, or even a zesty Raspberry Vodka Lemonade.
Common Questions About Candied Grapes (FAQs)
How Long Do Candy Grapes Last?
Candy grapes will stay fresh for up to a week if stored properly in the refrigerator. For longer storage, they can be kept in the freezer for up to 3 months. When serving from the freezer, it’s generally recommended to allow them to defrost slightly, especially for children, as they can be quite hard.
Why Didn’t My Candy Grapes Get Hard?
The most common reasons for candy grapes not hardening are too much moisture on the fruit or the sugar not reaching a high enough temperature. Always ensure your grapes are completely dry before dipping. When melting the Jolly Ranchers, watch for a bubbly, fully liquid consistency, indicating it’s hot enough. If you’re struggling, placing the coated fruit in the freezer for a few minutes can help solidify the coating. Keep in mind that while Jolly Ranchers create a firm shell, they might not achieve the exact glass-like crunch of boiled sugar syrup, but this method is significantly easier!
How Do I Keep Candied Grapes From Melting?
To prevent your candied grapes from melting, the key is to store them in a cool, dark environment. The refrigerator is the ideal place for this. If you opt to freeze them for extended storage, remember to thaw them in the refrigerator for easier and more enjoyable eating.
How Do You Clean Grapes For Candy Grapes?
For perfectly clean grapes ready for candying, place them in a colander under cool running water. Use your hands to gently turn and rinse them thoroughly several times. After rinsing, shake off any excess water and then spread the grapes out on a clean towel or paper towels to air dry completely. It’s crucial they are bone-dry before you start dipping!
What Do Candied Grapes Taste Like?
Candied grapes offer a delightful explosion of flavor, essentially tasting like a juicy grape encased in a sweet, crunchy candy shell. When using Jolly Ranchers, the candy provides its distinct fruit flavor, which perfectly complements the fresh grape. You can further customize this experience by choosing different Jolly Rancher flavors or by adding extracts, such as a popular cotton candy flavoring, to create a truly unique and personalized treat.
Recipe Pro Tips for Perfect Candied Grapes
Achieving perfectly coated Jolly Rancher grapes is all about a few key details. Keep these professional tips in mind for the best results:
- Achieve a Thin Candy Coating: It’s tempting to apply a thick layer, but try your best to get a relatively thin candy coating by allowing any excess melted candy to drip off the grapes before applying the crushed candy. Where the candy pools (especially near the bottom), it will become very hard and dense, making it difficult to bite into without potentially hurting your teeth. A thinner, even coating provides the ideal crunch-to-juice ratio.
- Don’t Skip the Crushed Candy Powder: Getting a generous amount of crushed candy powder onto the grape while the coating is still warm and tacky serves a dual purpose. Firstly, it adds fantastic flavor and texture. Secondly, and importantly, it helps to absorb any slight stickiness and prevents the melted candy from spreading or pooling unevenly as it cools. I’ve tried making them without this additional coating, and while they still taste good, they are much stickier and harder to eat cleanly.
- Adjust Melting Time for Smaller Batches: If you decide to scale down the recipe to make a smaller quantity (e.g., half a dozen grapes), remember to adjust the initial microwave cooking time for the Jolly Ranchers. Start with about 30 seconds for the first melt, then stir and add more time in 10-15 second increments if needed. It’s always easier to add more melting time than to recover from overcooked, burnt candy. You want it just melted and bubbly, not scorched.
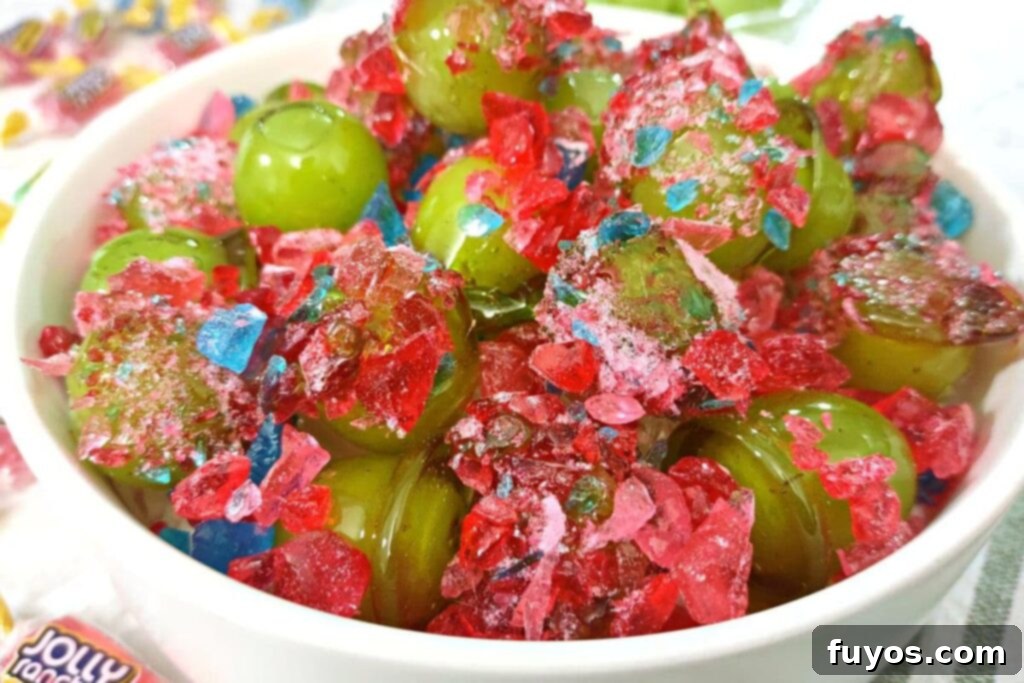
Storage Tips for Freshness
To keep your delightful Jolly Rancher grapes fresh and crunchy, follow these simple storage guidelines:
- Refrigeration is Key: For the best quality and extended freshness, candied grapes should be stored in an airtight container in the refrigerator. They will maintain their delicious crunch for about a week.
- Freezing for Long-Term: You can also freeze them for up to 3 months. However, for a more enjoyable eating experience, especially for children, I highly recommend defrosting them in the refrigerator for an hour or two before serving. This prevents them from being too hard to bite.
More Easy Microwave Sweets
Easy Homemade Microwave Chocolate Sauce
Microwave Chocolate Covered Strawberries (Easy Recipe)
Lucky Charms Rice Krispie Treats Microwave Recipe
Easy Microwave Peppermint Bark Recipe for Holiday Sweets
Microwave Lemon Mug Cake: 5 Minute Cake in a Cup!
Tiramisu Mug Cake: Easy Microwave Dessert for 1!
Final Thoughts: Your New Favorite Candied Treat
Now that you’re armed with the incredibly simple method for how to make Jolly Rancher grapes, thanks to the magic of your microwave, get ready to crave them all the time! This recipe transforms ordinary grapes into an extraordinary treat, delivering the perfect symphony of crunchy candy, juicy fresh fruit, and irresistible sweetness.
I personally love to enjoy these vibrant candied grapes chilled, especially as a refreshing and fun snack during warmer months. However, their versatility extends far beyond just a standalone treat. They make fantastic and eye-catching toppings for a variety of other baked goods, desserts, and even creative garnishes for your favorite drinks.
Don’t be afraid to get creative and truly make this recipe your own! Experiment with different flavors of Jolly Ranchers for your outer coating, or try substituting other crushed candies like Nerds or Pop Rocks for a unique texture and flavor experience. You can also play around with adding various candy flavorings or even swap out the grapes for other small fruits. For instance, I’ve had great success with Jolly Rancher Strawberries, which are absolutely perfect for a taste of spring. No matter how you customize them, these easy candied grapes are guaranteed to be a hit!
How to Make Jolly Rancher Grapes in the Microwave
Equipment
-
Microwave
-
Bowl safe for microwave use with hot sugar
-
Toothpicks (or similar)
-
Wax paper or silicone baking mat
Ingredients
- 24 Green grapes (washed and thoroughly dried)
- 40 Jolly Ranchers hard candies, any flavor, unwrapped (divided)
Instructions
-
Insert a toothpick into the round end (opposite the stem side) of each of your clean, dry grapes24 Green grapes
-
Crush 15 of the Jolly Ranchers into small-to-medium sized pieces (you want a lot of powder so it sticks well). You can do this in a food processor, blender, mortar and pestle, or by putting them in a Ziploc and hitting them with a meat mallet, rolling pin, or something else sturdy. Place them in a small bowl when finished40 Jolly Ranchers hard candies, any flavor, unwrapped
-
Place the remaining 25 unwrapped Jolly Ranchers candies (I recommend two colors maximum) into a microwave safe dish
-
Microwave on high for 60 seconds (candies should begin to melt and look gummy), then stir
-
Return to microwave and microwave on high for an additional 30 seconds until the mixture is fully melted and bubbly
-
Working quickly, hold a grape by the toothpick and dip into the hot melted Jolly Ranchers, turning it to coat thoroughly. Use caution, as the sugar is very hot; an adult should always do this part
-
While still warm, immediately roll the coated grape in the bowl of crushed Jolly Rancher candies
-
Place the grape onto a piece of wax paper or a silicone baking mat, toothpick facing up (as best you can, some will still tip over)
-
Repeat until all the grapes are coated (you can re-warm the coating in the microwave for 15-20 seconds if it starts to harden on you)
-
The candied grapes will cool and harden in 3-5 minutes, and are ready to enjoy!
Notes
- While this recipe is designed around candied grapes, you can technically use other small fruits as well. I also enjoy blueberries!
- I recommend not mixing too many different colors of Jolly Rancher candies, or you’ll get an unattractive brown coating! While other hard candies may work as well, I’ve not tested them
- Jolly Ranchers do have flavors of their own. However, if you want to use a candy flavoring such as cotton candy extract, add a ½ tsp in when you stir the candy mixture midway during melting
- The candied grapes are rolled in crushed Jolly Ranchers for color, flavor, and texture here. However, you can substitute other crushed hard candies, or small candies like Nerds, Pop Rocks, or rock candy instead for a fun variation!
- Try your best to get a relatively candy thin coating by letting excess drip off the grapes. Anywhere the candy pools (like near the bottom) will be very hard and you won’t be able to bite it (or you’ll hurt your teeth)
- Getting a good amount of crushed candy powder on while the coating is warm helps keep the candy from spreading and pooling. I’ve tried them without the additional candy coating and, while they taste good, they’re much harder to eat
- If you scale down the recipe to make a smaller quantity, adjust the first cooking time down to 30 seconds to start. You can always add more time, but don’t want to overcook and burn your candy
- Candied grapes should be stored in the refrigerator for best results, and last for about a week
- You may also freeze them for up to 3 months. However, I recommended defrosting before eating, especially for kids
- Exact nutritional values will vary based on brand and flavor of ingredients, any swaps or additions, and quantity consumed, so please consider this a guideline only
Nutrition
Number of total servings shown is approximate. Actual number of servings will depend on your preferred portion sizes.
Nutritional values shown are general guidelines and reflect information for 1 serving using the ingredients listed, not including any optional ingredients. Actual macros may vary slightly depending on specific brands and types of ingredients used.
To determine the weight of one serving, prepare the recipe as instructed. Weigh the finished recipe, then divide the weight of the finished recipe (not including the weight of the container the food is in) by the desired number of servings. Result will be the weight of one serving.
Did you try this recipe?
Mention @TheDinnersDoneQuick or tag #dinnersdonequick! for even more!
Pin Recipe
Leave A Review
