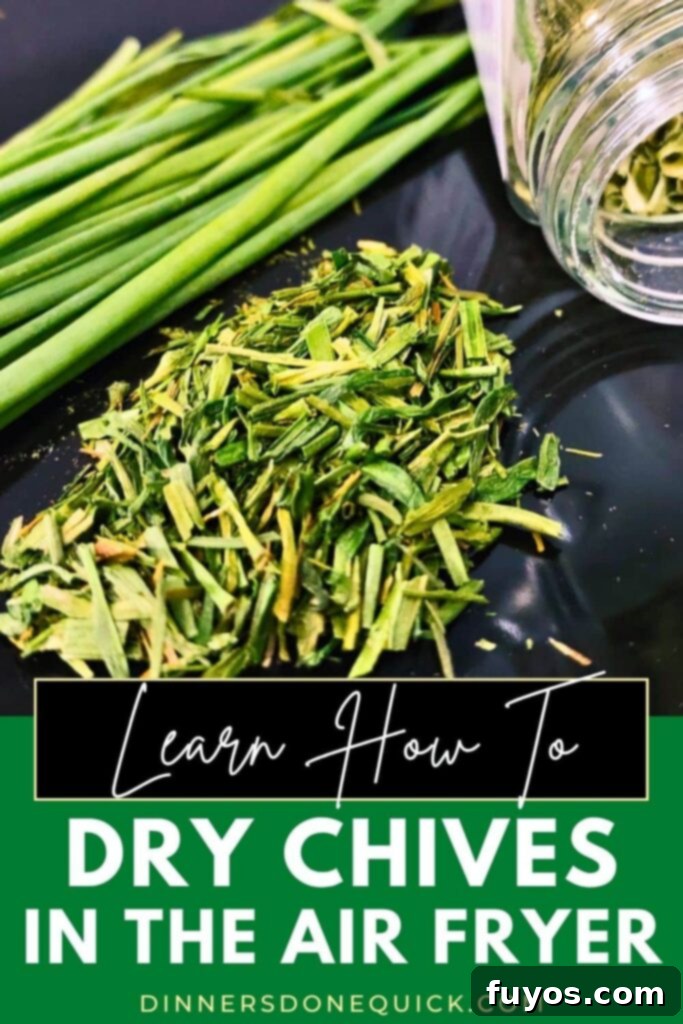
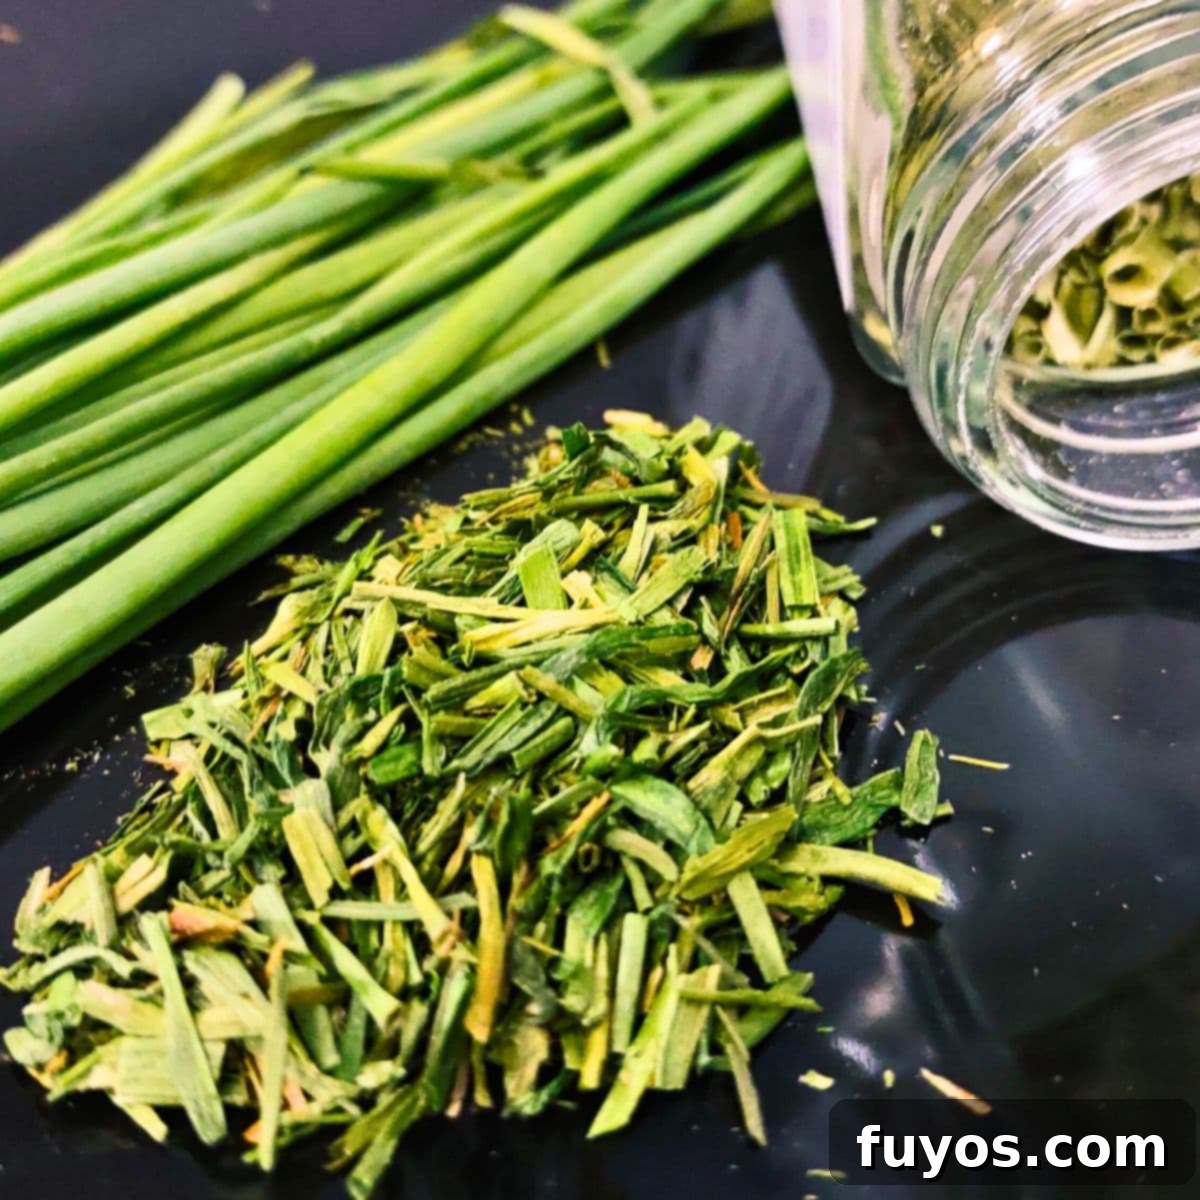
How to Dry Chives in the Air Fryer: Your Ultimate Guide to Quick & Easy Herb Dehydration
Chives are an incredibly versatile herb, cherished for their mild onion flavor and vibrant green color. They make a fantastic topping, garnish, or ingredient in countless dishes, elevating everything from scrambled eggs to gourmet soups. If you’re like me, your chive plant might grow with surprising vigor, leaving you with an abundant harvest. The good news? You no longer have to worry about this delightful herb going to waste! Once you learn how to dry chives in the air fryer, you’ll unlock a secret for preserving their fresh taste and aroma for months. This method is remarkably fast, efficient, and ensures you always have a supply of homemade dried chives on hand, perfect for adding a touch of freshness to your meals year-round. Say goodbye to store-bought dried herbs and embrace the simplicity of air fryer herb dehydration!
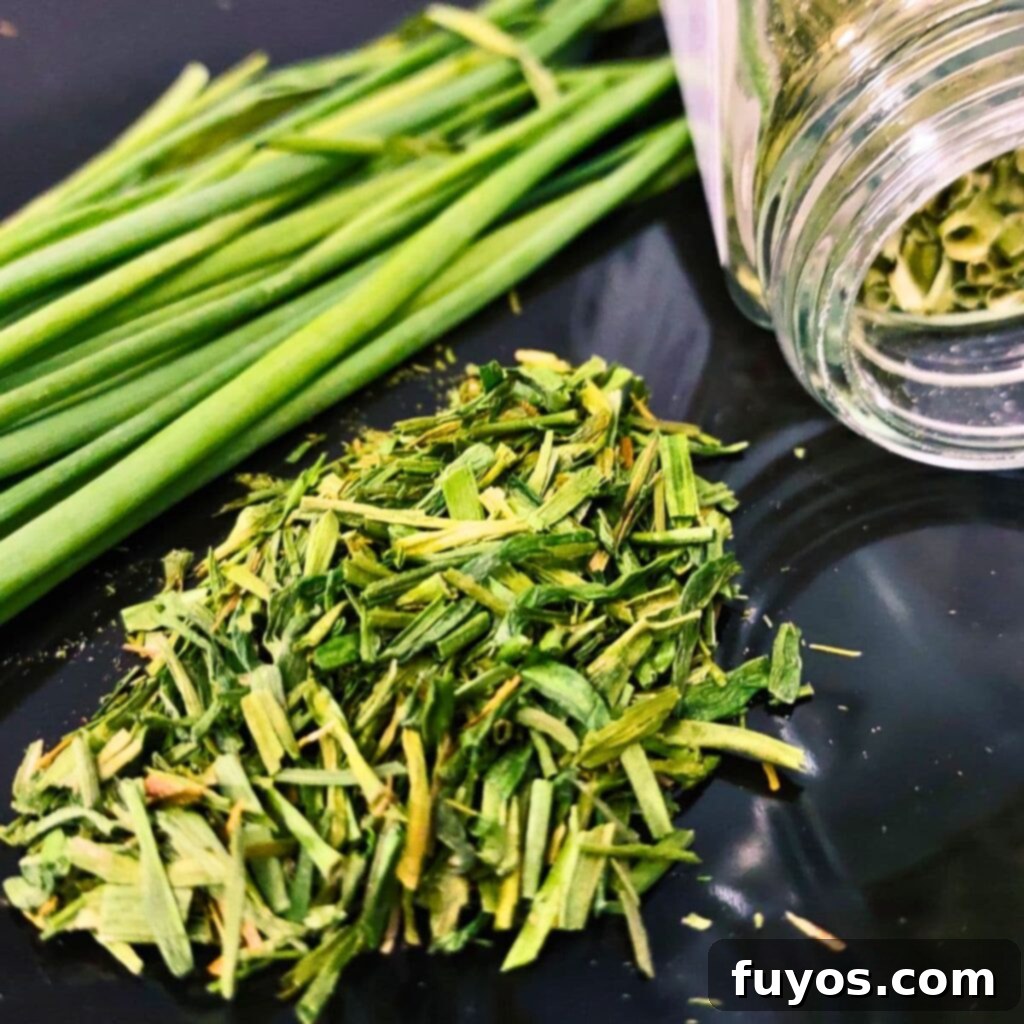
Why You’ll Love This Air Fryer Chives Drying Method
Drying fresh chives in your air fryer isn’t just a kitchen hack; it’s a game-changer for anyone looking to make the most of their herbs. Here’s why this method stands out:
- Incredibly Quick. Forget hours of oven drying or days of air-drying. In just a few minutes, typically 2-3 minutes of active air frying time, you’ll be able to quickly and easily dry fresh chives. This rapid dehydration means you can process even a large batch in under 15 minutes, making it a highly efficient way to preserve herbs. Once completely dehydrated, your homemade dried chives will be ready to store away in a spice jar for later use.
- Remarkably Simple. You don’t need special equipment or extensive culinary skills. The process is straightforward: prepare your chives, spread them in the air fryer, and let the appliance do the work. You won’t need to spend a lot of time turning or constantly tending to the chives. Depending on the size of your air fryer basket, you can dehydrate a decent amount at once, making it incredibly convenient and low-effort.
- Reduces Waste & Preserves Flavor. Whether you have grocery store leftovers that are about to wilt or an abundant harvest from your own herb garden, this method allows you to preserve fresh herbs for later use. Dehydrated chives, when stored properly, keep well for up to a year, maintaining their distinctive mild onion flavor much better than store-bought varieties. This not only helps you save money but also ensures you always have flavorful herbs ready to enhance your cooking.
Katie’s Top Tip
For an alternative method if you don’t own an air fryer or prefer another quick option, learn about drying chives in the microwave instead! It’s another excellent way to preserve your herbs quickly.
Quick + Easy Recipes
straight to your inbox
How to Dry Chives in an Air Fryer: Step by Step for Perfect Dehydration
Drying chives in an air fryer is a surprisingly simple process that yields perfectly preserved herbs in a fraction of the time compared to other methods. Follow these easy steps to turn your fresh chives into a pantry staple:
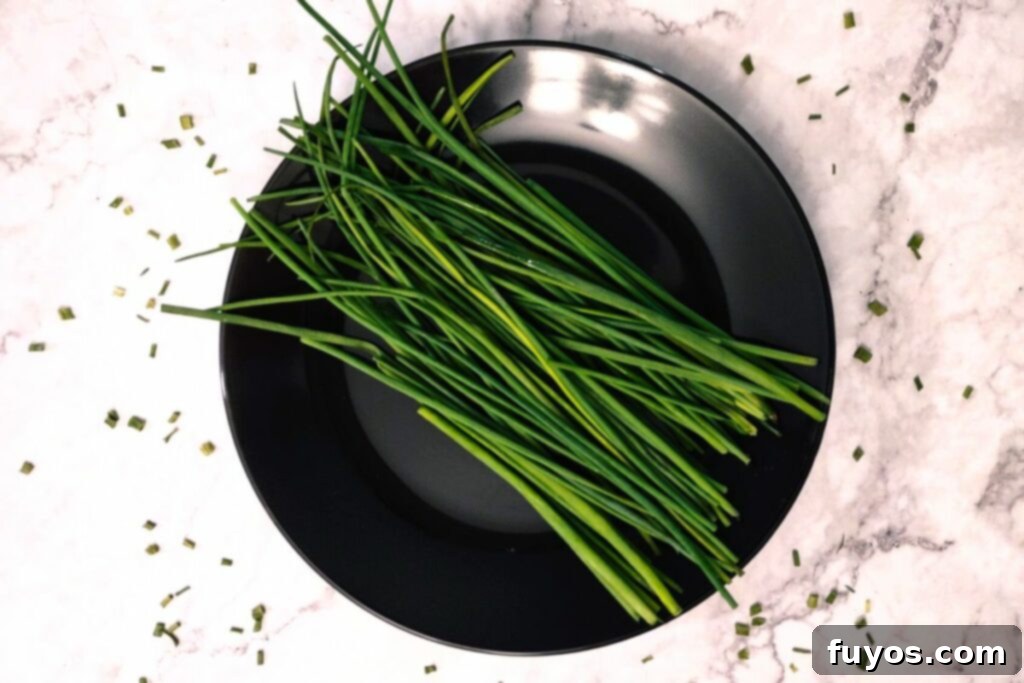
- Prepare Your Fresh Chives: Begin with a generous bunch of clean, dry, fresh chives. It’s crucial to ensure they are thoroughly washed to remove any dirt or debris, and then patted completely dry. Excess moisture can lead to steaming rather than drying, or even mold during storage. Before you start, remember to remove any chive flowers or roots – we are only interested in drying the green leaves for the best flavor and texture.
- Preheat Your Air Fryer: For optimal and even drying, always preheat your air fryer. Set it to 350°F (175°C) and allow it to come to temperature according to your manufacturer’s guidelines. Preheating ensures a consistent cooking environment from the moment your chives enter the basket.
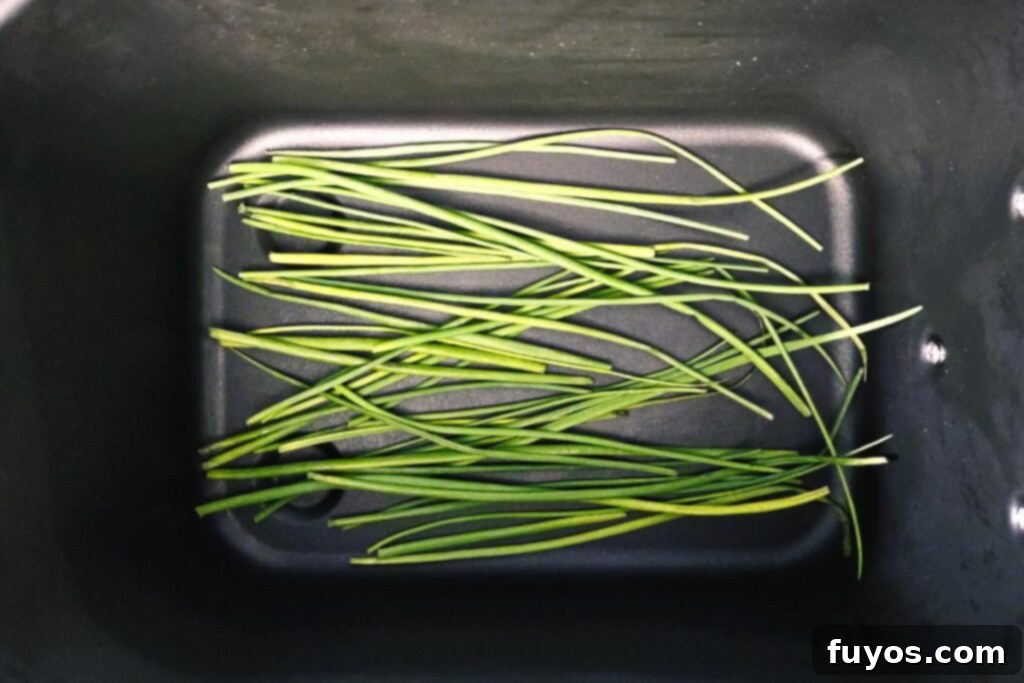
- Arrange Chives in the Air Fryer Basket: Once your air fryer is preheated, carefully arrange your chives in a single layer in the air fryer basket. It’s important not to overcrowd the basket, as this can impede airflow and result in uneven drying. If you have a large quantity of chives, it’s best to cook them in small batches. You may need to trim the chives slightly to fit within the basket, but try to leave them as long and whole as possible. Longer pieces are less likely to blow around during the air frying process.
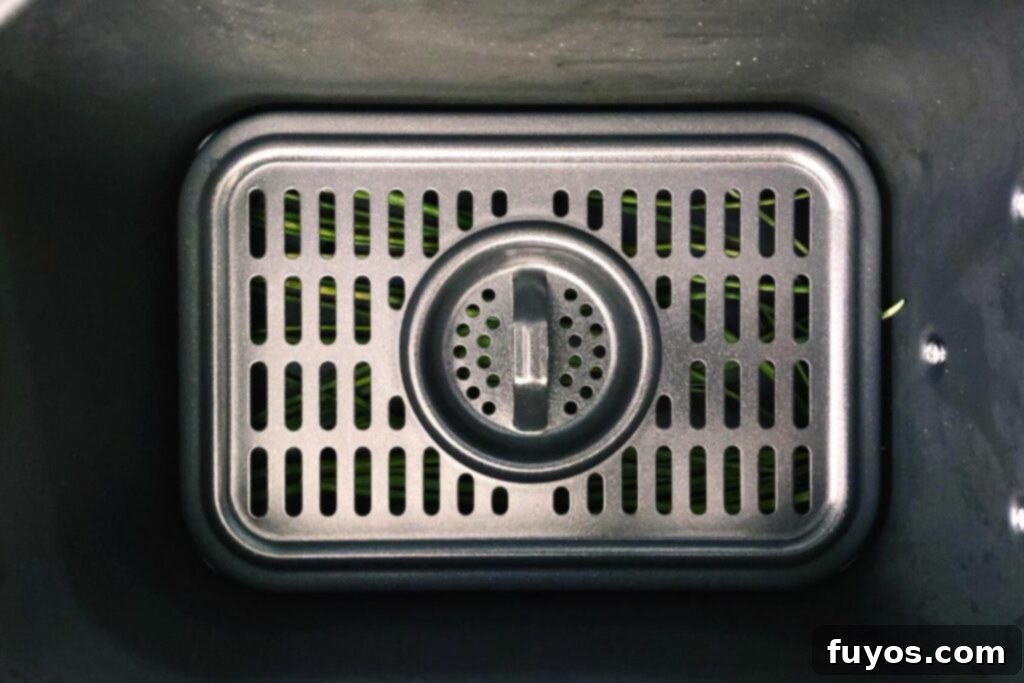
- Secure the Chives: Chives are very light and can easily be blown around by the powerful air circulation inside the air fryer. To prevent this, cover the chives with a light rack, trivet, or even another air fryer tray if your model comes with one. This acts as a weight, keeping the delicate herbs in place and ensuring they dry evenly without flying into the heating element.
- Air Fry to Dehydrate: Place the basket back into the air fryer and air fry at 350°F (175°C) for 2-3 minutes. Keep a close eye on them during this short cooking time. The chives are done when they are dry and crinkly to the touch, and easily crumble.
- Check for Doneness & Continue if Needed: After the initial 2-3 minutes, carefully open the air fryer and check your chives. If they haven’t reached the desired dryness, gently shake the basket to redistribute them and continue cooking in 1-minute increments. Re-check after each minute to avoid overcooking. A crucial tip: If your chives turn brown or black, they are overcooked and may have a bitter taste, so it’s better to undercook and add more time than to burn them.
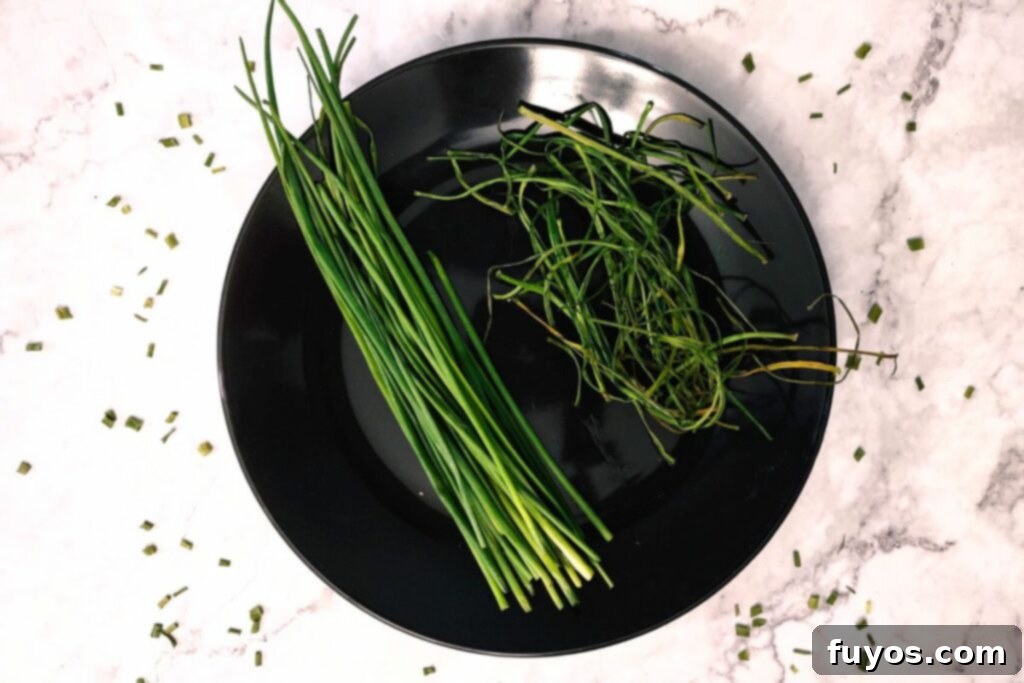
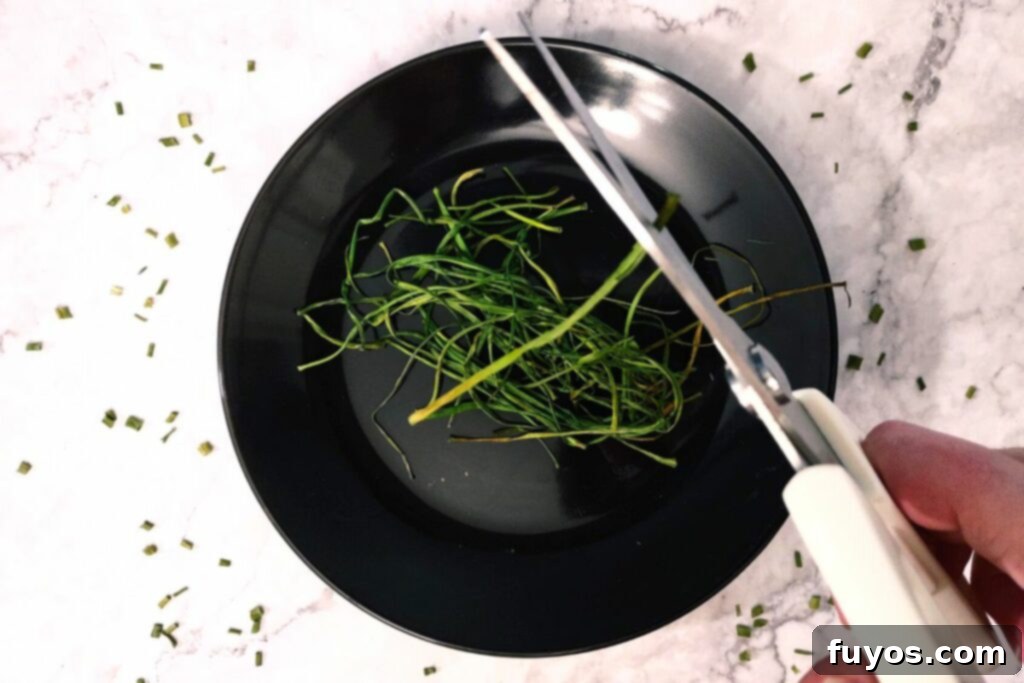
- Cool and Cut: Once fully dried, remove the chives from the air fryer basket and let them cool completely on a clean surface. Cooling helps them become crispier. After cooling, cut them to your desired length. I typically go for about ¼-inch long pieces using a chef’s knife, sharp kitchen shears, or specialized herb scissors for uniform results. The choice is yours based on how you plan to use them.
- Store for Longevity: The final step to enjoying your air fryer dried chives year-round is proper storage. Store them in an airtight container or a dedicated spice jar. Ensure the container is completely dry before adding the chives. Stored correctly in a cool, dark place, your homemade dehydrated chives will retain their flavor and potency for 6-12 months.
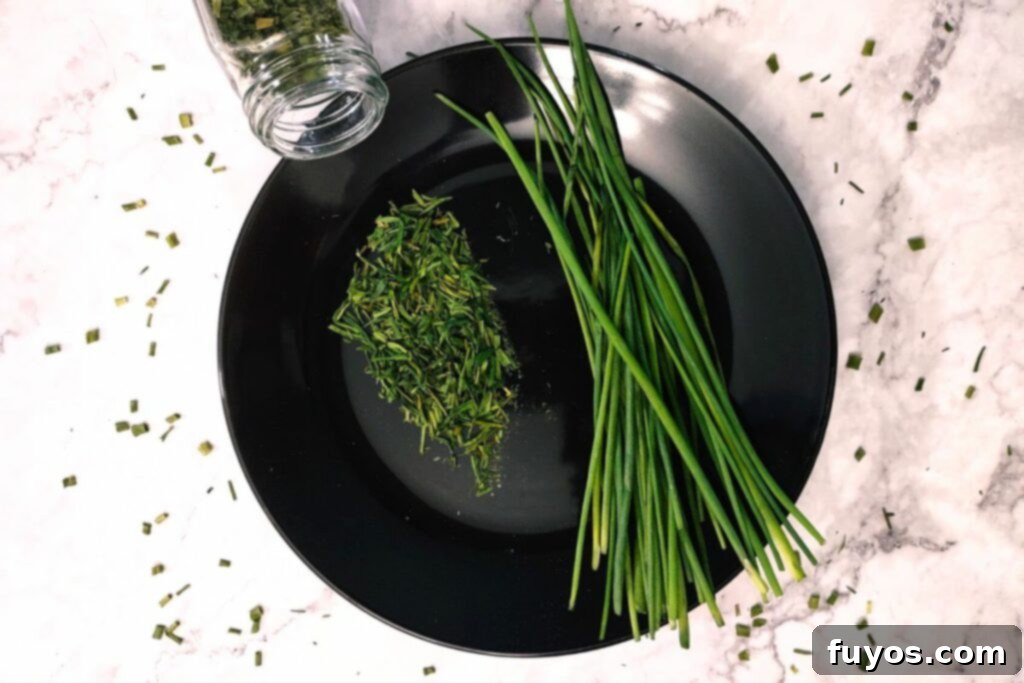
What You’ll Need for Air Fryer Dried Chives
Gathering your supplies before you start ensures a smooth and efficient process for drying chives in your air fryer. Here’s a simple list of what you’ll need:
- Fresh Chives: As much as you have on hand! Ideally, from your garden or a fresh bunch from the grocery store.
- Air Fryer: Any model will work, but larger baskets can accommodate more chives at once.
- Air Fryer Rack, Trivet, or Shelf: Essential for preventing the light chives from flying around inside the air fryer.
- Kitchen Shears, Chef’s Knife, or Herb Scissors: For trimming and chopping the dried chives to your desired size.
- Airtight Storage Container: Glass jars or spice jars are perfect for long-term storage.
- Paper Towels or Clean Kitchen Towel: For washing and thoroughly drying your fresh chives.
How to Use Your Homemade Dried Chives
Once you have a jar full of homemade dried chives, you’ll find endless culinary applications for them. Their delicate, mild onion flavor can enhance a wide array of dishes. Here are some popular and delicious ways to incorporate them into your cooking:
- Rehydrate if Needed: While you can certainly sprinkle dried chives directly onto dishes, especially when used as a garnish or added to liquids, rehydrating them first can truly bring out their subtle flavor and aroma. Simply place them in a small bowl with a little warm water for 5–10 minutes, then drain before adding to your recipe. This step is particularly beneficial for dishes where moisture isn’t already present.
- Add To Everything! Dried chives are incredibly versatile. Sprinkle them into scrambled eggs, omelets, and frittatas for an instant flavor boost. They are a classic topping for baked potatoes or mashed potatoes, pairing beautifully with butter, sour cream, and cheese. Enhance the depth of flavor in dips, homemade salad dressings, soups, stews, and sauces. You can even infuse chives into softened butter to create a savory chive butter, perfect for spreading on bread or melting over vegetables. Don’t forget savory baked goods, like my personal favorite, Bacon Cheddar Scones, where chives add a delightful savory note.
- As a Finishing Touch: Due to their delicate flavor, dried chives are often best added towards the end of the cooking process or used as a garnish. This helps preserve their fresh taste and prevents them from becoming bitter or losing their potency. I love to use them as a vibrant, flavorful sprinkle over main courses, such as after I reheat salmon in the air fryer. A sprinkle of dried chives adds a pop of color and an extra layer of flavor that truly finishes the dish.
More Recipes Using Dried Chives
Creamy Air Fryer Leek and Potato Soup – Easy & Comforting
Easy Air Fryer Mini Ham and Cheese Quiche with Crust
Air Fryer Eggs Benedict Recipe: Up Your Brunch Game!
Air Fryer Egg Salad: Easy Creamy Sandwich Filling!
Frequently Asked Questions About Drying Chives in an Air Fryer
Can You Dry Chives in an Oven?
Yes, you can absolutely dry chives in an oven as well. To do so, first wash and thoroughly dry your fresh chives, then cut them into approximately ¼-inch long segments. Spread them in a single layer on a baking sheet and bake at the lowest temperature setting your oven can be set to (ideally under 200°F/90°C) for about 1-2 hours. You’ll need to check on them regularly, perhaps every 15-20 minutes, to ensure they don’t burn or overcook, as oven temperatures can fluctuate. However, this method generally takes much longer and often heats up your entire house, making the air fryer a significantly more convenient and energy-efficient choice for dehydrating chives, especially for smaller batches.
Can You Dry Herbs in an Air Fryer Without a Dedicated Dehydrator?
Yes, absolutely! You can indeed dry a variety of herbs like chives in an air fryer even if you don’t have a dedicated dehydrator function or a stand-alone dehydrator appliance. The air fryer’s powerful convection heating and fan rapidly circulate hot air, effectively removing moisture from herbs. The key is to use a low temperature setting (around 300-350°F or 150-175°C) and to check frequently, as delicate herbs can dry very quickly—typically within 2-5 minutes, depending on the type and quantity of herbs, and your specific air fryer model. Just be sure to use a rack or trivet to prevent them from blowing around.
Can You Freeze Fresh Chives as an Alternative Preservation Method?
Absolutely! Freezing is another excellent and effective way to preserve fresh chives, especially if you prefer to retain their fresh texture and flavor for longer periods. Simply wash and thoroughly dry them (this is crucial to prevent ice crystals), then chop them to your desired size. You can then store them in a freezer-safe bag, removing as much air as possible, or an airtight container. Another popular method is to freeze them in ice cube trays with a bit of water or olive oil. Once frozen, transfer the chive cubes to a freezer bag for easy, pre-portioned use in soups, stews, or sauces. Freezing maintains their vibrant color and fresh taste for many months, often longer than drying.
What’s the Best Way to Dry Fresh Chives for Optimal Flavor and Longevity?
The “best” method often depends on your priorities and available equipment, but several effective techniques exist. For sheer speed and convenience, using an air fryer on a low-to-medium temperature setting (around 350°F/175°C for 2-3 minutes) is highly recommended. A traditional food dehydrator is also an excellent option, offering precise temperature control over several hours, which can be ideal for larger batches of various herbs. Air-drying in a warm, well-ventilated, and dark area (like hanging bundles or spreading on screens) is a traditional, cost-free method, though it takes several days to a week. While the air fryer is fast and convenient, the most important thing for any method is to ensure the chives are completely dry to prevent mold, and to check them often to avoid over-drying or browning, which can diminish their delicate flavor.
Expert Tips for the Best Dried Chives Every Time
Achieving perfectly dried chives in your air fryer is simple, but a few insider tips can make all the difference, ensuring you get the best results every time:
- Understand the Drying Time: As a general guideline, as long as your air fryer basket isn’t packed too deep, it typically takes me about 3 minutes on average to dry chives in my air fryer. This can vary slightly based on the moisture content of your chives and your specific air fryer model. Always aim for a crisp, crumbly texture.
- Consider the Dehydrate Function (If Available): If your air fryer happens to have a dedicated dehydrate function, you might be tempted to use it. While it works, be aware that this setting usually operates at a much lower temperature (e.g., 130°F/54°C) over an extended period. You’ll need to cook your chives on this setting for 3-4 hours to achieve the same dryness. To me, the additional time doesn’t seem worth a similar end result when the higher temperature method is so much faster!
- Factors Affecting Drying Time: Whichever method you choose, your drying time can vary slightly based on several factors: the total amount of chives used (larger batches need more time), the wattage and efficiency of your air fryer, and the specific size and design of your basket. Always start with the minimum recommended time, then add additional cook time in small 1-minute increments, checking frequently. This ensures you don’t overcook them and achieve perfect dehydration.
- No Oil Needed: There’s absolutely no need to add oil or any additional fat as part of the drying process. We are dehydrating, not frying or roasting.
- Prevent Flying Chives: If your air fryer doesn’t have a top rack or trivet, you can improvise! You can lightly tie bundles of chives together with kitchen twine, wrap them loosely in a small piece of foil (creating a little weight), or use heat-safe silicone food bands to keep them from flying around during the powerful air circulation.
- Watch for Browning: If your chives begin to turn brown or black, you’ve gone too far. This indicates overcooking, and they may develop a bitter flavor. It’s better to slightly under-dry and add more time than to burn them.
- Chop After Drying: It’s important to not cut the chives before drying. Pre-chopped pieces are much lighter and will almost certainly fly all over your air fryer, even with a rack on top. Cut them to your desired length (I like about ¼-inch pieces) only after they are fully dried and cooled. They will naturally curl up when air frying, so use whatever chopping method (knife or shears) is easiest for you.
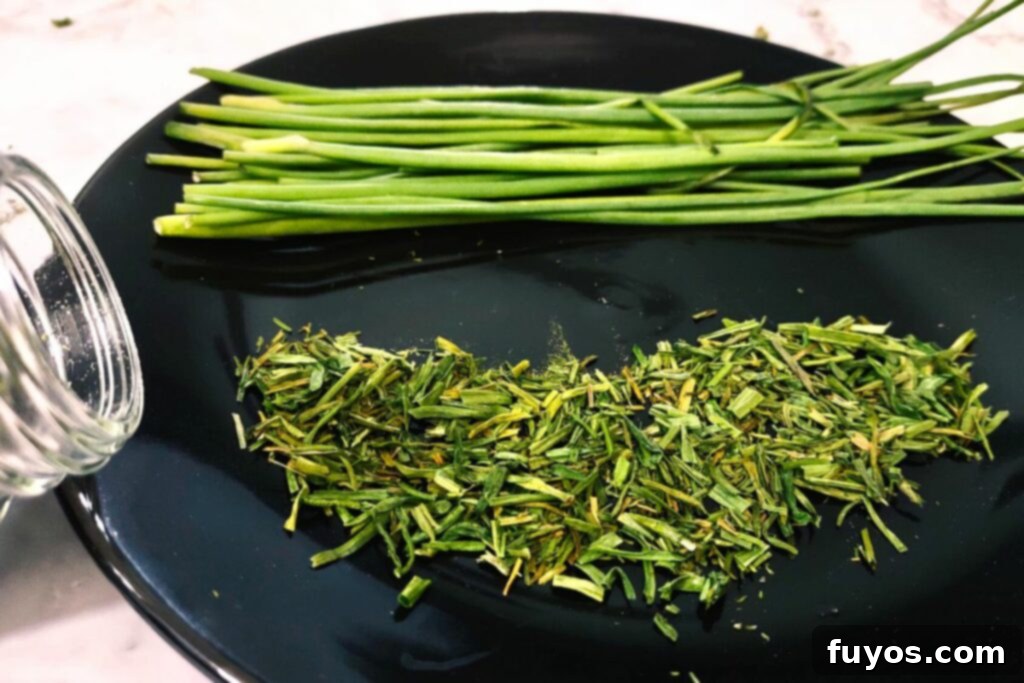
Storage Tips for Your Dried Chives: Maximizing Freshness
Proper storage is essential to maintain the flavor, color, and shelf life of your homemade air fryer dried chives. Follow these tips to ensure your herbs stay fresh and potent for as long as possible:
- Store in a Cool, Dark, and Dry Place: This is the golden rule for storing any dried herbs. Always store dried chives in an airtight container, such as a glass jar, a mason jar with a tight-fitting lid, or a dedicated spice tin. Keep these containers in a pantry, cupboard, or drawer, away from direct sunlight, heat sources (like ovens or stovetops), and any humidity. Light, heat, and moisture are the enemies of dried herbs, causing them to lose flavor and potency quickly.
- Avoid Moisture at All Costs: Ensure your chives are fully dried and completely cool before placing them in any storage container. Even a tiny bit of residual moisture can lead to condensation inside the container, which will inevitably cause mold to grow and ruin your entire batch. If you’re unsure, spread them out on a plate for an hour or two after air frying to ensure they’ve fully cooled and any last bit of moisture has evaporated.
- Understanding Shelf Life: When stored correctly, homemade dried chives can last effectively for up to 6–12 months. While they are still safe to consume after this period, their flavor and aromatic compounds will begin to diminish. For the best culinary results and most vibrant taste, it’s advisable to use them within the first 3–6 months after drying. Labeling your jars with the drying date can help you keep track of their freshness.
More Air Fryer Dried Herb Recipes
How to Dry Rosemary in the Air Fryer Quick and Easy
Dehydrating Thyme in the Air Fryer: A Helpful Guide
How to Dry Fresh Basil in the Air Fryer: Quick Dehydration!
Dried Herbs: How to Dehydrate Parsley in the Air Fryer
How to Dry Oregano in the Air Fryer: Herb Dehydration!
How to Dry Mint in the Air Fryer: Quick Dehydration Method!
How to Dry Sage in the Air Fryer – Quick and Easy
Final Thoughts on Drying Chives in the Air Fryer
Now that you know how incredibly simple it is to dry chives in the air fryer, and that it takes around 5 minutes from start to finish (including preheating and active cooking time), you’ll likely want to dehydrate all your delicate herbs this way! This method is a true game-changer for preserving your herb garden harvest or extending the life of those leftover grocery store chives.
I absolutely love how quick and easy this air fryer method is. It truly takes the guesswork and constant “babysitting” out of the herb drying process, making it effortlessly easy to preserve your precious herbs. No more worrying about waste, just a continuous supply of fresh-ttasting, homemade dried chives ready for use year-round.
It’s a fantastic way to handle an overabundance from your herb garden, ensuring that none of that hard work goes to waste. I personally use dried chives in countless dishes, but they make a superb topping for a variety of meals. For instance, just reheat a baked potato in the microwave, then top it generously with these savory dried chives, along with cheese, sour cream, crispy bacon bits, and any other delicious choices you desire! Embrace the convenience and flavor of air fryer dried chives – your cooking will thank you.
Easy Dried Chives in the Air Fryer
Equipment
-
Air Fryer
-
Air fryer rack, trivet, or shelf (to hold chives down)
-
Chef’s knife, kitchen shears, or herb scissors
-
Airtight spice jar or container for storage
Ingredients
- 35-40 leaves fresh chives (or a similar amount of any fresh chives)
Instructions
-
Prepare the Chives: Start with fresh chive leaf clippings, washing and thoroughly drying them. Ensure all roots and flowers are removed.35-40 leaves fresh chives
-
Preheat Air Fryer: Preheat your air fryer to 350 degrees F (175°C), following manufacturer guidelines for best results.
-
Arrange Chives: If needed, trim the chive leaves slightly so they will fit in your air fryer basket without touching the heating element. Spread your chives in a single layer in the preheated air fryer basket, ensuring not to overcrowd it.
-
Secure Chives: Add a rack, trivet, or shelf on top of the chives to keep them from flying around during cooking due to the air circulation.
-
Air Fry: Air fry your chives for 2-3 minutes. If additional time is needed, shake the basket, and then continue to cook in 1-minute intervals until chives are completely dry and crinkly. Avoid browning.
-
Cool & Cut: Remove dehydrated chives from the air fryer and let them cool completely. Then, cut them to your desired length using a chef’s knife, kitchen shears, or herb scissors.
-
Store: Store your chopped dry chives in an airtight container or spice jar in a cool, dark place for optimal freshness.
Notes
- Only dry the chive leaves – any flowers and/or roots should be removed prior to drying for the best results.
- Stacking chives beyond a single layer won’t allow for even heating and drying, so make sure to dry chives in batches if needed. On average, it takes me about 3 minutes per batch if I don’t overcrowd the basket.
- There’s no need to add oil or anything additionally as part of the drying process; we are dehydrating, not cooking with fat.
- I’ve just used my normal air fryer rack for this. However, if your air fryer doesn’t have a shelf or trivet, you can tie the chive leaves together loosely using kitchen twine, foil, or silicone food bands to keep them from flying around inside the air fryer.
- Should your chives start to turn brown or black, this indicates they are overcooked. Remove them immediately to prevent further bitterness.
- I normally cut mine to about ¼-inch long using kitchen shears after they’ve dried and cooled, however, you can choose whatever length you like for your culinary needs. They will curl up slightly when air frying, so use whatever chopping method is easiest for you.
- Do not cut the chives before drying, as the small pieces are far too light and will fly all over your air fryer (even with a rack placed on them), potentially burning.
- Dried chives keep well for up to a year in an airtight container stored in a cool, dark place, before starting to lose flavor and potency. Best used within 3-6 months.
Nutrition
Number of total servings shown is approximate. Actual number of servings will depend on your preferred portion sizes.
Nutritional values shown are general guidelines and reflect information for 1 serving using the ingredients listed, not including any optional ingredients. Actual macros may vary slightly depending on specific brands and types of ingredients used.
To determine the weight of one serving, prepare the recipe as instructed. Weigh the finished recipe, then divide the weight of the finished recipe (not including the weight of the container the food is in) by the desired number of servings. Result will be the weight of one serving.

Did you try this recipe?
Mention @TheDinnersDoneQuick or tag #dinnersdonequick! for even more!
Pin Recipe
Leave A Review
