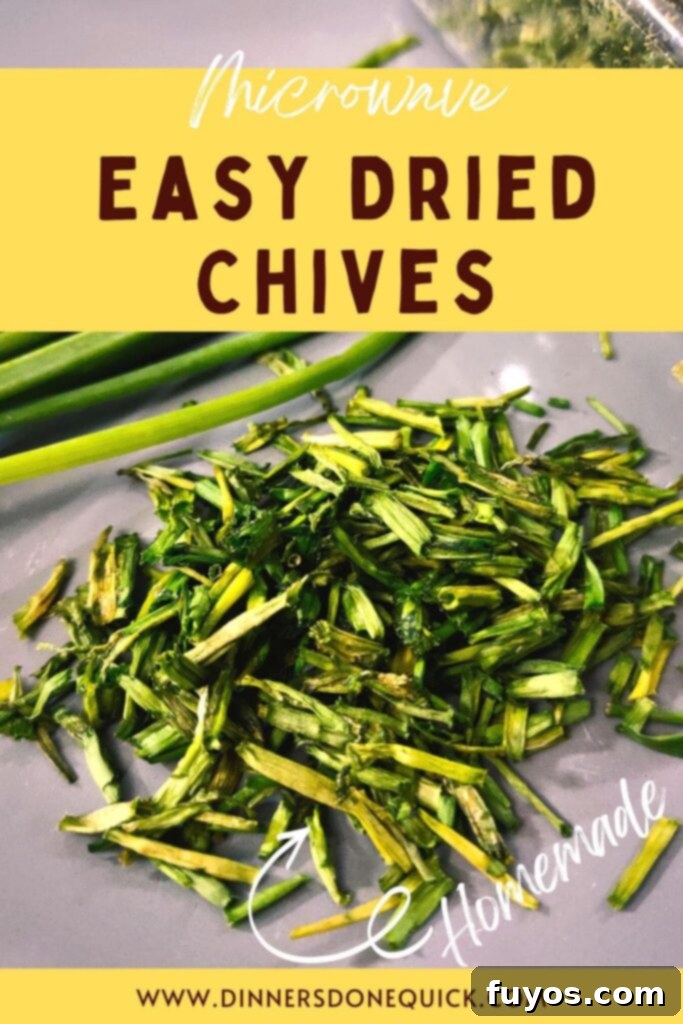
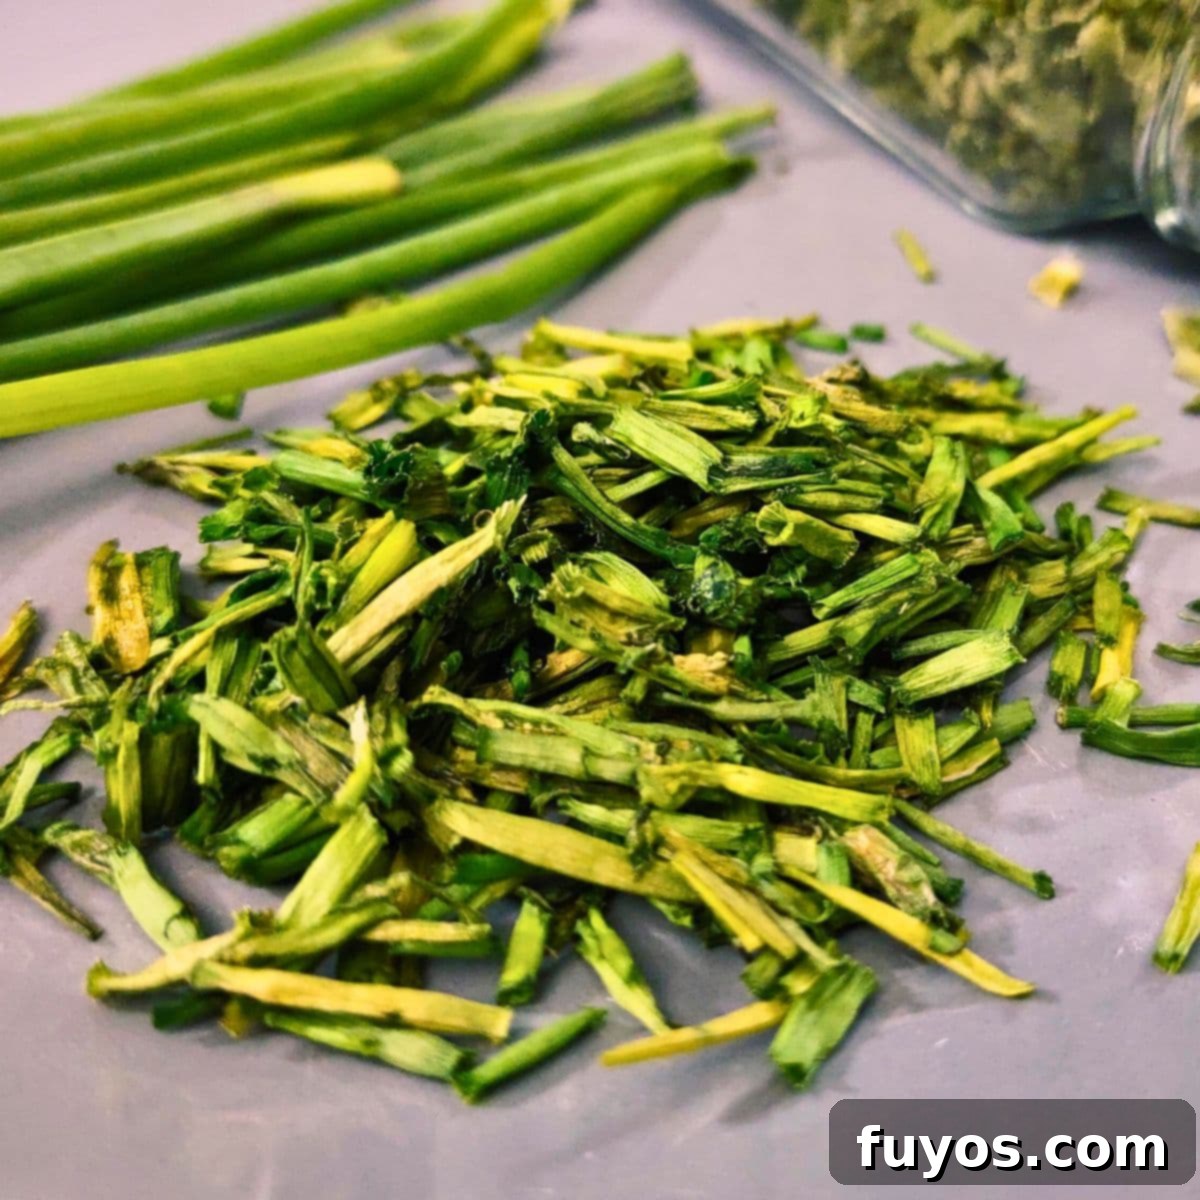
How to Dry Chives in the Microwave: Quick & Easy Herb Preservation Guide
Do you often find yourself with an abundance of fresh chives from your garden or farmer’s market? Chives are a delightful garnish and a particularly tasty addition to countless dishes, from creamy soups and scrambled eggs to baked potatoes and savory sauces. While their fresh flavor is unmatched, a mature chive plant can produce more than you can use before it spoils. Thankfully, preserving these delicate herbs is incredibly simple, and the microwave offers the fastest, most convenient method for drying them right in your kitchen. This comprehensive guide will teach you how to dry chives in the microwave quickly and easily, ensuring you have their vibrant, oniony flavor available to enhance your cooking all year long.
Katie’s Top Tip
If you happen to own an air fryer, there’s another equally excellent method for how to dry chives in the air fryer. This alternative can yield fantastic results as well. Why not try both techniques to discover which one you prefer and which fits best into your kitchen routine!
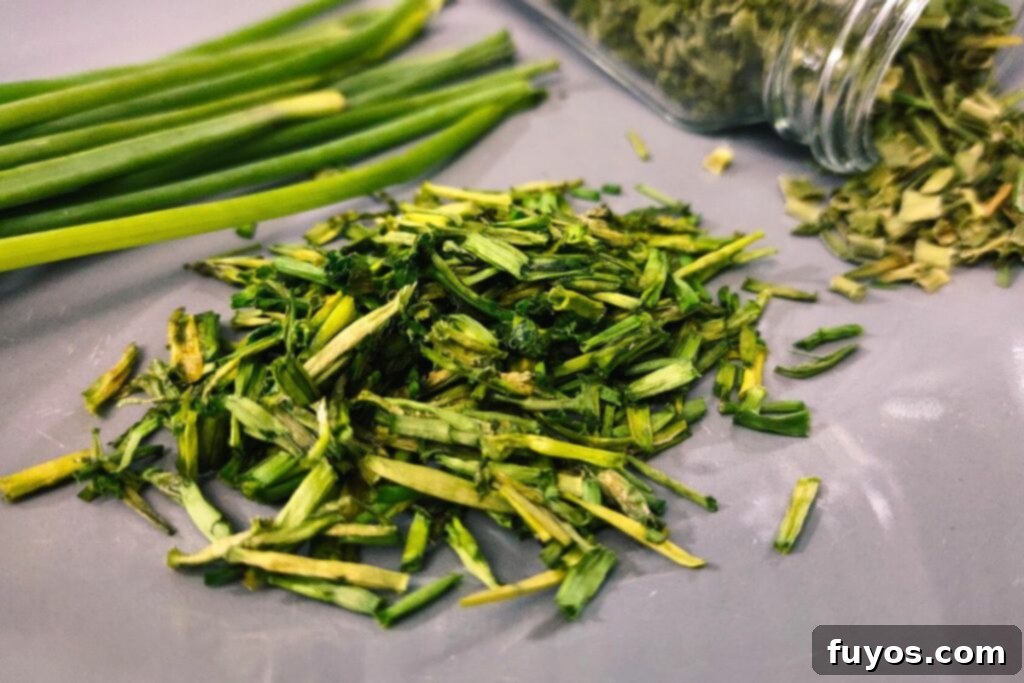
Can You Really Dry Fresh Chives in the Microwave? Absolutely!
The answer is a resounding yes! The microwave is a surprisingly effective and efficient appliance for dehydrating fresh chives. The cooking process works by rapidly heating the moisture content within the delicate chive leaves, causing it to evaporate quickly. This leaves you with perfectly dried, crisp chives that are safe to store and ready for later use. It’s a dehydration technique, not a cooking one, and when done correctly, it preserves the herb’s flavor and color beautifully.
I rely heavily on my microwave for drying many of my fresh herbs, largely due to its unparalleled speed and straightforward approach. It’s an excellent solution for anyone looking to make the most of their garden’s bounty or to simply save money on store-bought dried herbs. Beyond just chives, this technique is incredibly versatile. You can easily adapt it to dry other popular herbs; for instance, learn how to dry thyme in the microwave, discover the simple steps for drying rosemary in the microwave, or master the method for drying oregano in the microwave. Each herb may have slightly different drying times, but the core principles remain consistent, making microwave drying a valuable skill for any home cook.
Why Choose the Microwave for Drying Chives?
While there are several methods for preserving herbs, the microwave offers unique advantages that make it an excellent choice for chives:
- Unmatched Speed: This is the primary benefit. You can dry a batch of chives in a matter of minutes, a fraction of the time required for conventional ovens (hours), electric dehydrators (multiple hours), or traditional air drying (days).
- Ultimate Convenience: Most kitchens are equipped with a microwave, meaning you don’t need to purchase specialized equipment. All you require are a microwave-safe plate and some paper towels.
- Excellent Color Retention: The rapid dehydration process helps chives retain more of their vibrant green color compared to slower methods, which can often lead to duller, brownish herbs.
- Superior Flavor Preservation: Quick drying helps to lock in the volatile aromatic oils that give chives their distinctive flavor, resulting in a more potent and flavorful dried herb.
- Perfect for Small Batches: If you only have a small handful of chives to preserve, the microwave is ideal. It’s not energy-efficient to run a large appliance like an oven or dehydrator for tiny quantities.
- Minimal Fuss: There’s no complex setup or lengthy monitoring. Just a few short bursts and checks, and your chives are ready.
Remember, the goal is always to dehydrate the chives, not to cook them. By using short intervals and consistent monitoring, you can achieve perfectly crisp, beautifully preserved chives every time.
Quick + Easy Recipes
straight to your inbox
How to Prepare Fresh Chives for Microwave Drying
Before you even think about placing your chives in the microwave, proper preparation is essential for successful drying and to ensure the best possible quality of your preserved herbs. Follow these steps carefully:
- Harvesting Your Chives: Select healthy, vibrant chive stalks from your garden or purchase the freshest bunches available. Avoid any leaves that appear yellowed, bruised, or wilted, as these will not dry well or retain much flavor. The ideal time to harvest chives from your garden is in the morning, after the dew has evaporated but before the intense midday sun.
- Thorough Washing: Gently rinse your fresh chives under cool, running water. This step is crucial for removing any dirt, dust, tiny insects, or other debris that might be clinging to the leaves. Be gentle to avoid bruising the delicate stems and leaves.
- Crucial Drying (Pre-Microwave): This step is arguably the most critical for efficient microwave drying. Lay the washed chives on a clean kitchen towel or several layers of paper towels. Gently pat them dry with another towel, removing as much surface moisture as possible. Excess water will prolong the drying time in the microwave and can lead to uneven results, potentially steaming the chives rather than dehydrating them. You can also allow them to air-dry on a rack for 30 minutes to an hour to further reduce moisture.
- Careful Trimming: Inspect each chive strand individually. Trim off any yellowed tips, brown spots, or any thicker, tougher base sections. You want to dry only the freshest, greenest, and most tender parts of the chives to ensure optimal flavor and texture in your dried product.
How to Dry Chives in the Microwave: Step-By-Step Guide
Once your chives are perfectly clean and prepared, you’re ready to embark on the quick and satisfying microwave drying process. Follow these simple steps for perfectly preserved chives that retain their flavor and vibrant color:
- Start with your clean, thoroughly dry, and fresh chives. Take a moment to inspect them one last time, carefully trimming off any dead, yellowed, or damaged sections. This ensures only the highest quality herb makes it into your spice jar.
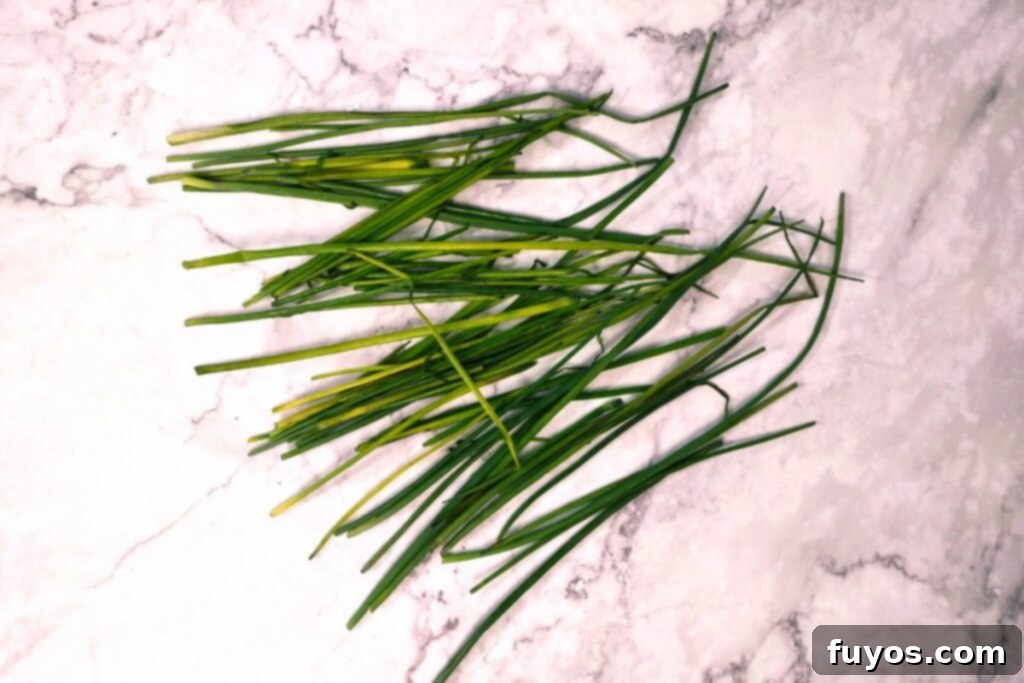
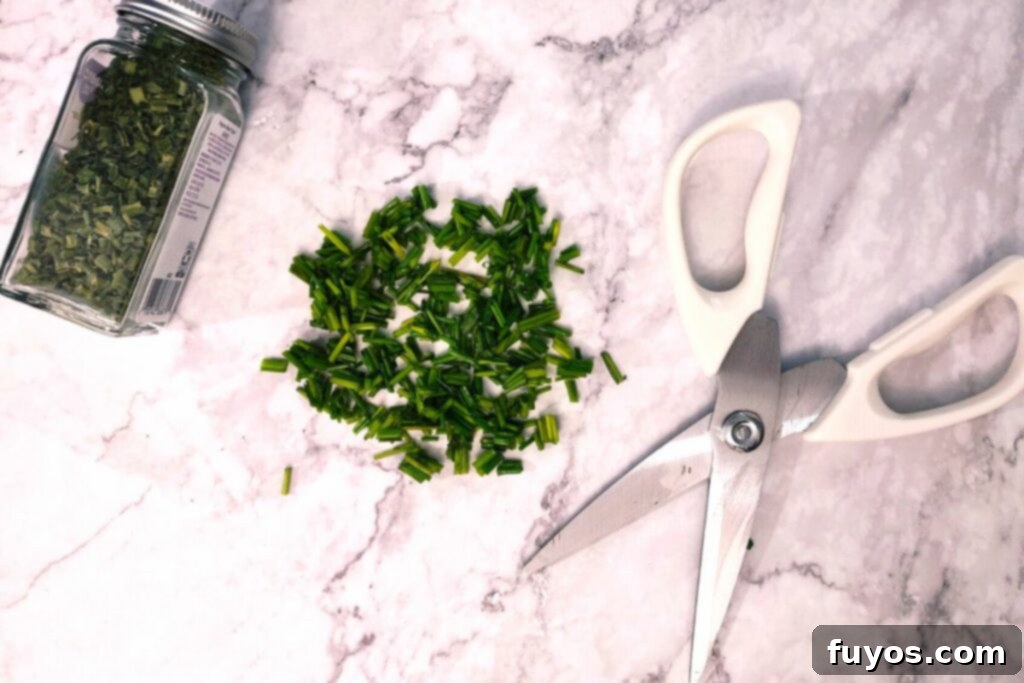
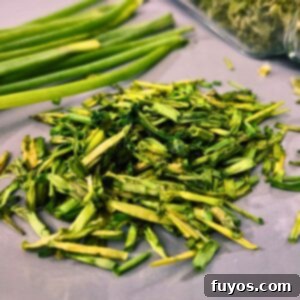
- Next, cut your chives into small, uniform pieces. Aim for lengths between ¼-inch and ½-inch. Using sharp kitchen shears or dedicated herb scissors will make this task quick and precise. Consistent sizing is crucial because it ensures that all pieces dry evenly. If some pieces are significantly larger than others, they may require more time to dry completely, while smaller ones could overcook.
- Place a single layer of paper towel on a microwave-safe plate. Paper towels are an essential component of this method as they actively absorb the moisture that is released from the chives during the heating process, significantly aiding in dehydration.
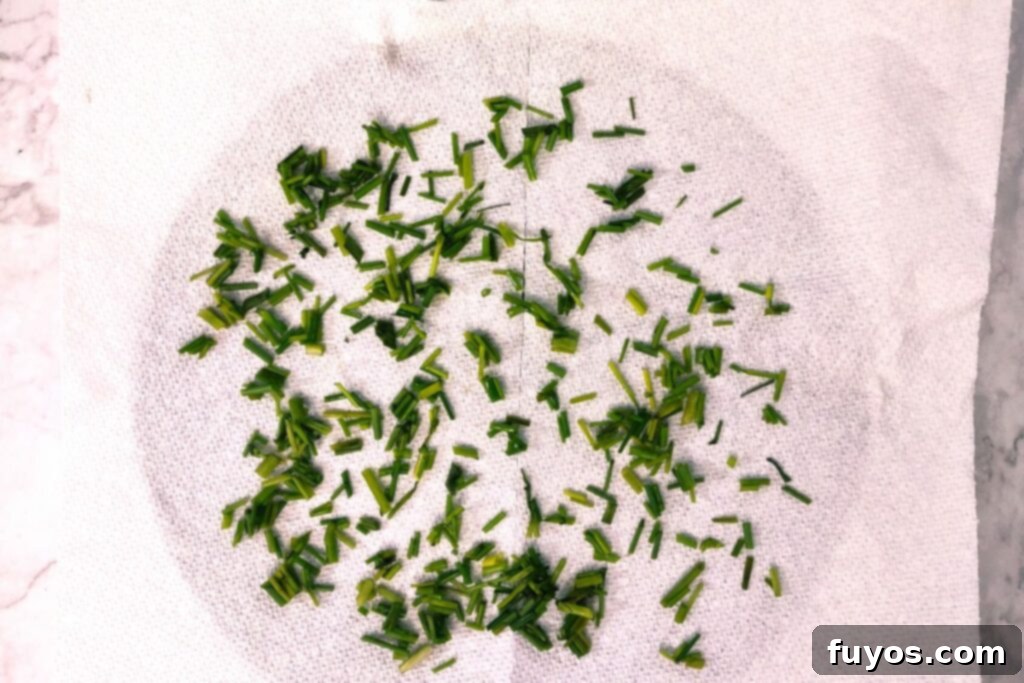
- Spread out your chopped chive pieces in a single, even layer on the paper towel. This step is absolutely vital. It is extremely important that the chives do not overlap or pile up. Overcrowding the plate will result in uneven drying, leading to some pieces potentially burning while others remain stubbornly damp. If you have a large quantity of chives, it is much better to process them in multiple, smaller batches to ensure consistent and thorough drying.
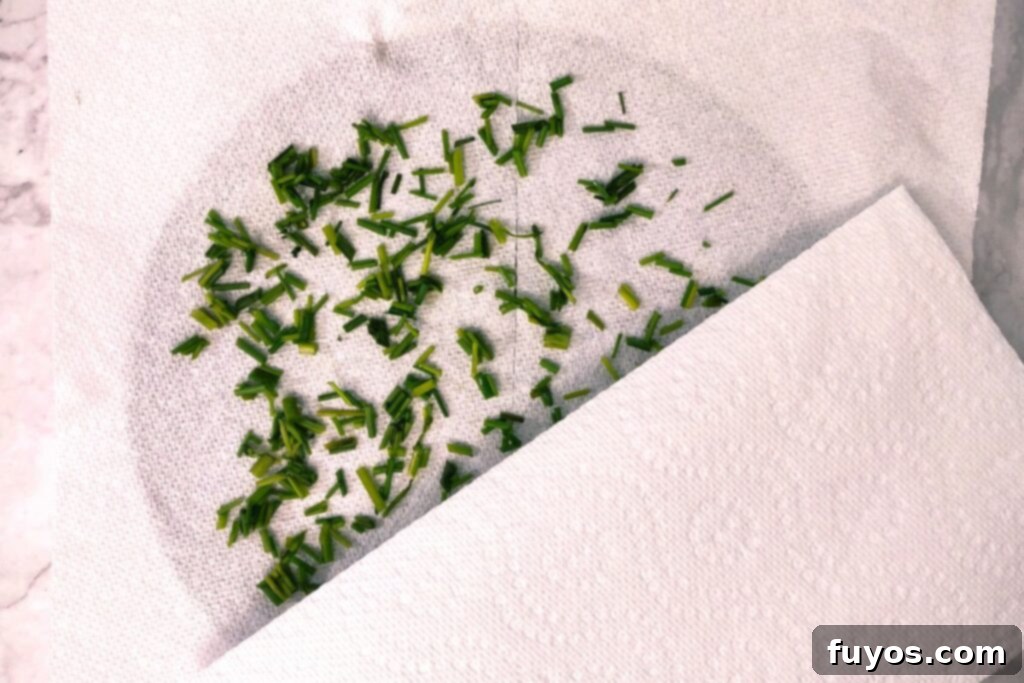
- Cover the chive pieces with another sheet of paper towel. This top layer serves a dual purpose: it helps to further absorb any rising moisture, and it also prevents the lightweight chives from scattering or flying around inside the microwave as they dry, ensuring they remain neatly on the plate.
- Microwave on high for an initial 30 seconds. Immediately after this first interval, remove the plate and check the dryness of the chives. The key to successful microwave drying is to use short, controlled bursts and frequent checks to prevent accidental burning.
- Continue to microwave in 30-second intervals, carefully checking and gently tossing or stirring the chives between each burst. Your chives are completely dry when they become brittle to the touch, easily crumble between your fingers, and produce a distinct crinkling sound when you handle them. Based on my experience with a 1000W microwave, this entire process typically takes about 2 minutes in total.
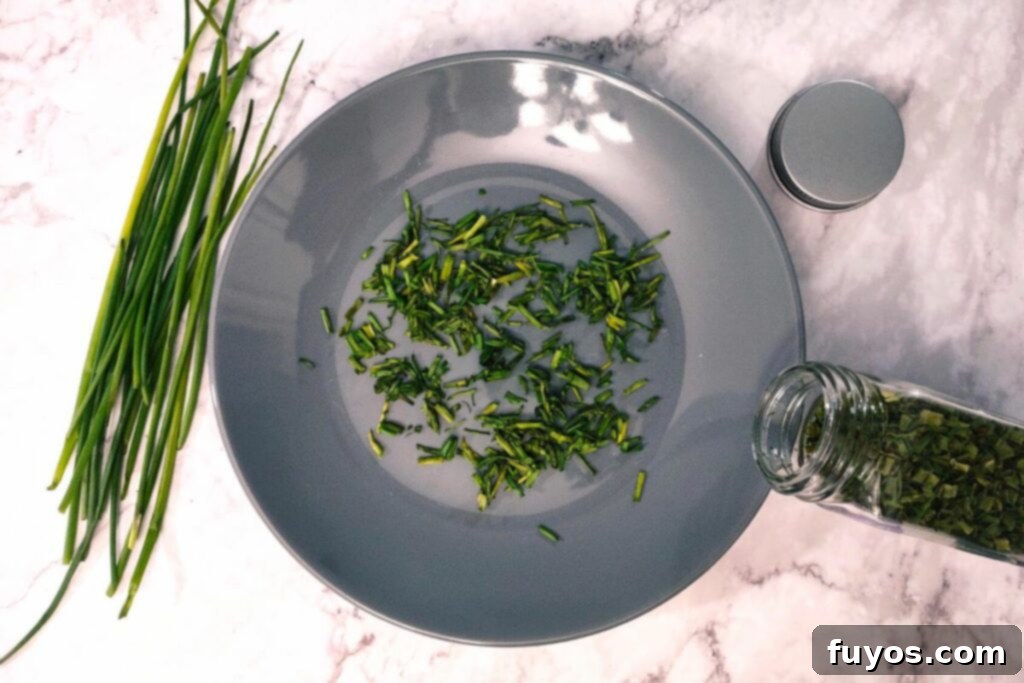
- Once your chives are fully dried, allow them to cool completely to room temperature on the plate. This step is important as they can continue to crisp up as they cool. Then, store your dried chives in an airtight container or a clean spice jar. Proper storage is absolutely crucial for maintaining their delicate flavor and extending their shelf life for months, even years.
Keep in mind that microwave cooking times are based on a standard 1000W microwave. If your microwave has a lower wattage (for example, 700W or 800W), it will likely require slightly more time for each interval, perhaps 45-second bursts, and a total drying time closer to 3-4 minutes. Conversely, a higher wattage unit might take slightly less time. Always prioritize the visual and tactile cues (brittle, crinkly texture) over strict adherence to the clock, as this will ensure perfectly dried chives every time.
One of the many appealing characteristics of chives is that they are already essentially pre-chopped, saving you considerable preparation time compared to many other herbs where you might need to painstakingly separate delicate leaves from woody stems. This pre-chopping streamlines the drying process significantly. While larger leaf herbs, such as air fryer dried parsley, are relatively easy to just scrunch up, preparing smaller, more stubborn leaves can often be tedious, making chives an exceptionally simple and rewarding choice for microwave drying!
Key Tips for Successfully Drying Chives in the Microwave
To ensure you achieve the best possible results when drying chives in your microwave, keep these expert tips in mind:
- Never Overload the Plate: This cannot be stressed enough. Always adhere to a single layer of chives. Overlapping or piling them up is the leading cause of uneven drying, which can result in some pieces burning while others remain stubbornly wet. Patience and small batches pay off.
- Monitor Diligently: Microwave power and efficiency can vary significantly between models. Always remove the plate and check your chives after each 30-second interval. What might take 2 minutes in one microwave could easily take 1.5 or even 3 minutes in another. Trust your observations more than the timer.
- Look and Feel for Brittleness: The ultimate indicator of successful dehydration is the texture. Properly dried chives should be distinctly crisp, brittle to the touch, and easily crumbled between your fingers. If they still feel pliable, soft, or spongy, they require more time.
- Guard Against Burning: Be vigilant for any signs of overcooking. If you detect a burning aroma, see any wisps of smoke, or notice the chives turning dark brown or black, immediately stop the microwave. Burnt chives will have a bitter, unpleasant taste and should be discarded.
- Cool Completely Before Storing: Once the chives are thoroughly dried, allow them to cool down to room temperature on the plate for several minutes. Storing warm chives, even if they appear dry, can trap residual heat and create condensation within the container, reintroducing moisture and potentially leading to spoilage or mold.
How Long Do Microwave Dried Chives Last?
When microwave-dried chives are properly prepared and stored, they boast an impressive shelf life, allowing you to enjoy your harvest for an extended period. They will typically last between 2-3 years before you might notice a significant loss in their potency, aroma, and overall flavor. To maximize their freshness and longevity, it is crucial to store them in a completely airtight container or a well-sealed spice jar. Keep this container in a cool, dark pantry or cabinet, away from direct sunlight, heat, and any sources of moisture. Exposure to light, air, and heat are the primary culprits that degrade the quality of dried herbs over time.
It’s important to note that after this 2-3 year period, the dried chives are generally still safe to consume. However, you will find that their aromatic qualities and their ability to effectively flavor your dishes will be significantly diminished. This can be quite disappointing when you’re expecting that signature fresh chive zing in your cooking. A good practice is to label your storage containers with the date you dried the chives, helping you keep track of their freshness and ensuring you use them at their peak flavor.
The last thing any home cook desires is to meticulously prepare a delicious meal, only to discover that the herbs intended to elevate it fall flat in terms of flavor. Imagine crafting a savory ham, cheese, and chive air fryer quiche, perhaps inspired by some of the fantastic recipes found in our collection of the best Emeril Lagasse air fryer recipes, and having the chives fail to deliver that expected burst of freshness. By properly drying and storing your chives using this microwave method, you guarantee that satisfying, vibrant flavor will be there every time you reach for them.
Culinary Uses for Your Dried Chives
Once you’ve mastered the art of drying chives in the microwave, you’ll discover that these little green powerhouses are incredibly versatile in the kitchen. Dried chives can be used in almost any dish where you would typically use fresh chives, offering convenience without significantly compromising flavor. Their delicate, mild oniony flavor enhances a wide spectrum of recipes:
- Elevate Egg Dishes: Sprinkle generously into scrambled eggs, omelets, frittatas, or quiches for an instant flavor boost.
- Flavorful Soups and Stews: Add dried chives to your favorite hot soups, hearty stews, broths, and chowders during the last few minutes of cooking for a subtle yet distinct oniony note.
- Perfect Potato Pairings: Stir them into creamy mashed potatoes, sprinkle them over baked or roasted potatoes, or mix them into potato salads and twice-baked potatoes.
- Dips and Dressings: Incorporate dried chives into homemade ranch dressing, creamy vegetable dips, or savory spreads for sandwiches and crackers.
- Custom Seasoning Blends: Use them as a key ingredient in your own homemade herb blends for seasoning meats, poultry, fish, roasted vegetables, or sauces.
- Savory Baked Goods: Mix them into savory muffins, biscuits, quick breads, or sprinkle them over focaccia or dinner rolls before baking for an aromatic touch.
- Compound Butters: Combine dried chives with softened butter, a pinch of salt, and other herbs to create a flavorful compound butter perfect for spreading on toast, melting over grilled steak, or enriching cooked vegetables.
While the flavor of fresh chives is arguably more intense and pungent, dried chives offer a fantastic and readily available alternative, especially when fresh ones are out of season or inconvenient to procure. When substituting dried chives for fresh in a recipe, a general culinary rule of thumb is to use one-third the amount of dried herbs as fresh, as the drying process concentrates their flavor.
In Conclusion: Embrace Microwave Drying for Fresh Chives
Drying chives in the microwave is much more than just a quick and easy method for preserving herbs; it’s a smart and rewarding way to maximize your herb garden’s bounty, reduce food waste, and ensure your dishes are bursting with authentic flavor all year round. This technique is perfectly suited for home cooks who want to savor the taste of fresh summer herbs even in the depths of winter, without having to rely on expensive and often less flavorful store-bought dried versions. This simple, rapid method transforms a fleeting harvest into a lasting, convenient ingredient. It adds a delightful pizzazz to all sorts of culinary creations, solidifying chives as an incredibly versatile and essential herb to have readily available in your cooking arsenal.
Don’t let your beautiful chive plants or market finds go to waste. With minimal effort, just a few minutes of your time, and the power of your microwave, you can establish a steady supply of perfectly dried chives. These will be ready to elevate everything from a simple, comforting breakfast omelet to a sophisticated, elegant dinner side dish. One of my personal favorite ways to utilize these delightful dried bits is by generously topping creamy mashed cauliflower, a dish often featured and perfected in our collection of the best microwave cauliflower recipes. Yes, your microwave isn’t just a powerful tool for drying herbs – it’s also incredibly capable of helping you cook delicious and healthy meals!
Simple Dried Chives in the Microwave
Equipment
-
Microwave
-
Herb scissors or kitchen shears
-
Microwave-safe plate
-
2 Sheets paper towels
Ingredients
- 35-40 Leaves fresh chives carefully washed and thoroughly dried if needed, trimmed of any dead sections
Instructions
-
Start with clean, dry, fresh chives, trimming off any dead sections. This ensures optimal flavor and appearance in your finished dried herbs.35-40 Leaves chives
-
Cut your chives into small, uniform pieces (between ¼” and ½”) using kitchen shears, herb scissors, or a sharp knife. Uniformity is key for even dehydration.
-
Place a paper towel on a microwave-safe plate. This layer will absorb the moisture released from the chives.
-
Spread out your chive pieces in a single layer on the paper towel. Avoid overlapping. If you have a large quantity, dry them in separate batches to ensure even results.
-
Cover the chopped chive leaves with another paper towel. This top layer helps absorb additional moisture and prevents the chives from scattering inside the microwave.
-
Microwave on high for an initial 30 seconds, then check their dryness and stir them gently.
-
Continue to microwave in 30-second intervals, checking and stirring between each burst, until the chives are completely dry, brittle, and crinkle distinctly when touched.
-
Allow the dried chives to cool completely to room temperature. Then, store them in an airtight container or spice jar in a cool, dark place to maintain their flavor and extend their shelf life.
Notes
- If you have a large quantity of chives to dry, make sure to process them in small batches. Stacking them up beyond a single layer will prevent even heating, leading to some chives remaining wet while others burn.
- In a typical 1000W microwave, I find it takes about 2 minutes on average for the chives to fully dry. However, drying times will vary based on your specific microwave’s wattage and the exact quantity of chives you are drying. Always go by the texture and feel of the chives, not just the clock.
- It’s normal for some chive leaves to turn a slightly dull green or even a grayish color during the drying process. However, if they become dark brown or blackened, it’s an indication that they are overcooked and might have a burnt, undesirable taste.
- When stored correctly in an airtight container in a cool, dark environment, microwave-dried chives will keep well for 2-3 years. After this period, while they are still safe to consume, you will notice a significant loss in their flavor and potency.
Nutrition
Number of total servings shown is approximate. Actual number of servings will depend on your preferred portion sizes.
Nutritional values shown are general guidelines and reflect information for 1 serving using the ingredients listed, not including any optional ingredients. Actual macros may vary slightly depending on specific brands and types of ingredients used.
To determine the weight of one serving, prepare the recipe as instructed. Weigh the finished recipe, then divide the weight of the finished recipe (not including the weight of the container the food is in) by the desired number of servings. Result will be the weight of one serving.

Did you try this recipe?
We’d love to see your creations! Mention @TheDinnersDoneQuick or tag #dinnersdonequick! on social media for even more inspiration and to share your perfectly dried chives!
Pin Recipe
