How to Easily Set the Clock on Your Samsung Microwave: A Comprehensive Guide
The humble clock display on your microwave, though often overlooked, is one of the most frequently consulted time-telling devices in any kitchen. It quickly becomes second nature to glance at it, checking the time almost as often as your phone or watch, without even consciously realizing it. This small, glowing digital readout effortlessly integrates into the rhythm of your daily routine, providing a convenient and immediate reference point.
However, when this vital display shows an incorrect time – perhaps you’ve just installed a new microwave, experienced a power outage, or the biannual daylight saving adjustment has passed – it can unexpectedly disrupt your routine. A misaligned clock is not just an aesthetic imperfection; it can throw off your cooking schedule and be a persistent, minor annoyance. But fret not! Setting the time on a Samsung microwave is a remarkably quick and easy process, designed to restore accuracy to your kitchen’s central timepiece with minimal effort.

In this comprehensive guide, we will walk you through all the essential steps and methods required to effectively change the time on your Samsung microwave. We’ll explore the most common control panel configurations and provide detailed instructions for each, ensuring that you can easily synchronize your appliance, regardless of its specific model. Read on, and you’ll be able to get your microwave’s clock back to normal in no time, ensuring it serves as a reliable timekeeper for all your culinary adventures!
KATIE’S TIP
If you happen to own a microwave from a different brand, don’t worry! We can also assist you with guides like how to set the clock on a Hamilton Beach microwave, which often shares similar principles with other manufacturers.
Samsung manufactures a diverse range of microwave ovens, each featuring slightly different control panels and operational nuances. This means that while the core task of setting the clock remains constant, the precise sequence of button presses or dial turns can vary. Understanding these variations is key to a smooth and frustration-free experience. Before diving into the methods, it’s always helpful to take a quick look at your microwave’s control panel to identify its specific interface type. This will help you quickly determine which of the following instructions applies best to your model. Even if you don’t have your user manual immediately available, this guide will equip you with the knowledge to proceed confidently.
Quick + Easy Recipes
straight to your inbox
Setting Up The Clock On Your Samsung Microwave: Three Simple Methods
While the overall process for setting the clock on a Samsung microwave is straightforward, the exact steps depend on the type of control panel your specific model features. Samsung microwaves typically fall into one of three categories based on their interface: those with a rotary dial, those with a dedicated ‘Clock’ button, and those that require navigation through an ‘Options’ or ‘Settings’ menu. Below, we detail each of these common methods, providing clear, step-by-step instructions to help you get your microwave’s clock set accurately.
Method 1: Setting The Time With A Rotary Dial Control
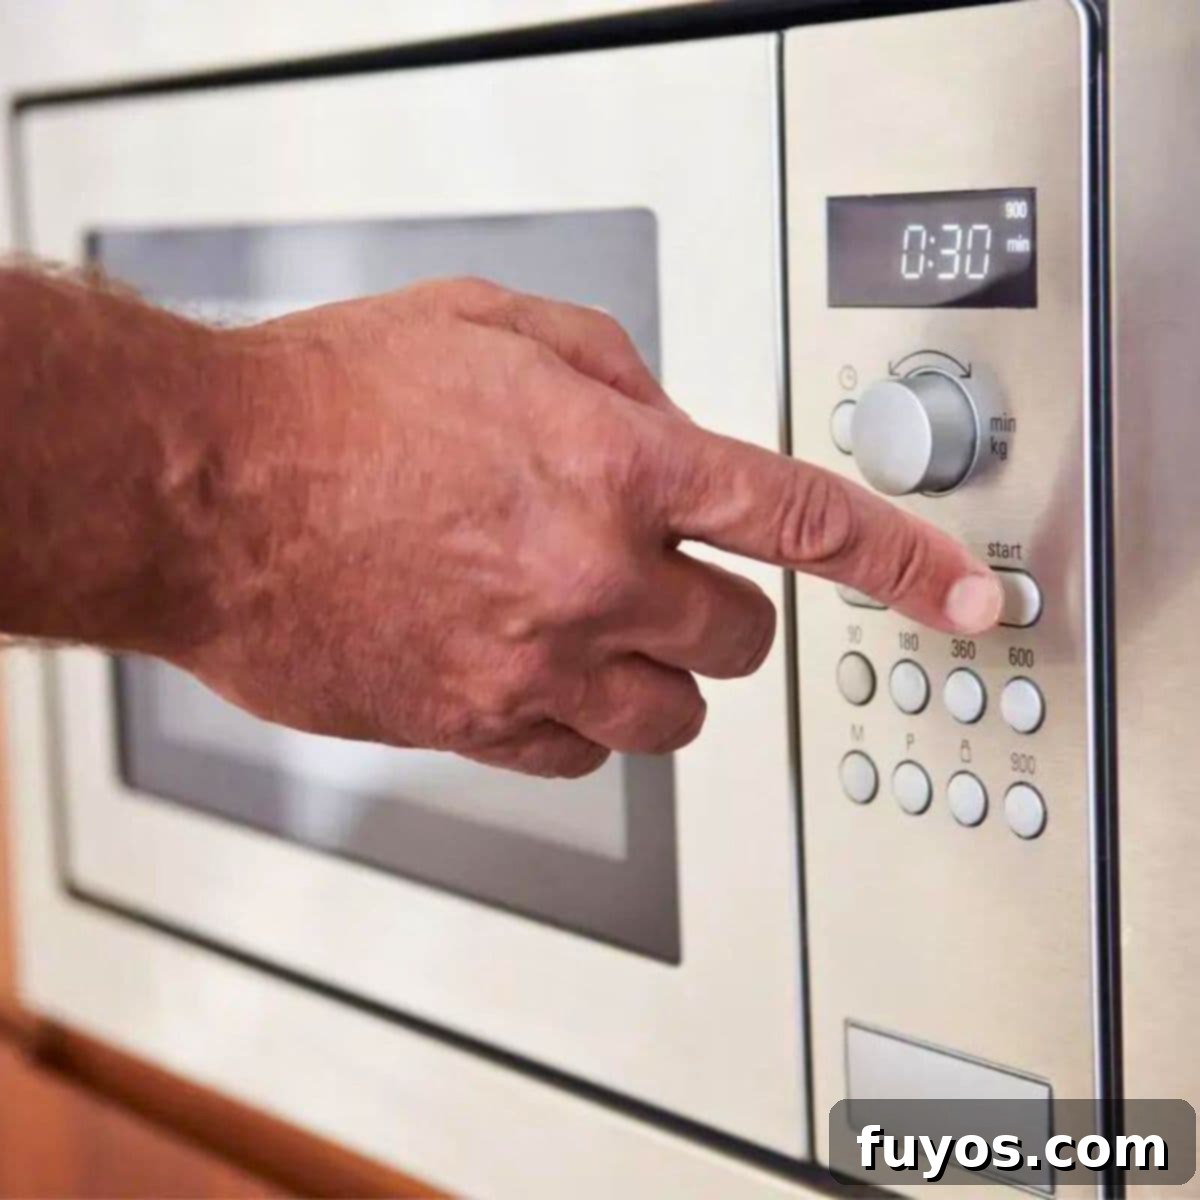
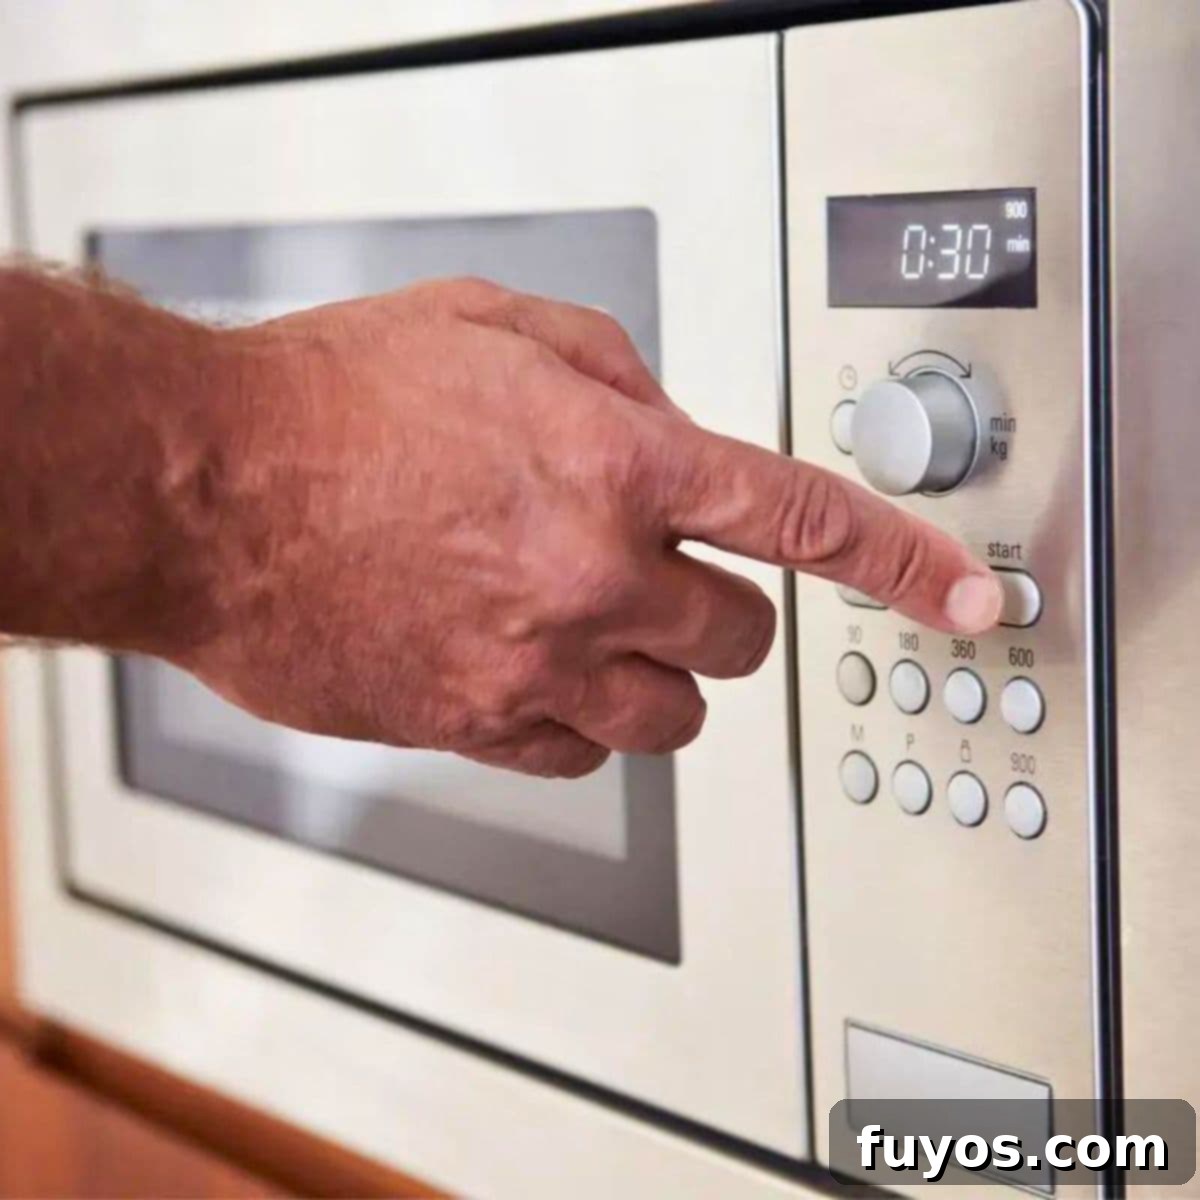
Many Samsung microwave models, especially older or more robust designs, come equipped with a versatile rotary dial. This dial is a multi-purpose control element, primarily used to adjust cooking times, power levels, and various cooking modes. Conveniently, it also serves as the main interface for accessing and configuring the clock settings. This method offers a tactile and often intuitive way to precisely set the time.
Step-by-Step Instructions for Dial-Controlled Models:
- Locate the Clock Select Button: First, examine your microwave’s control panel. You’re looking for a button located near the rotary dial that typically features a clock symbol, a hand icon, or is clearly labeled “Clock” or “Time Set.” This button is your entry point to the clock setting mode.
- Activate Clock Setting Mode: Press the identified “Clock Select” button. For some Samsung models, a single press is enough to make the clock digits flash. In other cases, you might need to press and hold this button for approximately 3 seconds until the display indicates it’s ready for time input (e.g., “SET TIME” or “12:00” blinking).
- Select Time Format (If Available): Your microwave may first prompt you to choose between a 12-hour (AM/PM) or a 24-hour (military) format. Rotate the dial to cycle through these options. Once your preferred format is displayed, press the “Clock Select” button again (or an “Enter/OK” button) to confirm your choice.
- Set the Hours: Now, the hour digits on the display should be blinking. Rotate the rotary dial clockwise or counter-clockwise to adjust the hour to the current time. If you’re using a 12-hour format, be mindful of selecting AM or PM correctly. After setting the correct hour, press the “Clock Select” button (or “Enter/OK”) to confirm and proceed to the minute setting.
- Set the Minutes: Following the hour confirmation, the minute digits will begin to flash. Use the rotary dial once more to precisely adjust the minutes. Aim for accuracy here to ensure your microwave is perfectly synchronized.
- Final Confirmation: After setting the minutes, press the “Clock Select” button (or “Enter/OK”) one last time. The clock display will stop blinking and immediately begin ticking from the newly set time. Congratulations, your Samsung microwave’s clock is now accurately set!
If you make a mistake or wish to restart the process, simply repeat the steps from the beginning. This method is common and very effective for models featuring a prominent rotary control.
Method 2: Setting The Time With A Dedicated Clock Button

Many modern Samsung microwaves feature a streamlined control panel that often includes a numeric keypad and distinct function buttons, rather than a large physical dial. For these models, a dedicated “Clock” button simplifies the time-setting procedure, allowing for quick and precise adjustments using direct numeric input. This method is typically favored for its speed and efficiency.
Step-by-Step Instructions for Dedicated Clock Button Models:
- Identify the Clock Button: Look for a button on your microwave’s control panel clearly labeled “Clock” or marked with a clock symbol. This is your primary control for initiating the time-setting process.
- Activate Clock Setting Mode: Press the “Clock” button. Depending on your specific Samsung model, a quick press may suffice. However, it is quite common for users to need to press and hold this button for approximately 3 seconds until the display begins to flash or shows a prompt like “ENTER TIME” to confirm it’s in setting mode.
- Enter the Current Time: Once the display is ready, use the numeric keypad to input the current time. Always use a four-digit format (HHMM). For example, if the time is 2:35 PM, you would enter “0235”. For 7:00 AM, you would enter “0700”.
- Select AM/PM or Time Format (If Required): This is a crucial step that can vary by model:
- For 12-hour format models: After entering the four digits for the time, you will often need to press the “Clock” button once more to toggle between AM and PM. Press it once for AM, and typically twice for PM. Some models might have a separate “AM/PM” button.
- For 24-hour format models: If your microwave operates exclusively in 24-hour military time (e.g., 14:35 for 2:35 PM), this AM/PM selection step is usually skipped. You simply enter the time directly in 24-hour format (e.g., “1435”).
- Models with a dedicated 12/24hr button: Some advanced models allow you to select your preferred time format before entering the digits.
- Confirm and Save: Finally, press the “Start,” “Enter,” or “OK” button (the exact label can differ) to confirm the time you’ve set. The clock display will then cease flashing and show the new, continuously updated time.
If the display shows an error or if you wish to adjust the time again, simply repeat the process from the first step. This method is generally the quickest for those accustomed to numeric keypad entry.
KATIE’S TIP
If you’ve been pressing buttons without success and your microwave seems unresponsive, you might have accidentally engaged the child lock! Discover how to unlock child lock on a Panasonic microwave, as the steps are often quite similar across many brands, including Samsung models.
Method 3: Setting The Time Using The Options or Settings Button
For certain Samsung microwave models, particularly those with a more minimalist design, touch-sensitive controls, or a more integrated interface, a dedicated “Clock” button or a prominent rotary dial might be absent. In such cases, the clock setting functionality is typically nested within a broader “Options,” “Settings,” or “Menu” system. This method requires navigating through a few layers of options, but it remains straightforward once you understand the menu structure.
Step-by-Step Instructions for Options/Settings Controlled Models:
- Find the Options/Settings Button: Begin by locating the button on your microwave’s control panel labeled “Options,” “Settings,” “Menu,” or a similar descriptive term. This button usually provides access to advanced functions and customization features of your appliance.
- Access the Clock Setting Menu: Press the “Options” or “Settings” button. The display will likely change, presenting a list of menu items, category numbers, or symbols. You may need to use arrow buttons (Up/Down, Left/Right), a simulated touch slider, or the numeric keypad to scroll through these options. Your goal is to find an option explicitly related to “Clock,” “Time,” or “Set Time.”
- Utilize a Keypad Shortcut (Common in Some Models): For many Samsung microwaves that rely on an “Options” menu, a common shortcut exists: try pressing the number 9 button on the numeric keypad either immediately after pressing “Options” or while navigating within the Options menu. This often acts as a direct link to the clock settings, saving you from extensive scrolling.
- Enter the Clock Setting Mode: Once you’ve successfully navigated to and selected the “Clock” option, press the “OK” or “Enter” button to confirm your selection. The display will then prompt you to enter the current time, similar to the method used with a dedicated “Clock” button.
- Input the Time: Use the numeric keypad to enter the current time in the standard HHMM format (e.g., for 10:45 AM, enter “1045”).
- Confirm AM/PM or 12/24-Hour Format: Similar to the dedicated “Clock” button method, you might need to confirm AM/PM if your microwave operates in a 12-hour format. This usually involves pressing a specific button (like “Clock” again or an “AM/PM” button) or simply proceeding if your model is set to a 24-hour format.
- Finalize the Setting: Press the “OK,” “Start,” or “Enter” button one last time to save your new clock setting. The accurate time will then be continuously displayed.
While this method involves a few more steps, it ensures that even the most advanced or minimalist Samsung models offer a clear pathway to keeping your time accurate. Always consult your specific model’s user manual if you encounter any difficulties or unique menu configurations, as it provides the most precise instructions.
KATIE’S TIP
If navigating through menus and hearing numerous beeps is testing your patience, consider learning how to silence a microwave. This simple adjustment can save your ears (and your sanity!) and is often another setting you can find within the ‘Options’ or ‘Settings’ menu of your Samsung microwave.
Why Do You Need To Change The Time On Your Samsung Microwave?
Understanding the common reasons behind an incorrect microwave clock can help you anticipate when adjustments are necessary, ensuring your kitchen always runs on time. There are several key scenarios that typically require you to reset the time on your Samsung microwave.
1. Initial Setup of Your New Samsung Microwave
This is by far the most common reason for needing to set the clock. When you first unbox and plug in a brand-new Samsung microwave, its internal clock will not automatically sync to the current local time. Instead, the display will usually show a default time such as “12:00” or “0:00”, or it might simply flash, indicating that it requires manual configuration. Performing this initial setup is crucial to ensure that all time-dependent cooking functions, as well as your general kitchen timing, are accurate right from the start of your appliance’s use.
2. Power Outages and Electrical Interruptions
Like many digital household appliances, microwaves rely on a continuous supply of electricity to maintain their internal clock memory. Even a brief power cut or a subtle flicker in your home’s electrical supply can cause your microwave to lose power momentarily. Unlike simply being switched off and then back on (where some models might retain settings for a short period), a full power outage typically erases the internal clock’s memory. Once power is restored, the clock will often revert to its default “0:00” or “12:00” setting. Consequently, you’ll need to manually reset the clock to match the correct time, a common task after storms or utility maintenance.
3. Daylight Saving Time Adjustments
The vast majority of household microwaves, including most Samsung models, are not equipped with “smart” features that automatically adjust for Daylight Saving Time. This means that twice a year – once in the spring when clocks “spring forward” an hour, and again in the autumn when they “fall back” an hour – you will need to manually update your microwave’s clock. Failing to do so will result in your microwave being an hour off, which can lead to confusion if you frequently rely on it as a primary time source in your kitchen.
4. Moving Your Microwave or Changing Time Zones
While less common, if you move your Samsung microwave to a new home, especially if that home is in a different time zone, you will naturally need to adjust its clock. Even within the same residence, unplugging the microwave for an extended period during a move or renovation can mimic a power outage, triggering the same clock reset condition and necessitating a fresh time setting. Keeping the clock accurate ensures all programmed functions and daily glances provide consistent information.
Ensuring Accuracy: The Broader Importance of a Correctly Set Microwave Clock
Beyond the obvious convenience, a precisely set clock on your Samsung microwave offers several practical advantages that enhance its utility in your kitchen. It’s not just about knowing the current time; it’s about ensuring functionality. Many advanced microwave features, such as delayed start programs, multi-stage cooking sequences, or even simple countdown timers, operate most effectively when the base clock is accurate. A correctly set clock maintains consistency with all other time-telling devices in your home, eliminating discrepancies and preventing confusion. This seemingly small detail significantly contributes to the overall seamless functionality and reliable integration of your microwave into your daily routine, making your kitchen operations smoother and more efficient.
Final Thoughts on Synchronizing Your Samsung Microwave Clock
And there you have it! The clock on your Samsung microwave, while a seemingly minor detail, plays a surprisingly significant role in your kitchen’s convenience and efficiency. When it’s accurate, it’s an incredibly handy tool, but when it’s displaying the wrong time, it can become an unexpected hindrance. Now equipped with the knowledge of how to set the time on your microwave’s clock, you can confidently ensure that you’re always getting the right time with just a glance at the display.
As we’ve highlighted, not all Samsung microwaves are identical in their control panel layouts and operational procedures. Some models utilize a rotary dial, others feature dedicated “Clock” buttons, and some require navigation through “Options” or “Settings” menus. Take a moment to examine your specific microwave beforehand to help you pinpoint which method applies to your appliance. If you encounter any unique challenges or your model seems to deviate from these general instructions, don’t hesitate to consult your microwave’s user manual. It remains the most definitive resource for model-specific guidance.
With these straightforward steps, you can keep your kitchen perfectly synchronized and avoid any temporal missteps. Good luck, and enjoy the convenience of a perfectly timed kitchen!
