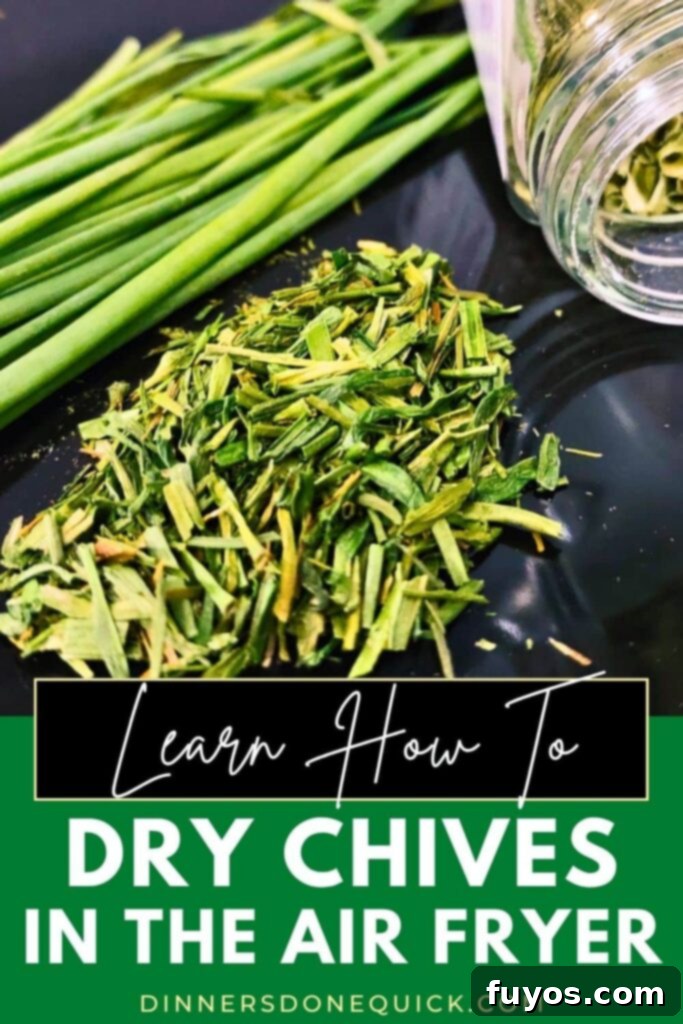
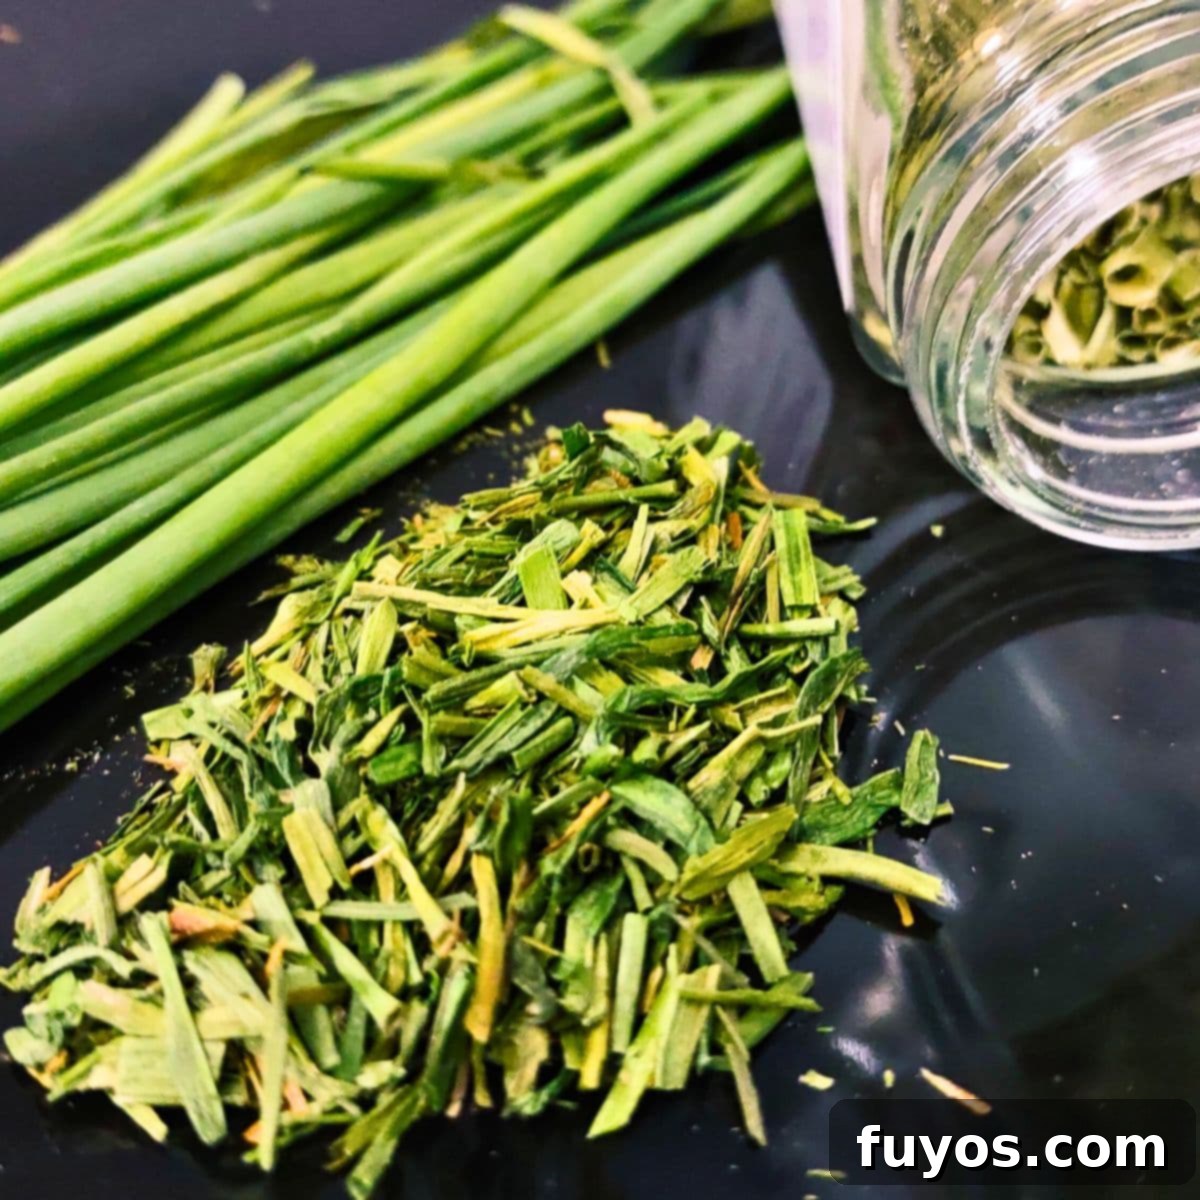
Quick & Easy: How to Dry Chives in the Air Fryer for Long-Lasting Freshness
Chives are undoubtedly one of my most cherished herbs. Their subtle, mild onion flavor adds a delightful complexity and freshness to countless dishes, making them an ideal topping or an elegant garnish. However, anyone who cultivates chives knows how vigorously they grow – almost like a weed! This abundance often leaves me pondering: how can I prevent this wonderful herb from going to waste? Fortunately, I’ve discovered a fantastic solution, and once you learn how to dry chives in the air fryer, you’ll possess the secret to preserving your fresh harvest with incredible ease and efficiency.
Why You’ll Love This Method
- Incredibly Quick: Forget waiting hours with traditional drying methods. With an air fryer, you can transform fresh chives into perfectly dried herbs in just a few minutes. This rapid dehydration means you can process even large batches without a significant time commitment, storing them away in a spice jar for future culinary adventures.
- Remarkably Simple: This method demands very little hands-on time, making it incredibly convenient for busy home cooks. There’s no need for constant turning or tending, and depending on the size of your air fryer basket, you can dehydrate a substantial amount of chives at once, streamlining your herb preservation efforts.
- Reduces Food Waste: Whether you’re dealing with leftover chives from a grocery store purchase or an overflowing herb garden, this air fryer technique is a fantastic way to extend the life of fresh herbs. Properly dehydrated chives can maintain their flavor and potency for up to a year, ensuring zero waste and a well-stocked pantry.
- Preserves Flavor and Aroma: While the flavor profile of dried chives differs slightly from fresh, this air fryer method locks in much of their distinctive savory taste and aroma. You’ll have access to a concentrated chive flavor that’s perfect for enhancing a variety of dishes when fresh chives aren’t readily available.
- Cost-Effective: Buying dried herbs from the store can add up. By drying your own chives, especially from your garden, you save money and gain the satisfaction of knowing exactly what’s in your spice jar – no unexpected additives or preservatives.
- No Specialized Equipment Needed: Unlike dedicated dehydrators, an air fryer is a common kitchen appliance in many homes. This means you don’t need to invest in additional gadgets to start preserving your herbs, making this method accessible and practical for almost anyone.
Katie’s tip
For an alternative method if you don’t own an air fryer, learn about drying chives in the microwave instead!
Quick + Easy Recipes
straight to your inbox
How to Dry Chives in an Air Fryer: Step by Step Guide
Drying chives in your air fryer is a straightforward process that yields excellent results. Follow these steps for perfectly dehydrated chives every time:
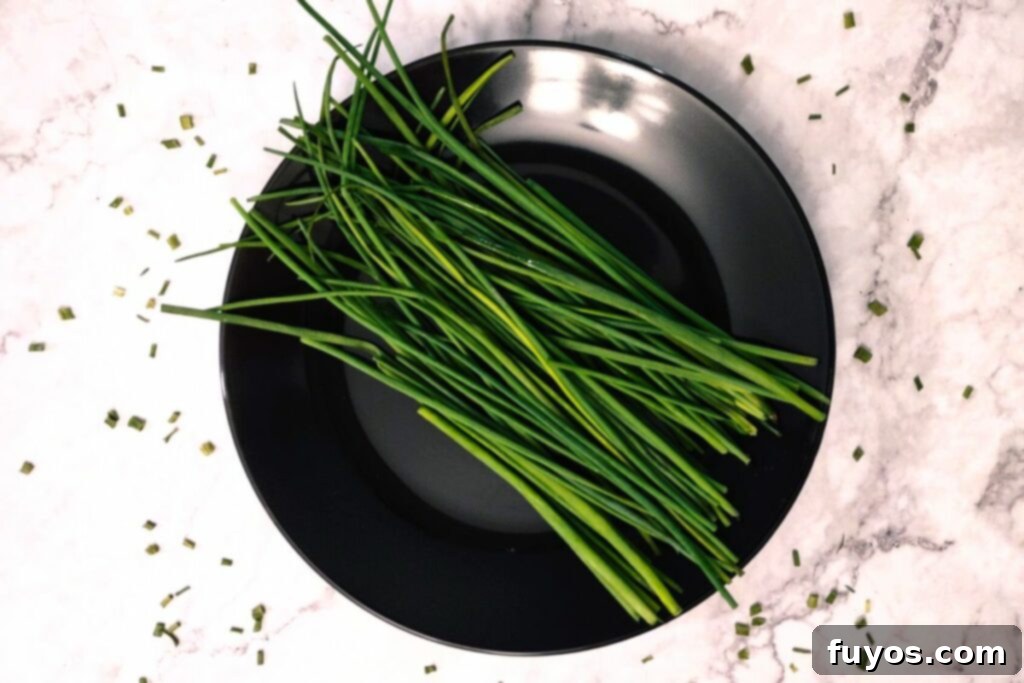
- Prepare Your Chives: Begin with a batch of fresh, clean, and thoroughly dry chives. It’s crucial to wash them first under cool running water to remove any dirt or debris, then pat them completely dry with a paper towel or use a salad spinner. Any excess moisture will steam the chives instead of drying them, leading to a less desirable outcome. Remember to remove any chive flowers or roots before proceeding.
- Preheat Your Air Fryer: Preheat your air fryer to 350°F (175°C). Just like baking, preheating ensures your chives start drying immediately and evenly. Consult your air fryer’s manual for specific preheating instructions.
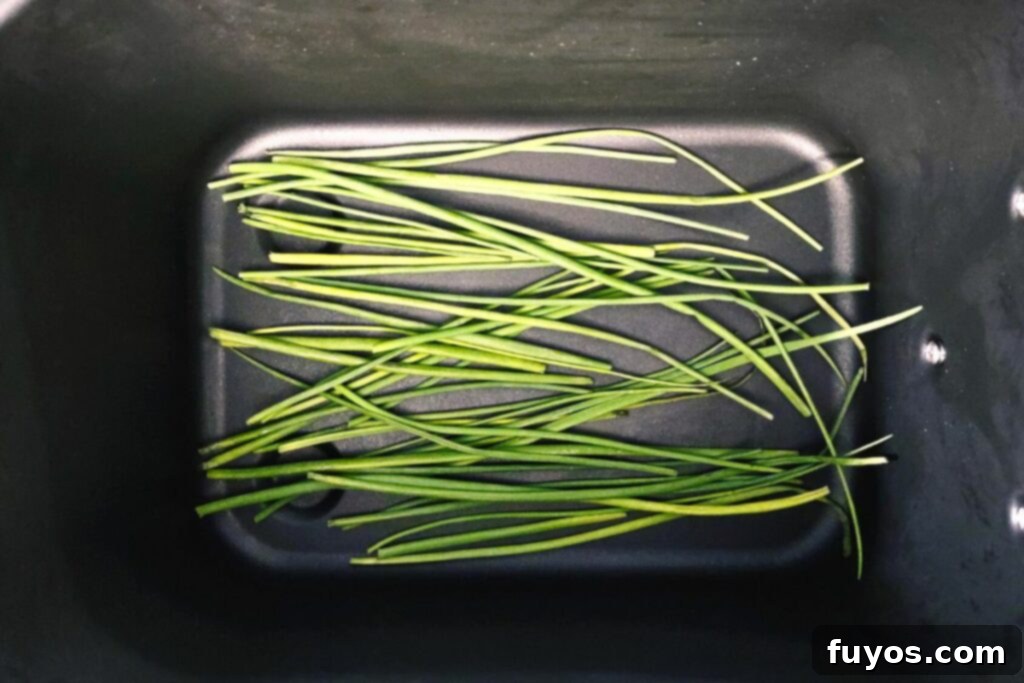
- Arrange Chives in the Basket: Carefully spread your clean, dry chives in a single, even layer in the air fryer basket. Avoid overcrowding, as this can hinder air circulation and result in uneven drying. If you have a large quantity of chives, it’s best to work in multiple batches. If necessary, you can trim the chive stalks to fit, but try to keep them as long as possible initially to prevent them from being blown around by the air circulation during cooking.
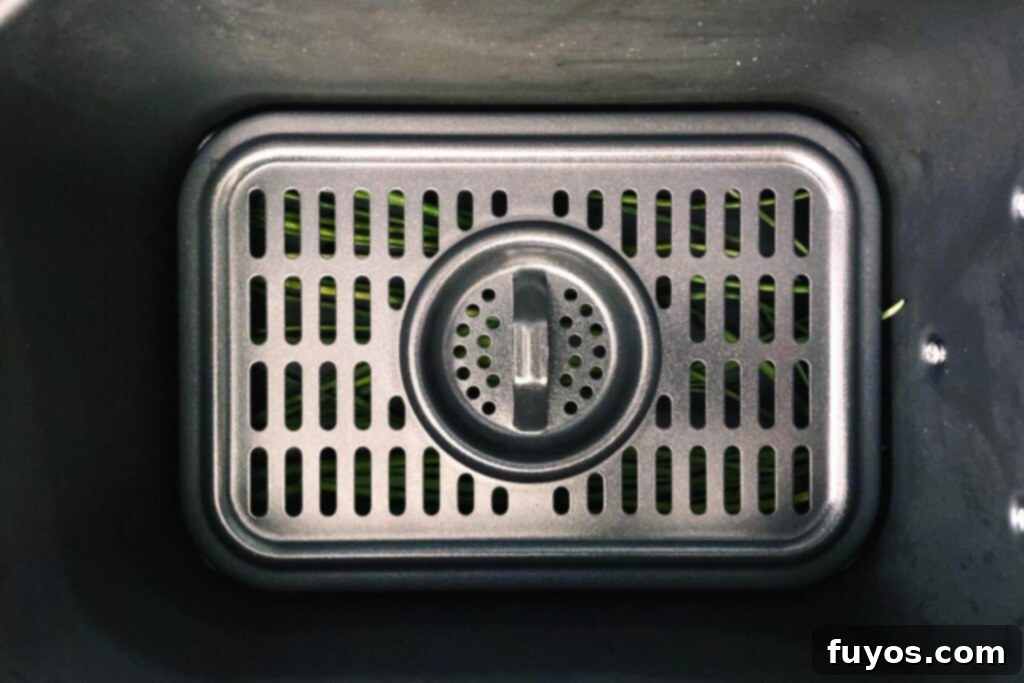
- Secure the Chives: To prevent the lightweight chives from flying around inside the air fryer and potentially burning or getting stuck in the heating element, cover them with a small air fryer-safe rack, tray, or trivet. This acts as a weight and barrier, ensuring they stay put for consistent drying.
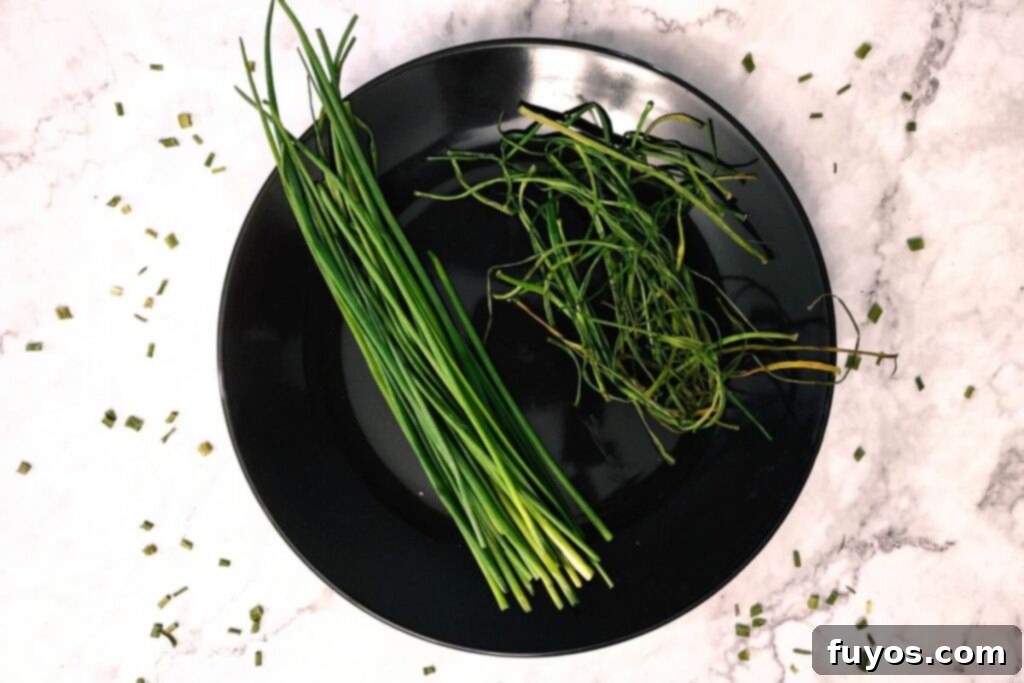
- Air Fry to Perfection: Place the basket into the preheated air fryer and air fry at 350°F (175°C) for an initial 2-3 minutes. Keep a close eye on them; the goal is for the leaves to become completely dry and crinkly to the touch, easily crumbling when gently squeezed.
- Check and Adjust: After the initial cooking time, carefully check the chives. If they haven’t reached the desired dryness, gently shake the basket to redistribute them and continue cooking in 1-minute increments, checking after each minute. Be very cautious not to overcook them; if they begin to turn brown or black, they are overdone and might have a bitter taste. The key is a vibrant green color and a brittle texture.
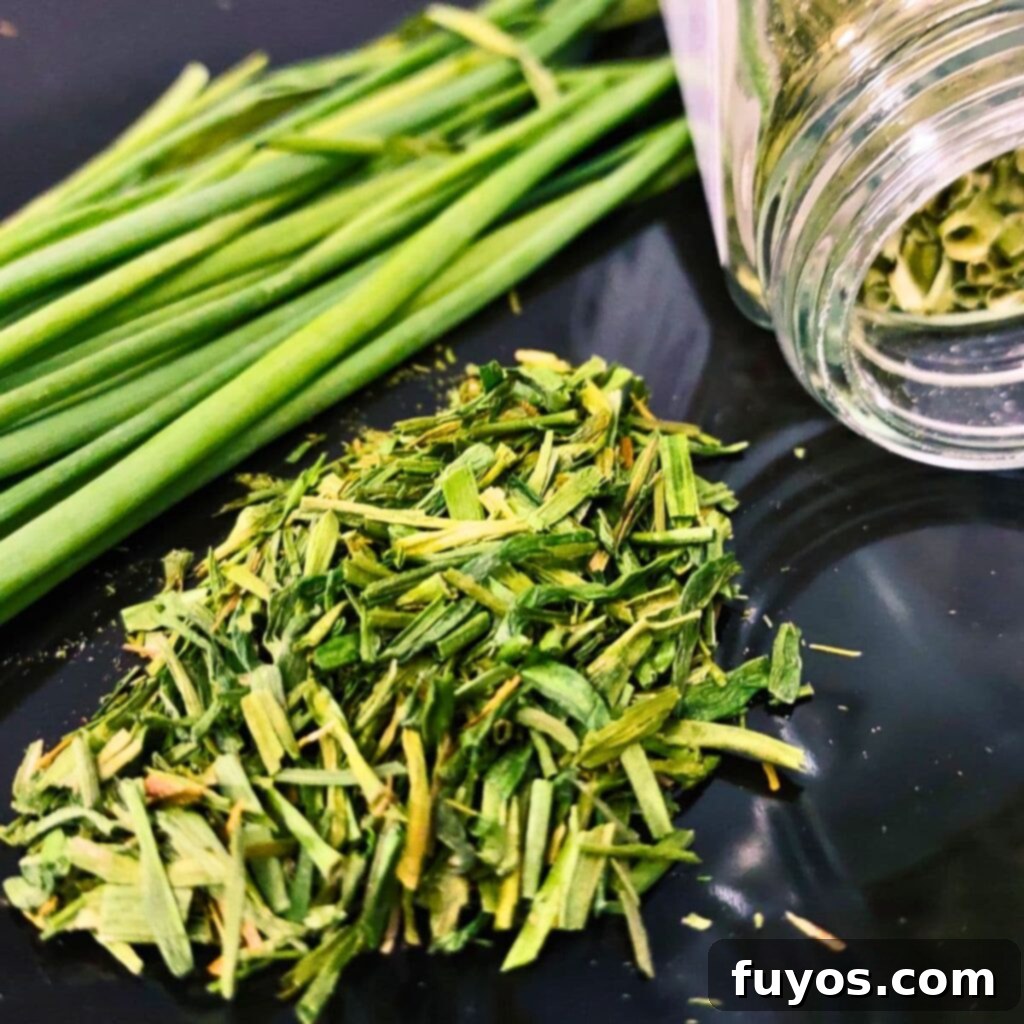
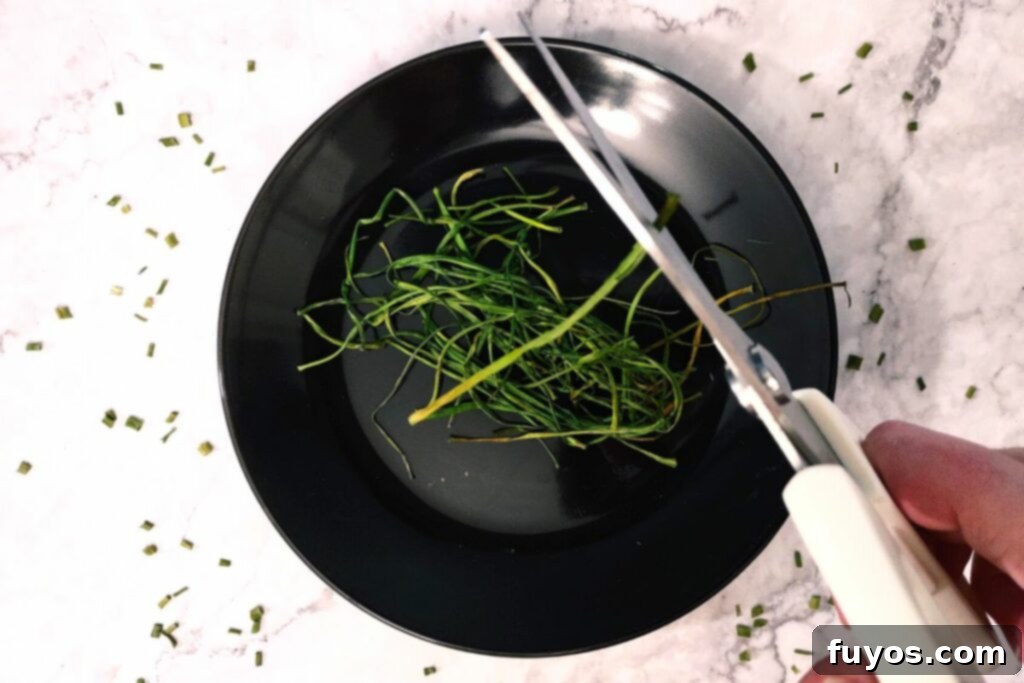
- Cut and Prepare for Storage: Once your chives are perfectly dehydrated, remove them from the air fryer basket and allow them to cool completely. Then, using a sharp chef’s knife, kitchen shears, or specialized herb scissors, cut them to your desired length. I prefer pieces about ¼ inch long, as this is versatile for various dishes, but feel free to chop them to your preference.
- Store Properly: To maximize their shelf life and flavor, store your dried chives in an airtight container or a clean spice jar. Keep them in a cool, dark, and dry place, such as a pantry or cupboard, to protect them from light and humidity. This will ensure they remain flavorful for 6-12 months.
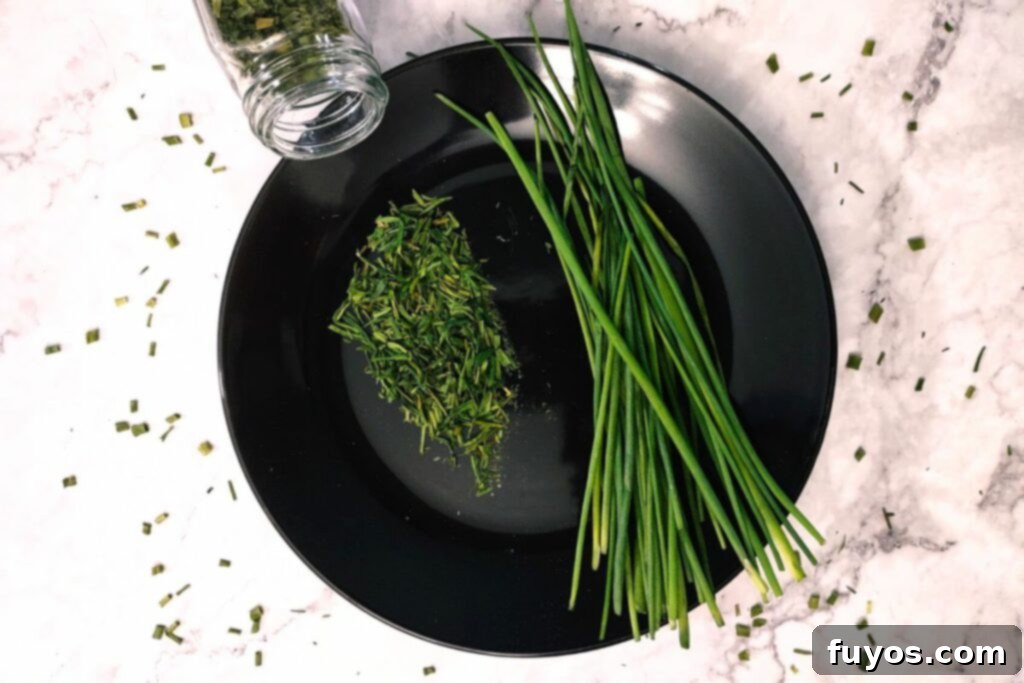
How to Use Dried Chives
Dried chives are a fantastic pantry staple, offering a convenient way to add a subtle oniony zest to your meals. Here are some versatile ways to incorporate them:
- Rehydrate if Needed: While you can certainly sprinkle them directly into many dishes for a flavor boost, rehydrating dried chives can often bring out more of their delicate essence. Simply soak them in a small amount of warm water or broth for 5–10 minutes before adding them to your cooking.
- Versatile Additions: Dried chives are incredibly adaptable. Stir them into scrambled eggs, omelets, or frittatas for a savory breakfast. Sprinkle them over baked potatoes, mashed potatoes, or potato salads. Incorporate them into homemade dips, salad dressings, and savory sauces. They are also excellent in soups, stews, and casseroles, adding a layer of flavor that complements many ingredients. Don’t forget to try them in savory baked goods, such as my delectable Bacon Cheddar Scones, or even in homemade chive butter.
- The Perfect Finishing Touch: Due to their delicate flavor, dried chives are often best added towards the end of the cooking process or used as a garnish. This helps preserve their nuanced taste and vibrant green color. For example, I love to reheat salmon in the air fryer and then finish it off with a generous sprinkle of dried chives, which adds both a pop of color and a subtle aromatic lift.
More Recipes Using Dried Chives
Creamy Air Fryer Leek and Potato Soup – Easy & Comforting
Easy Air Fryer Mini Ham and Cheese Quiche with Crust
Air Fryer Eggs Benedict Recipe: Up Your Brunch Game!
Air Fryer Egg Salad: Easy Creamy Sandwich Filling!
Recipe FAQs About Drying Chives
Can You Dry Chives in an Oven?
Yes, you can absolutely dry chives in an oven as an alternative method. To do so, first wash, thoroughly dry, and then carefully cut your chives into small, approximately ¼-inch long segments. Spread them evenly on a baking sheet lined with parchment paper. Bake them at the absolute lowest temperature setting your oven can maintain, ideally below 200°F (93°C), for about 1-2 hours. You’ll need to monitor them closely and regularly, turning them occasionally to prevent burning. While effective, this method often takes significantly longer than an air fryer, requires more attention, and will heat up your kitchen, making the air fryer a much more convenient and energy-efficient choice for dehydrating chives.
Can You Dry Herbs in an Air Fryer Without a Dehydrator?
Absolutely! The beauty of the air fryer method is that it allows you to effectively dry a variety of herbs, including chives, even if you don’t own a dedicated dehydrator. An air fryer uses a powerful fan to circulate hot air, which mimics the dehydration process. The key is to use a relatively low temperature setting and to check on the herbs frequently, as they can dry out much faster than in a traditional dehydrator – typically within 1–2 hours, depending on your specific air fryer model and the type of herb.
Can You Freeze Fresh Chives?
Yes, freezing is another excellent and popular way to preserve the fresh flavor of chives. To freeze them, simply wash and thoroughly dry the chives, then finely chop them. You can then store the chopped chives in a freezer-safe bag, removing as much air as possible, or in an airtight container. For convenient portioning, you can also freeze them in ice cube trays with a small amount of water or olive oil, which makes them easy to add directly to cooked dishes. Frozen chives retain their flavor and texture well for several months.
What’s the Best Way to Dry Fresh Chives?
Among the various methods, using an air fryer on a low temperature setting, a traditional electric dehydrator, or air-drying in a warm, well-ventilated area are generally considered the best ways to dry fresh chives. The air fryer method stands out for its speed and convenience, offering perfectly dried chives in minutes rather than hours or days. However, due to its efficiency, it’s crucial to check your chives often to prevent over-drying or browning, which can compromise their flavor and appearance. For most home cooks seeking quick and easy preservation, the air fryer is highly recommended.
How can I tell if my dried chives are fully dehydrated?
Fully dehydrated chives should be brittle and easily crumble between your fingers. They will have lost all their moisture and should feel papery or crispy, not pliable or damp. The color should remain a vibrant green, not brownish or black, which indicates overcooking. A good test is to take a few pieces and try to snap them; if they bend instead of breaking, they need more drying time.
Do dried chives taste exactly like fresh chives?
Dried chives will have a more concentrated and slightly different flavor profile compared to fresh chives. While they retain the characteristic mild oniony taste, the fresh, bright, and slightly pungent notes found in raw chives will be more subdued. However, dried chives still add excellent flavor to cooked dishes, especially when incorporated early in the cooking process or rehydrated.
Tips For the Best Dried Chives
- Optimal Drying Time: On average, it takes me approximately 3 minutes to dry a single layer of chives in my air fryer. This time can vary slightly depending on the thickness of your chives and your specific air fryer model, so always start with the minimum time and add in small increments.
- Utilizing a Dehydrate Function: Some advanced air fryer models come equipped with a dedicated “dehydrate” function. While you can certainly use this setting, be prepared for a much longer drying process, typically 3-4 hours. In my experience, the standard air fry setting at 350°F for a few minutes yields a similar quality result in a fraction of the time, making it the more efficient option.
- Monitor Closely: Drying time is highly variable and can be influenced by several factors: the total amount of chives you’re drying, the wattage of your air fryer, the size of its basket, and even the humidity in your kitchen. Always add additional cooking time in very small increments (e.g., 1 minute at a time) and check the chives frequently to avoid over-drying.
- The Importance of Pre-Drying: After washing, ensure your fresh chives are as dry as possible before placing them in the air fryer. Excess water can lead to steaming, which prevents proper dehydration and can result in soggy, rather than crispy, dried chives.
- Avoid Cutting Before Drying: Resist the urge to chop your chives before drying. Small, lightweight pieces will be much more prone to flying around inside the air fryer, even with a rack. It’s best to dry them whole or in longer segments, then cut them to your desired size after they are fully dried and cooled.
- No Oil Needed: There is absolutely no need to add any oil or other ingredients when air frying chives for dehydration. You want them to dry out completely, not to crisp up with oil.
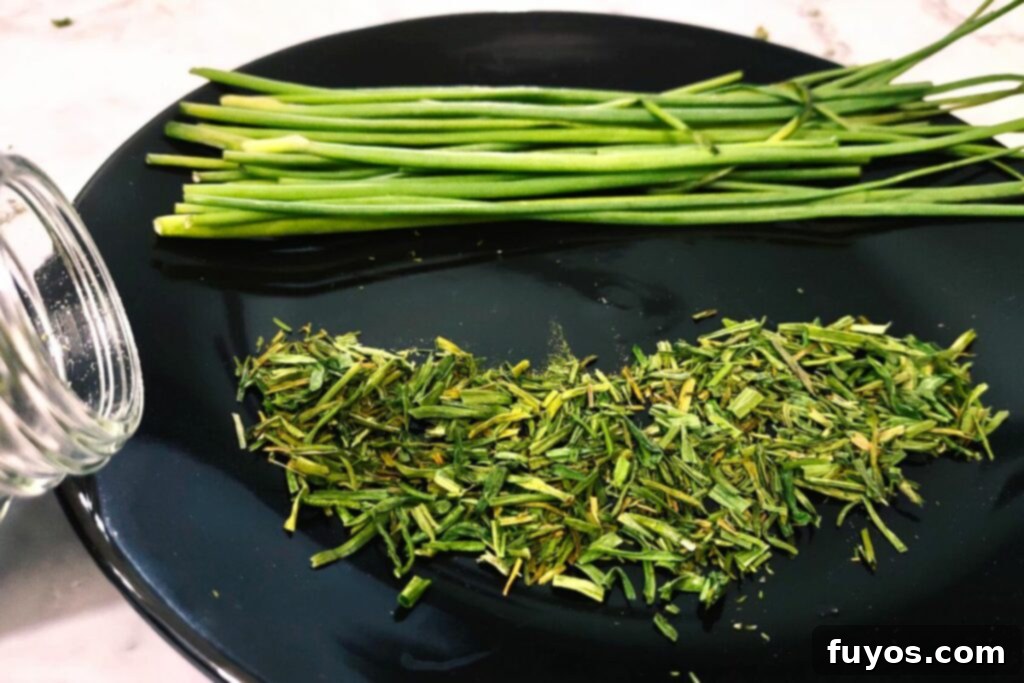
Storage Tips for Dried Chives
Proper storage is essential to maintain the flavor, aroma, and longevity of your homemade dried chives. Follow these guidelines:
- Choose the Right Container: Store dried chives in an airtight container. Glass jars with tight-fitting lids (like Mason jars), small spice jars, or specialized spice tins are ideal. These prevent moisture and air from reaching the herbs, which are the primary culprits for spoilage.
- Avoid Moisture at All Costs: Ensure your chives are 100% completely dried before transferring them to storage. Any residual moisture can lead to mold growth, rendering your efforts (and your chives) unusable. If you see any condensation forming inside the container, take the chives out, re-dry them for a minute or two, and let them cool completely before storing again.
- Cool, Dark, and Dry Place: Light and heat can degrade the flavor and color of dried herbs over time. Store your airtight containers in a cool, dark, and dry pantry or cupboard, away from direct sunlight, stovetetop heat, or any moisture sources.
- Understanding Shelf Life: When stored correctly, dried chives can last effectively for 6–12 months. While they may remain safe to consume beyond this period, their flavor and potency will gradually diminish. For the best culinary results, aim to use them within the first 3–6 months after drying, when their flavor is at its peak.
- Checking for Spoilage: Before use, always inspect your dried chives. They should maintain a green color and a mild, pleasant aroma. Discard any chives that appear discolored (brown or black), smell off or musty, or show any signs of mold.
More Air Fryer Dried Herb Recipes
How to Dry Rosemary in the Air Fryer Quick and Easy
Dehydrating Thyme in the Air Fryer: A Helpful Guide
How to Dry Fresh Basil in the Air Fryer: Quick Dehydration!
Dried Herbs: How to Dehydrate Parsley in the Air Fryer
How to Dry Oregano in the Air Fryer: Herb Dehydration!
How to Dry Mint in the Air Fryer: Quick Dehydration Method!
How to Dry Sage in the Air Fryer – Quick and Easy
Final Thoughts on Air Frying Chives
Now that you’re equipped with the knowledge that you can efficiently dry chives in your air fryer, transforming fresh herbs into a lasting spice in just about 5 minutes (including preheating time), you’ll likely find yourself preferring this method for all your herb dehydration needs. It’s truly a game-changer!
I absolutely adore how quick and straightforward this technique is. It eliminates the guesswork and the need for constant supervision, making the process of preserving your homegrown herbs or grocery store finds incredibly simple and stress-free. It’s an ideal way to safeguard an overabundance from your herb garden, ensuring you have access to that wonderful chive flavor all year round.
I incorporate dried chives into a multitude of dishes, but they are particularly outstanding as a topping for a simple baked potato. Imagine this: you just reheat a baked potato in the microwave or air fryer, then lavish it with a generous sprinkle of your homemade dried chives, some sharp cheddar cheese, a dollop of sour cream, and any other delicious toppings you desire. The result is pure comfort and incredible flavor, all thanks to your quick and easy herb preservation! Give this method a try and elevate your home cooking with your own perfectly dried chives.
Easy Dried Chives in the Air Fryer
Equipment
-
Air Fryer
-
Air fryer rack, trivet, or shelf
-
Chef’s knife or similar
Ingredients
- 35-40 leaves fresh chives
Instructions
-
Start with fresh chive leaf clippings, washing them thoroughly and ensuring they are completely dry before proceeding. Remove any flowers or roots.35-40 leaves fresh chives
-
Preheat your air fryer to 350 degrees F (175°C), following your manufacturer’s guidelines for optimal preheating.
-
If necessary, trim the chive leaves to ensure they fit comfortably in your air fryer basket without overlapping excessively. Keep them as long as possible to prevent them from blowing around.
-
Spread your chives in a single, even layer in the preheated air fryer basket. Then, place an air fryer-safe rack, trivet, or shelf on top of the chives to secure them and prevent them from flying around during the air frying process.
-
Air fry your chives for an initial 2-3 minutes. If additional time is needed to achieve complete dryness, gently shake the basket and continue to cook in 1-minute intervals until the chives are completely dry and crinkly to the touch. Be careful not to overcook them; if they begin to turn brown or black, they are overdone.
-
Remove the dehydrated chives from the air fryer basket and allow them to cool completely. Once cooled, cut them to your desired length using a chef’s knife, kitchen shears, or herb scissors.
-
Store your chopped, dry chives in an airtight container or spice jar in a cool, dark, and dry place for optimal freshness.
Notes
- Only dry the chive leaves – ensure any chive flowers and/or roots are removed before drying.
- For even heating and efficient drying, avoid stacking chives too deep. If you have a large quantity, make sure to dry chives in batches. On average, it takes about 3 minutes per batch if the basket isn’t overcrowded.
- There’s no need to add oil or any other additional ingredients as part of the drying process. The goal is to dehydrate them, not cook them with fat.
- I typically use my normal air fryer rack to secure the chives. However, if your air fryer doesn’t have a shelf or rack, you can try securing the leaves together loosely using kitchen twine, a small piece of foil, or even silicone food bands to keep them from flying around inside the appliance.
- Should your chives start to brown or blacken during the drying process, it indicates that you have overcooked them. Adjust your cooking time in smaller increments in the future.
- I normally cut my dried chives to about ¼” long using kitchen shears before storing, but the length is entirely your choice. They will naturally curl up a bit when air frying, so choose whatever chopping method is easiest for you after they are dry.
- Do not cut the chives before drying, as the small pieces will undoubtedly fly all over your air fryer basket, even with a rack on them.
- Dried chives keep well for up to a year when stored properly in an airtight container, though their flavor and potency are best within the first 3-6 months.
Nutrition
Number of total servings shown is approximate. Actual number of servings will depend on your preferred portion sizes.
Nutritional values shown are general guidelines and reflect information for 1 serving using the ingredients listed, not including any optional ingredients. Actual macros may vary slightly depending on specific brands and types of ingredients used.
To determine the weight of one serving, prepare the recipe as instructed. Weigh the finished recipe, then divide the weight of the finished recipe (not including the weight of the container the food is in) by the desired number of servings. Result will be the weight of one serving.

Did you try this recipe?
Mention @TheDinnersDoneQuick or tag #dinnersdonequick! for even more!
Pin Recipe
Leave A Review
