Mastering Air Fryer Maintenance: Your Ultimate Guide to Cleaning a Ninja Air Fryer
Air fryers have soared in popularity over recent years, transforming the way many of us approach healthy cooking. These versatile kitchen appliances offer a fantastic way to enjoy crispy, delicious meals with significantly less oil than traditional frying methods, all in a fraction of the time. From perfectly golden fries and succulent chicken wings to roasted vegetables and even baked goods, the possibilities with an air fryer are nearly endless. Among the myriad brands available, Ninja air fryers stand out for their innovative features, robust performance, and user-friendly design, making them a top choice for home cooks everywhere.
However, just like any frequently used kitchen appliance, an air fryer requires consistent care to maintain its peak performance and ensure hygienic operation. Regular cleaning is not merely about aesthetics; it’s fundamental to preventing the buildup of food residue, grease, and harmful bacteria, which can compromise both the taste of your food and your family’s health. A well-maintained air fryer also operates more efficiently, cooks food more evenly, and significantly extends the lifespan of the appliance itself. Neglecting regular cleaning can lead to unpleasant odors, reduced cooking effectiveness, and even potential safety hazards like smoking.

If you’re a proud owner of a Ninja air fryer, understanding the proper cleaning techniques is crucial for its longevity and optimal function. This comprehensive guide will demystify the process, providing you with a step-by-step approach to effectively clean your Ninja air fryer, ensuring it remains in pristine condition and continues to deliver delicious results for years to come.
We’ll walk you through everything, from identifying the key components that need attention to the specific tools and methods required for a thorough clean. By following these simple steps, you’ll not only enhance your air fryer’s performance and lifespan but also enjoy healthier, tastier meals. So, let’s dive into the essential art of Ninja air fryer maintenance!
Once your Ninja air fryer is sparkling clean, we can also show you the right way to preheat a Ninja air fryer so you’re ready to cook anything with optimal results!
Let’s get started on bringing that shine back to your essential kitchen companion!

Our Top Pick
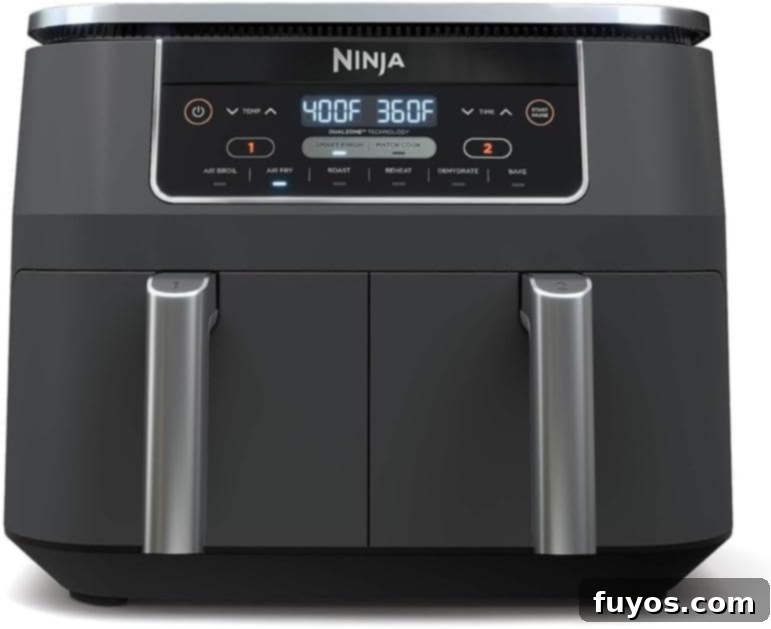
Ninja DZ201 Foodi 8 Quart DualZone 2-Basket Air Fryer
Quick + Easy Recipes
straight to your inbox
Understanding Your Ninja Air Fryer: Key Components for Cleaning
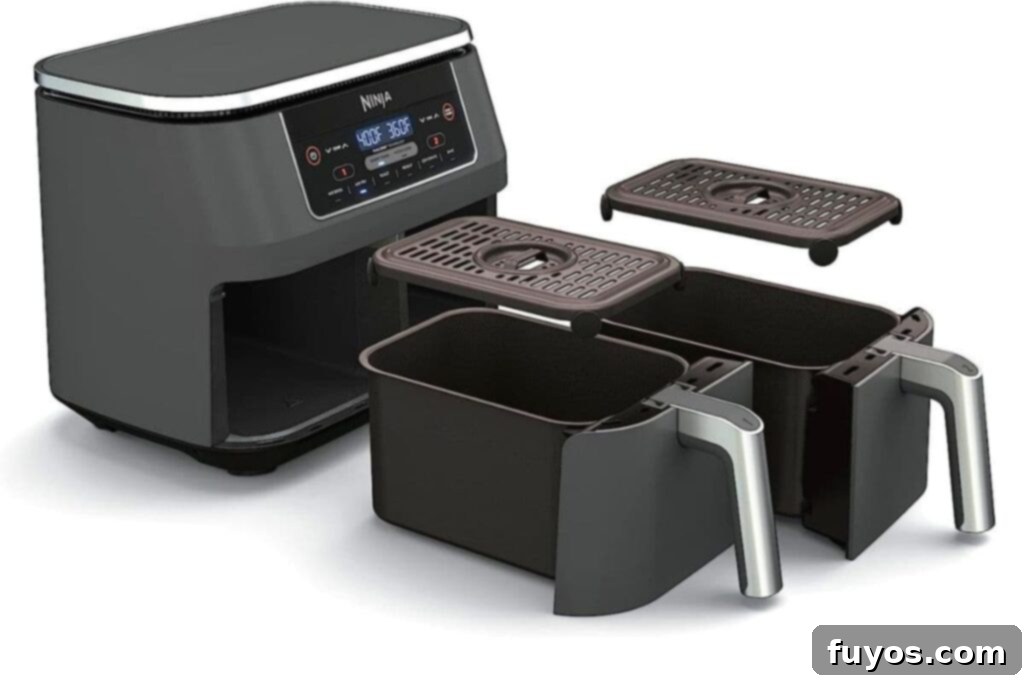
Before diving into the cleaning process, it’s beneficial to understand the different components of your Ninja air fryer and why each requires specific attention. A typical Ninja air fryer is comprised of several distinct parts, each playing a vital role in its cooking function and, consequently, its cleaning routine.
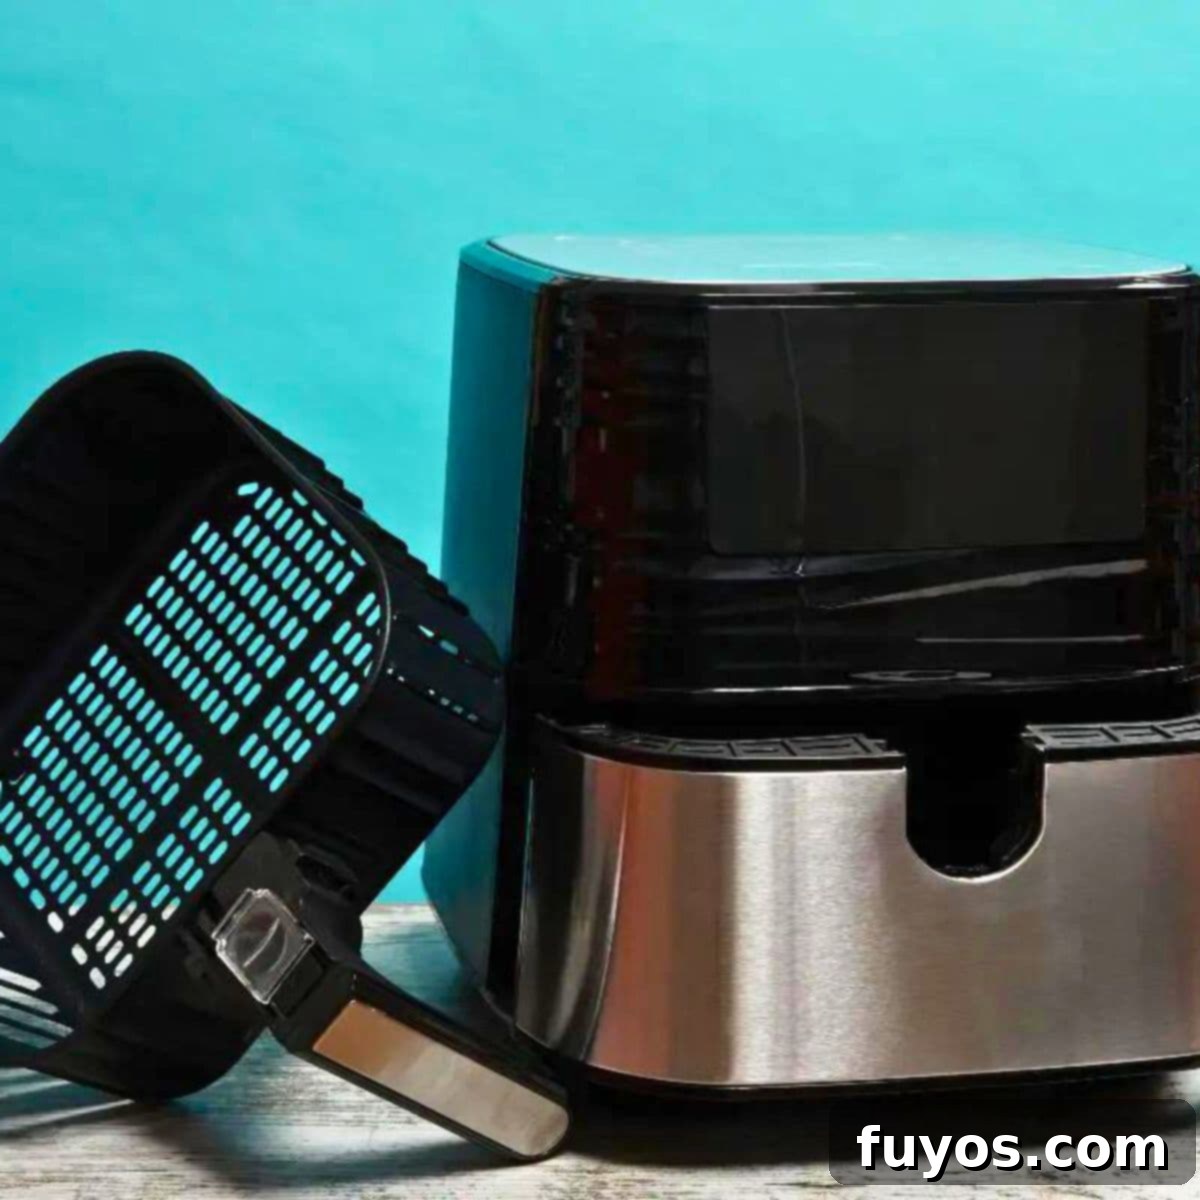
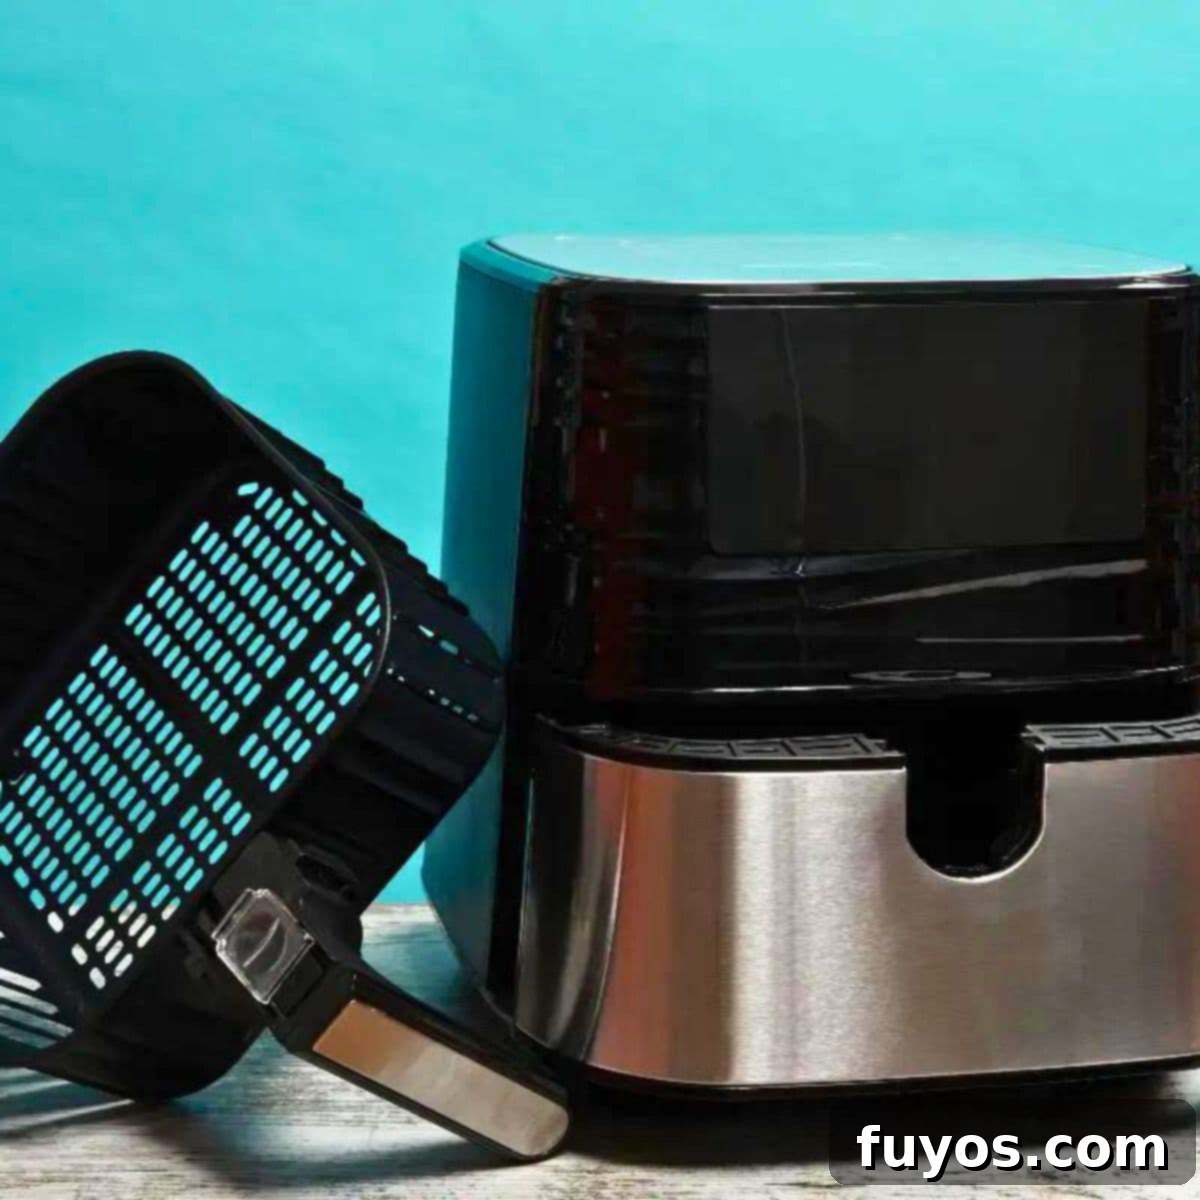
- The Fryer Basket: This is the primary container where your food is placed for cooking. In Ninja models, it’s often made with a durable non-stick coating for easy food release. Due to direct contact with food and cooking oils, the air fryer basket accumulates the most grease and food particles, making it the most frequently cleaned component.
- The Crisper Plate (or Tray): Positioned inside the fryer basket, this perforated plate allows hot air to circulate evenly around your food, ensuring that signature crispy texture. It’s designed to elevate food, preventing it from sitting in excess oil or juices. Like the basket, it collects food debris and grease, and its perforations can trap smaller particles, requiring careful cleaning.
- The Main Air Fryer Appliance (Housing): This is the outer body of the air fryer, containing the heating element, fan, and control panel. While it doesn’t come into direct contact with food during cooking, splatters, spills, and everyday dust can accumulate on its exterior. It houses sensitive electrical components, meaning it must never be submerged in water.
- The Heating Element: Located at the top interior of the main unit, this metal coil is responsible for generating the intense heat that cooks your food. Over time, grease and food particles can splatter and bake onto the heating element, impacting its efficiency and potentially causing smoke or odors during operation.
All these parts are exposed to food and cooking byproducts, highlighting the critical need for regular cleaning to maintain hygiene and optimal performance. Neglecting any of these areas can lead to diminished cooking results, the risk of bacteria buildup, and even an unpleasant smell or smoke during use. While the basket and crisper plate usually need cleaning after every use, the main body and heating element require less frequent, but equally important, attention.
Luckily, cleaning your Ninja air fryer is a straightforward process designed to be quick and easy, so you can spend less time scrubbing and more time enjoying delicious, air-fried meals!
Katie’s Tip
This process is also very similar to how to clean a Cuisinart air fryer or other popular air fryer brands, so if you have a different model, these general principles of component identification and cleaning methods will still apply!
Now that we’re familiar with the various parts of your Ninja air fryer that require cleaning, let’s explore the step-by-step methods for getting them spotless.
How To Clean Your Ninja Air Fryer In 5 Easy Steps!
Achieving a spotless Ninja air fryer is a simple process when you follow these clear, actionable steps. Consistent cleaning ensures not only hygiene but also the longevity and efficiency of your appliance. Here’s your comprehensive guide to getting it done right:

Step One: Prioritize Safety – Unplug and Let Cool
Safety is paramount before you begin any cleaning. First things first, ensure your air fryer is completely switched off and unplugged from the wall socket. This eliminates any risk of electric shock during the cleaning process. Next, and equally important, you must allow your air fryer to cool down completely. The interior of an air fryer, particularly the heating element and cooking basket, can reach extremely high temperatures during use, posing a significant burn risk if handled too soon. Depending on how long and at what temperature you’ve been cooking, this cooling period could range from 15 minutes to an hour. It’s always better to wait longer and be safe, ensuring all surfaces are cool to the touch.
If you’re in a hurry and need to expedite the cooling process for the removable parts, you can carefully remove the fryer basket and crisper plate (using oven mitts if still warm) and run them under cold tap water. This will help them cool down more rapidly. However, never attempt this with the main unit of the air fryer, which should cool naturally on its own.
While waiting for it to cool, gather your cleaning supplies: mild dish soap, a soft sponge or cloth, a non-abrasive brush (optional, for stubborn bits), and paper towels or a microfibre cloth for wiping the exterior. Having these ready will make the cleaning process smoother and more efficient.
Step Two: Cleaning Removable Parts – Dishwasher Method
Once the removable parts of your air fryer – specifically the fryer basket and the crisper plate – are cool enough to handle safely, you have the option of using a dishwasher for a convenient clean. This is often one of the easiest ways to handle the bulk of the cleaning. Many Ninja air fryer components are designed to be dishwasher-safe, typically on the top rack. Always consult your specific Ninja model’s user manual to confirm compatibility, as specific models and their components can vary in their dishwasher safety.
Simply place the fryer basket and crisper plate in your dishwasher, making sure they are positioned securely and don’t block the spray arms or interfere with other dishes. Use your regular dishwasher detergent. The high-pressure hot water and detergent in the dishwasher will effectively remove most food residue and grease, leaving them sparkling clean. However, remember this crucial distinction: only the removable basket and crisper plate are dishwasher-safe. The main appliance unit, which contains electrical components, must never be put in a dishwasher or submerged in water.
Step Three: Cleaning Removable Parts – Hand Washing Method
If you prefer to hand wash your air fryer components, or if you don’t have a dishwasher, rest assured that cleaning them manually is just as effective and straightforward. The fryer basket and crisper plate in Ninja air fryers are typically coated with a durable ceramic non-stick finish, which makes cleaning off food residue surprisingly easy with the right tools.
Start by filling your sink with warm, soapy water using a mild dish soap. Place the basket and crisper plate into the water to soak for about 10-15 minutes. This soaking time is excellent for loosening any baked-on food or stubborn grease, making subsequent scrubbing much easier. After soaking, use a soft sponge, a non-abrasive dish brush, or a microfiber cloth to gently scrub away any remaining residue. The non-stick coating should allow food to come off with minimal effort.
For particularly stubborn, caked-on bits, you can create a paste with baking soda and a little water, apply it to the affected areas, let it sit for a few minutes (e.g., 5-10 minutes), and then gently scrub with your soft sponge or brush. Avoid using any abrasive sponges, steel wool, or harsh scourers, as these can easily damage the ceramic non-stick coating, leading to chipping and reduced performance. Rinse all parts thoroughly under warm running water to remove all soap residue. Ensure they are completely dry before reassembling or storing to prevent water spots, mineral buildup, or mildew. Again, emphasize: do not submerge the main air fryer unit in water under any circumstances.
Step Four: Wiping Down the Main Air Fryer Unit (Exterior and Interior)
The main body of your Ninja air fryer, filled with electrical components and intricate wiring, cannot be washed in the same way as the removable parts. Instead, a careful wipe-down is required. Begin by taking a damp, soft cloth or paper towel, lightly moistened with water, and a tiny drop of mild dish soap if needed. Gently wipe down the entire exterior of the appliance. Pay special attention to areas that are frequently touched, such as the control panel, buttons, and handles, as these can accumulate grime and fingerprints quickly.
For the interior of the main unit (the cavity where the basket sits), use a separate, slightly damp cloth to wipe away any crumbs, grease splatters, or condensation that might have collected. Ensure the cloth is not dripping wet, as excessive moisture near electrical components can be dangerous and cause damage. Never spray cleaning solutions directly onto the air fryer, especially near vents or openings. This internal wipe-down doesn’t necessarily need to happen after every single use, but aim for at least once a week if you use your air fryer frequently, or as needed when you notice buildup.
After wiping, use a dry cloth or paper towel to ensure all surfaces are completely dry before plugging the unit back in or using it again. This prevents water stains and protects the electrical components from moisture damage.
Step Five: Cleaning the Heating Element for Optimal Performance
The heating element, the metal coil located at the top interior of your air fryer, is arguably one of the most critical parts to keep clean for both performance and safety. Over time, grease and small food particles can splatter upwards and bake onto this element. This buildup not only reduces the heating element’s efficiency, leading to uneven cooking and longer cooking times, but it can also cause your air fryer to produce smoke or emit unpleasant odors during operation. In fact, stuck-on residue on the heating element is a leading cause for why your air fryer is smoking during the cook cycle. Keeping it clean is paramount for safety and optimal air frying results!
To clean the heating element, ensure the air fryer is completely cool and unplugged. Turn the air fryer upside down (if your model allows safely) or tilt it carefully to get better access to the heating coil. Using a soft, damp cloth or a non-abrasive sponge, gently wipe away any visible grease or food particles. For stubborn, baked-on residue, a soft-bristled brush (like an old toothbrush dedicated for cleaning) can be very effective at dislodging trapped grime. You can also lightly moisten the cloth with a solution of water and a tiny bit of white vinegar or mild dish soap for tougher spots, but ensure it’s barely damp and never dripping. Scrub gently, being careful not to bend or damage the delicate coil.
After cleaning, use a dry cloth to wipe the element thoroughly, ensuring absolutely no moisture remains. This step is crucial to prevent electrical issues. Allow the air fryer to air dry completely for an hour or two with the drawer open before turning it upright or plugging it back in. The heating element does not need to be cleaned after every use, but it’s wise to check it periodically (e.g., once a month for regular users) and clean it as needed to prevent significant buildup and maintain optimal cooking performance and safety.
Deep Cleaning Your Ninja Air Fryer: Tackling Stubborn Grease
Even with regular light cleaning, sometimes stubborn grease and baked-on residue can build up, especially if you cook fatty foods frequently or haven’t deep-cleaned in a while. A deep clean every few months or whenever you notice significant accumulation can restore your air fryer to its near-original condition. For this, you might need a slightly more potent, yet still safe, cleaning approach.
- For the Basket and Crisper Plate: If soaking in dish soap water isn’t enough, try a mixture of baking soda and vinegar. Create a thick paste with baking soda and a little water, spread it over the greasy areas, then spray white vinegar over it. The fizzing reaction helps lift stubborn grime. Let it sit for 15-30 minutes before scrubbing gently with a soft brush or sponge and rinsing thoroughly. This method is excellent for breaking down tough grease without harsh chemicals.
- For the Interior Cavity (Non-Removable): If there’s baked-on grease inside the main unit’s cavity (below the heating element), you can use a lemon or white vinegar solution to create steam. Fill a small, oven-safe bowl (like a ceramic ramekin) with a mixture of water and lemon slices or a cup of white vinegar. Place it inside the air fryer and run the air fryer at a low temperature (e.g., 300°F / 150°C) for 10-15 minutes. The steam created will help loosen grease and neutralize odors. After it cools completely, wipe down the interior with a damp cloth, following with a dry cloth to ensure all moisture is removed.
Always ensure all components are completely dry before reassembling or operating the air fryer after a deep clean, as any residual moisture can pose a safety risk.
Tips for Keeping Your Ninja Air Fryer Cleaner, Longer
Proactive measures can significantly reduce the frequency and intensity of your cleaning efforts, keeping your air fryer in top shape with minimal fuss:
- Use Air Fryer Liners: Parchment paper liners or reusable silicone liners specifically designed for air fryers can catch most food drippings and residue, especially when cooking greasy items. This makes cleanup a breeze – simply discard or wash the liner.
- Wipe Down Immediately After Use: Once the air fryer has cooled, a quick wipe of the basket and crisper plate with a paper towel or damp cloth can prevent food from drying and sticking, turning a simple wipe into an easy task.
- Don’t Overcrowd the Basket: Overcrowding your air fryer can lead to uneven cooking and more splatters, increasing the mess within the basket and potentially onto the heating element. Cook in smaller batches if necessary to ensure proper air circulation and reduce mess.
- Trim Excess Fat: Before cooking meats, trim off any excessive fat to minimize grease drippings that can accumulate in the basket and splatter onto the heating element, reducing smoke and mess.
- Regular Checks: Periodically check the heating element and the interior cavity for any buildup, even if you don’t perform a full deep clean. Addressing small issues quickly prevents them from becoming major cleaning challenges.
Common Air Fryer Cleaning Mistakes to Avoid
To ensure the longevity, safety, and continued excellent performance of your Ninja air fryer, be mindful of these common cleaning pitfalls that can cause damage or safety hazards:
- Using Abrasive Cleaners or Tools: Steel wool, harsh abrasive sponges, scourers, or strong chemical cleaners (like oven cleaner) can scratch or strip the non-stick coating of the basket and crisper plate, damaging them and potentially making future cleaning harder. They can also damage the exterior finish. Always opt for soft sponges and mild detergents.
- Submerging the Main Unit: This is a critical safety warning. Never submerge the main air fryer appliance in water or place it under a running tap. It contains electrical components that can be severely damaged by water, leading to malfunction, short circuits, and posing a serious electrical hazard.
- Neglecting to Dry Parts Properly: Leaving removable parts damp can lead to water spots, mineral buildup, mildew growth, or even rust on certain components over time. For the main unit, any residual moisture near electrical parts is dangerous. Always ensure all components are completely dry before reassembling or storing.
- Cleaning While Hot or Plugged In: Always prioritize safety. Ensure the unit is unplugged from the power outlet and fully cooled down before touching any parts for cleaning. This prevents burns and electrical shocks.
- Overlooking the Heating Element: While not cleaned after every use, neglecting the heating element entirely can lead to accumulated grease and food particles, resulting in smoke, bad odors, and reduced efficiency. Make periodic cleaning of this part a priority.
Final Thoughts on Ninja Air Fryer Cleaning
And there you have it – your complete guide to effectively cleaning your Ninja air fryer! By diligently following these steps and incorporating regular maintenance into your kitchen routine, you’ll ensure your air fryer remains a hygienic, efficient, and long-lasting tool for preparing delicious meals. A clean air fryer not only performs better, cooking your food evenly and without unwanted smells, but it also provides peace of mind, knowing that you’re preparing food in a safe and sanitary environment.
Remember, regular care is an investment in your appliance’s health and your culinary enjoyment. It’s a simple process that yields significant returns in terms of food quality, appliance lifespan, and overall kitchen hygiene. So now that you know how to clean a Ninja air fryer, all you need to do is put your newfound knowledge into practice. Don’t let grime diminish your air frying experience – embrace consistent cleaning and enjoy the maximum benefits of this fantastic kitchen gadget!
To get started on your next culinary adventure with your now-pristine appliance, check out our list of the 5 best Ninja Foodi Dual Zone air fryer recipes. Use these instructions, and you can have a clean, ready-to-go air fryer in just a few minutes, prepared to tackle any recipe you throw its way.
Katie’s Tip
We also compiled a guide on how to use a Bella air fryer which can help newcomers get to cooking regardless of their model, demonstrating that fundamental principles of appliance use and care are universal.
