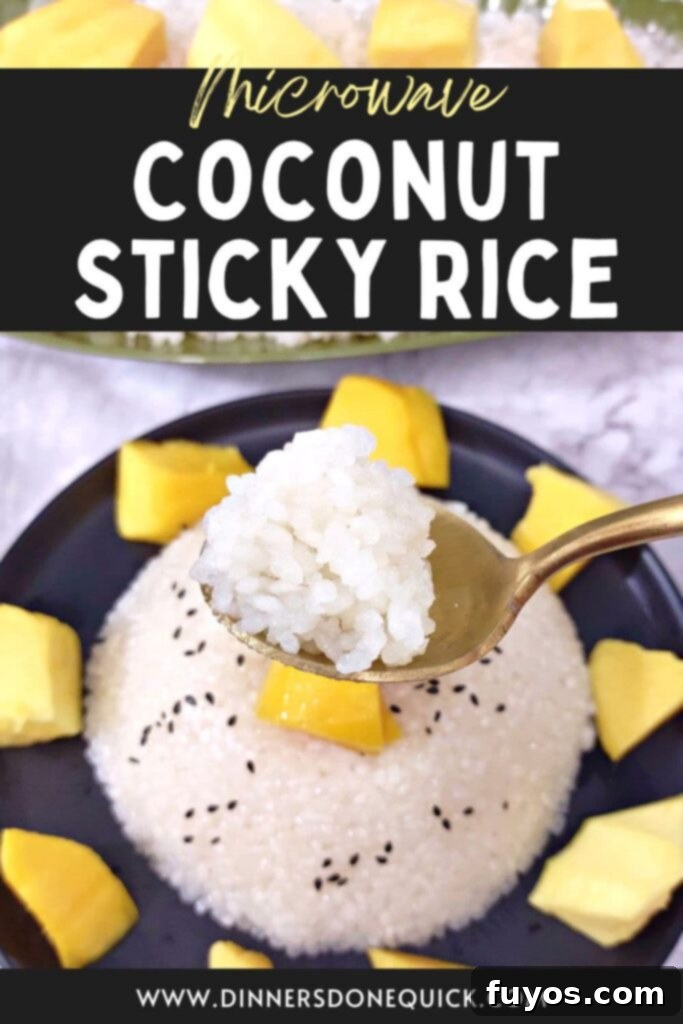
Sweet & Savory: The Ultimate Guide to Making Microwave Sticky Rice with Mango (Quick & Easy!)
There are few treats as delightful and satisfying as a bowl of perfectly cooked coconut sticky rice, especially when paired with ripe, fresh mango. That sweet, creamy rice contrasted with the juicy, tropical fruit is simply irresistible. While it’s always tempting to head to my favorite local Thai or Laotian spot for this dessert, I’ve discovered an incredibly simple and delicious way to satisfy that craving right at home: making microwave sticky rice. This method is not only convenient but also yields results that rival any takeout, giving you a fresh, warm bowl whenever the mood strikes.
Why You’ll Absolutely Love This Microwave Sticky Rice Recipe
Making sticky rice in the microwave might sound unconventional, but trust me, it’s a game-changer! Here’s why this recipe will become a staple in your kitchen:
Firstly, it’s incredibly easy and quick to prepare. Forget about complicated steaming baskets or specialized rice cookers. All you need is a microwave-safe bowl and a few common ingredients. It significantly cuts down on prep and cooking time, making it perfect for busy weeknights or a spontaneous dessert fix.
Secondly, the taste is truly outstanding. Homemade microwave sticky rice often surpasses the pre-made versions found in plastic containers. You get that authentic, tender, and perfectly chewy texture, infused with rich coconut flavor. The ability to control the freshness of ingredients makes a noticeable difference, elevating the overall experience.
Perhaps one of the biggest advantages is customization. When you make it at home, you’re the chef! You can effortlessly adjust the sweetness levels to your preference, add a pinch of vanilla or a hint of pandan for extra flavor, or pair it with an array of different fruits beyond mango. It’s a versatile base that can be a canvas for your culinary creativity.
While this recipe traditionally calls for glutinous or “sticky” rice, don’t let that limit you. You can experiment with other short-grain white rice varieties if sticky rice isn’t available, though the texture won’t be quite the same. The essence of the dish, however, remains delightful. This recipe embraces flexibility, proving that delicious food doesn’t always have to adhere strictly to tradition.
Quick + Easy Recipes
straight to your inbox
Essential Ingredients for Your Microwave Sticky Rice
To embark on this culinary adventure, you’ll need a handful of key ingredients. Each plays a vital role in achieving that perfect balance of sweetness, creaminess, and sticky texture.
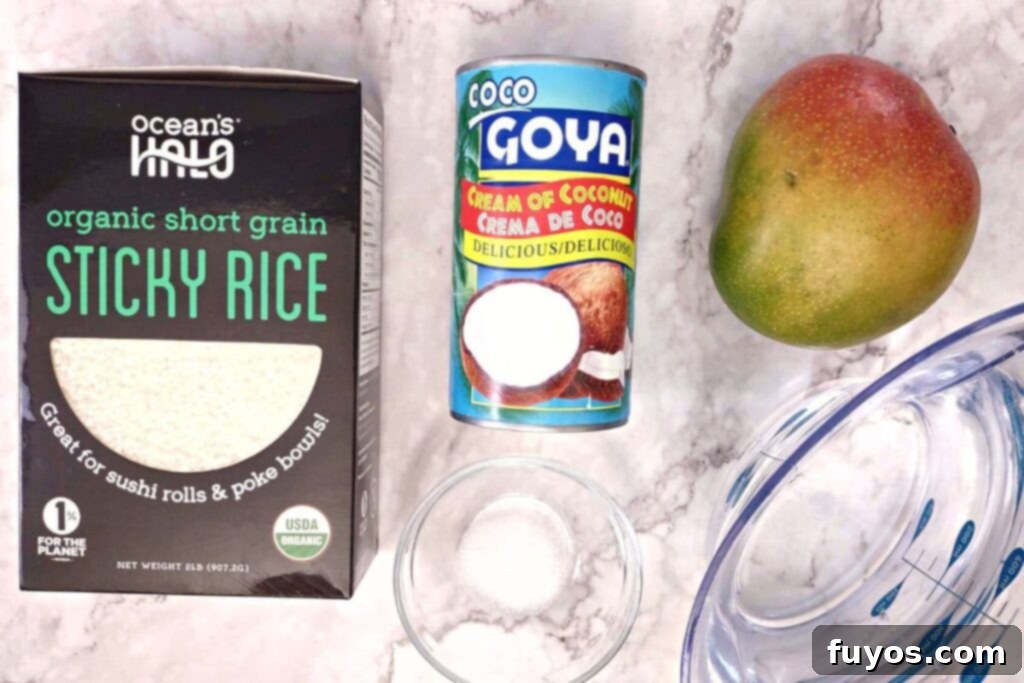
- 2 cups sticky rice (also known as glutinous rice or sweet rice)
- 2 ½ cups warm water (for soaking and cooking)
- 15-ounce can cream of coconut
- ½ tsp salt
- 1 ripe mango, peeled, pitted, and cut into slices or chunks
- Optional garnishes: toasted coconut flakes, sesame seeds
Ingredient Tips and Notes for Best Results
- This recipe is traditionally made with sticky rice, which goes by several names: sweet rice, glutinous rice, or even sushi rice. This particular type of short-grain rice is essential for achieving the characteristic chewy, sticky texture that this dish is known for. While jasmine and other short-grained white rice varieties can be used, they won’t provide the same unique “stickiness.” However, the flavor will still be delicious!
- The quantity of warm water required for the initial soaking phase is just enough to completely cover the rice in your chosen microwave-safe bowl. This amount can vary slightly depending on the dimensions of your container. For example, I typically find about 1 ½ cups sufficient for soaking.
- Cream of coconut is a secret weapon in my kitchen! Unlike many recipes that require cooking down coconut milk with sugar, this ingredient streamlines the process. It’s already sweetened and thickened, saving you significant time and effort while delivering that rich, tropical flavor. Look for it in the baking aisle or alongside other coconut products.
- For the most authentic and flavorful experience, the best mangoes are the small, yellow, kidney-shaped Alfonso mangoes, often marketed as “champagne” mangoes. These are incredibly sweet and less fibrous. However, they aren’t always in season or readily available. Don’t worry if you can’t find them; any ripe, sweet mango variety you can get your hands on will work beautifully.
- Flavor Variations: If you’re looking for a less sweet or savory sticky rice, you can easily adapt this recipe. Omit the cream of coconut and instead use unsweetened coconut milk along with a pinch of sugar (or no sugar at all) and more salt. This variation is fantastic when you plan to serve your sticky rice as a side dish with savory entrées like curry or grilled meats, rather than as a dessert.
Effortless Steps to Making Sticky Rice in the Microwave
Get ready to create a delectable dish with minimal fuss. Follow these simple steps to achieve perfect microwave sticky rice every time.
- Thoroughly rinse your sticky rice under cold running water until the water runs clear. This crucial step removes excess starch, dust, and debris, which helps prevent the rice from becoming gummy and ensures that beautiful, distinct sticky texture. If you have a fine mesh strainer or cheesecloth, it can make this process even easier.
- Once rinsed, transfer the clean rice into a microwave-safe bowl. Ensure the bowl is large enough to accommodate the rice as it expands during cooking.
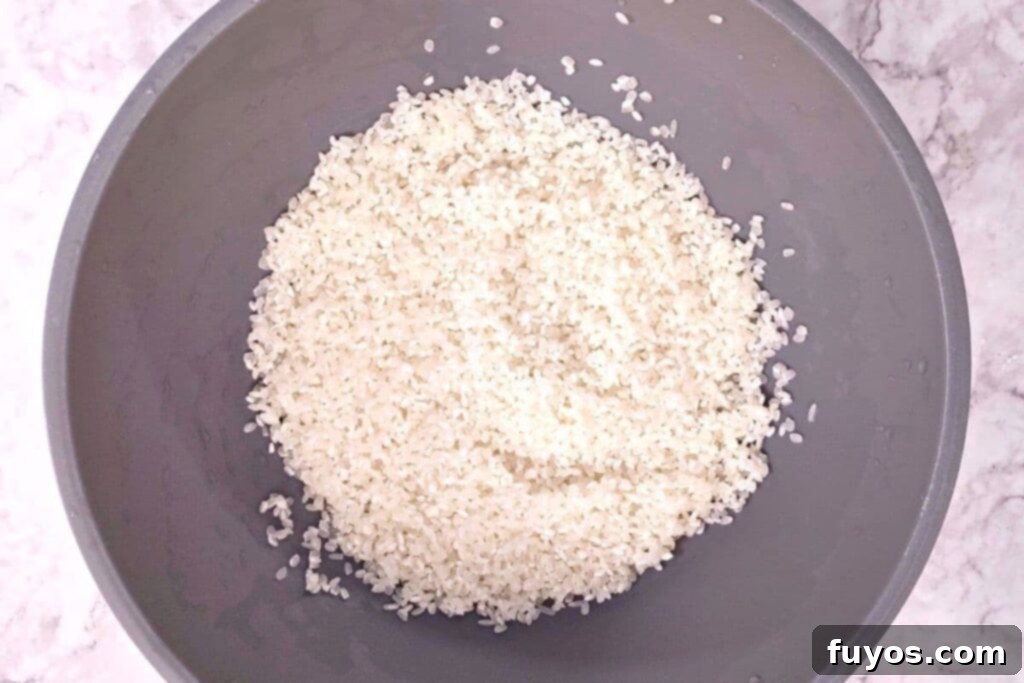
- Pour enough warm water over the rice to completely submerge it by about an inch. The warmth of the water aids in the soaking process, helping the rice grains absorb moisture more efficiently.
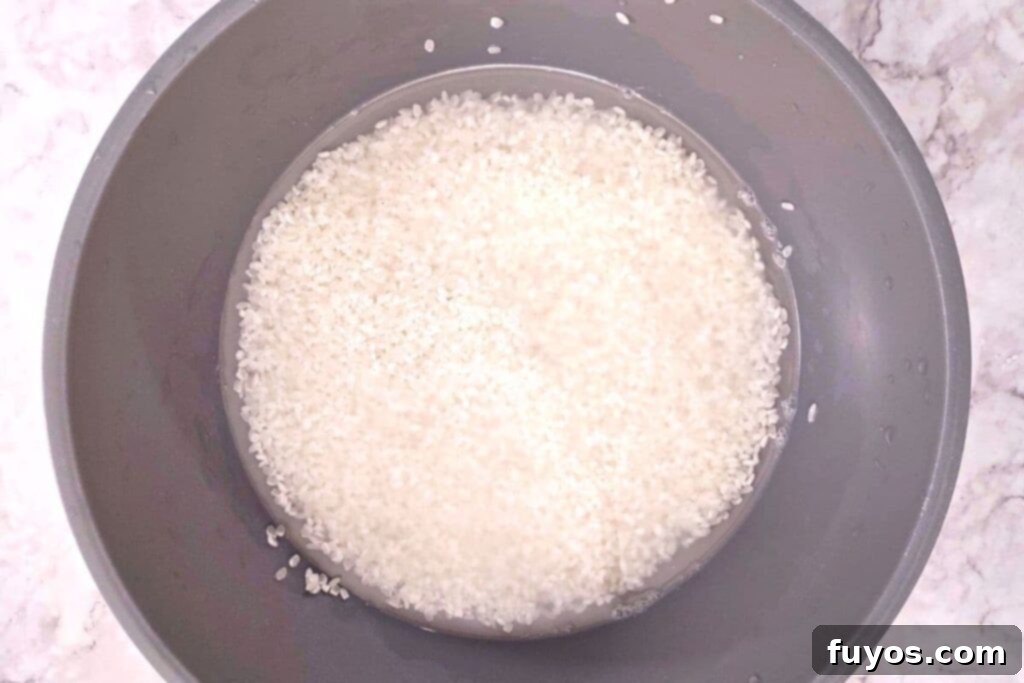
- Allow the rice to soak for 10-15 minutes. During this time, the grains will absorb water, softening slightly and beginning to plump up. This pre-soaking helps ensure even cooking and a tender result.
- After soaking, drain the water completely from the rice. Then, add the specified 2 cups of water and the entire can of cream of coconut to the rice. Stir everything together thoroughly to ensure the coconut cream is evenly distributed.
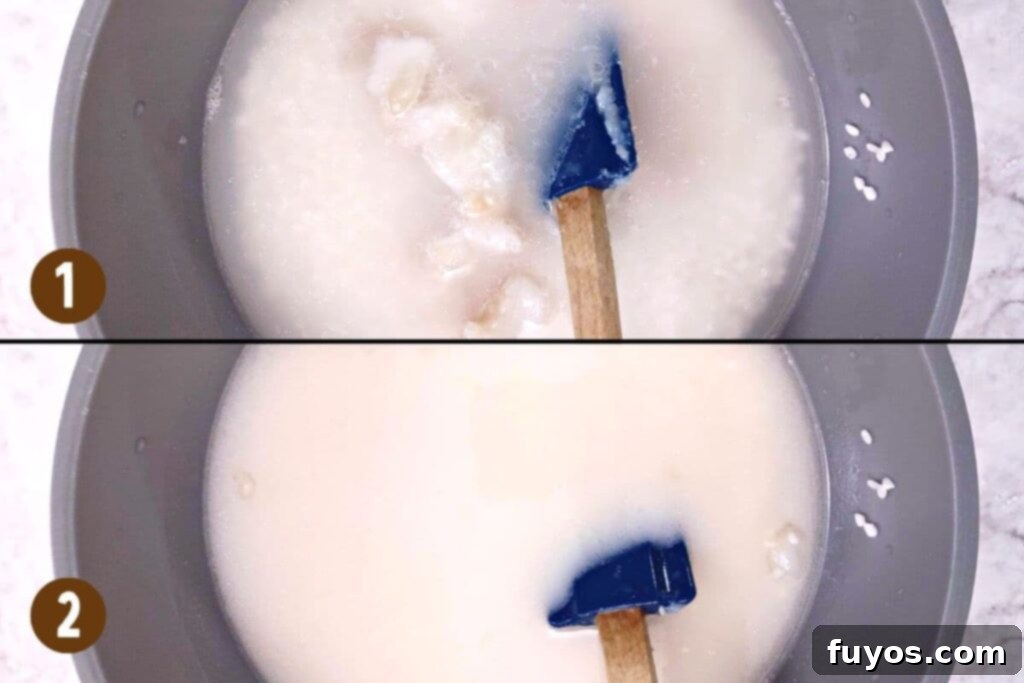
- Cover the bowl securely with a microwave-safe lid, plastic wrap (vented slightly), or a damp paper towel. Covering the rice is crucial as it traps steam, allowing the rice to cook evenly and become perfectly tender.

- Cook on high for 7 minutes. Carefully remove the bowl (it will be hot!) and give the rice a good stir to ensure even cooking and prevent sticking to the bottom.
- Continue cooking in additional 1-minute increments, stirring after each, until all the liquid is absorbed and the rice is no longer crunchy in the center. The total cooking time can vary based on your microwave’s wattage and the amount of rice.
- Once cooked, add the salt and stir well to distribute it throughout the sticky rice. The salt helps to balance the sweetness of the coconut cream.
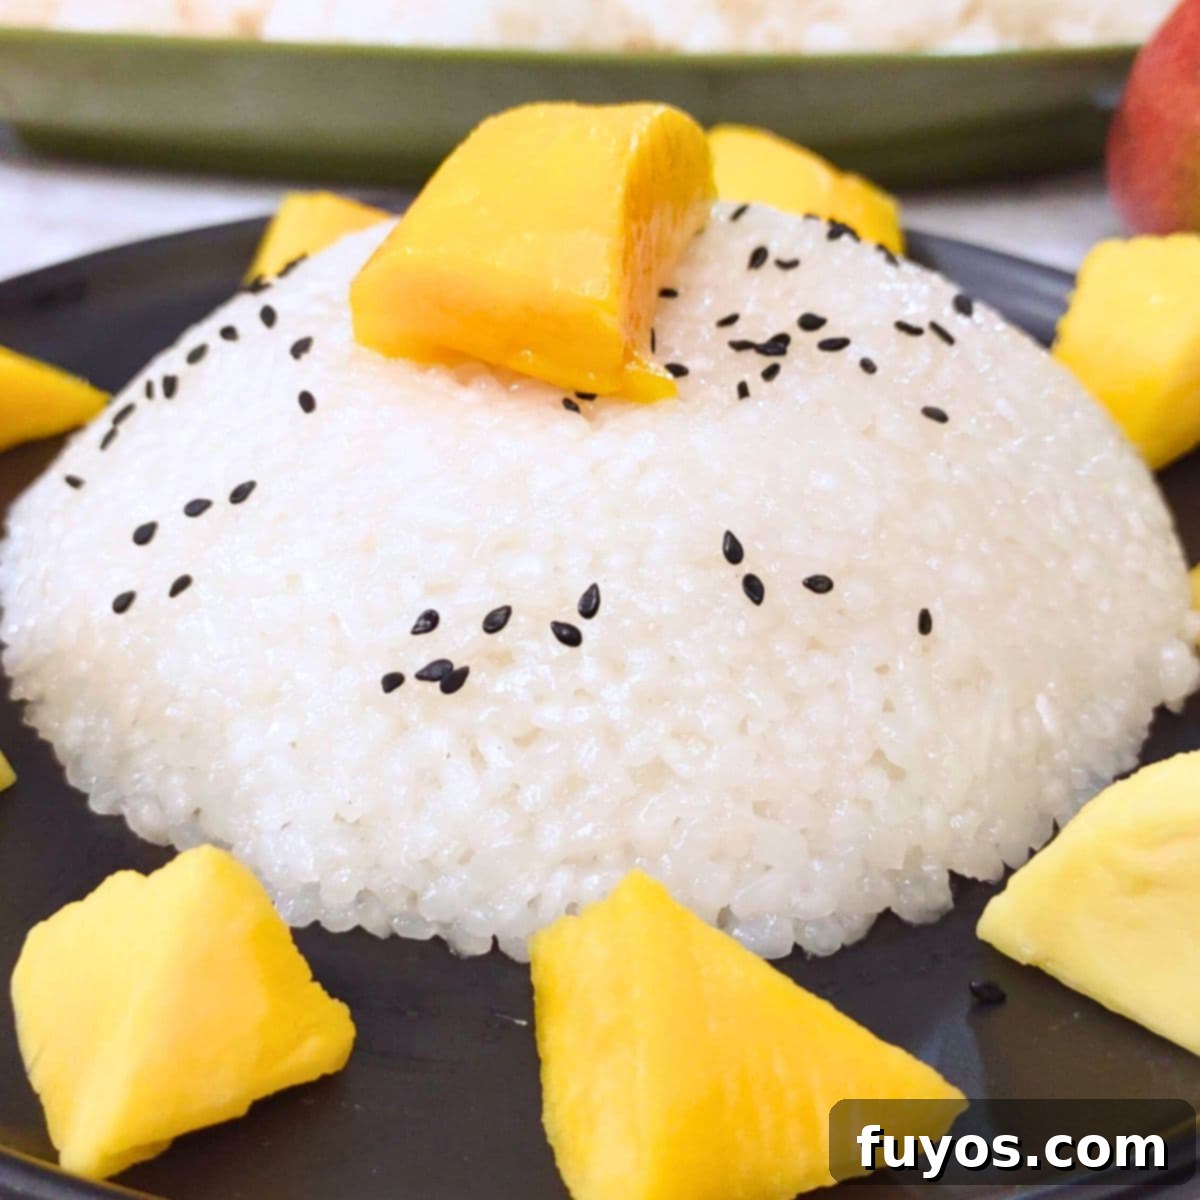
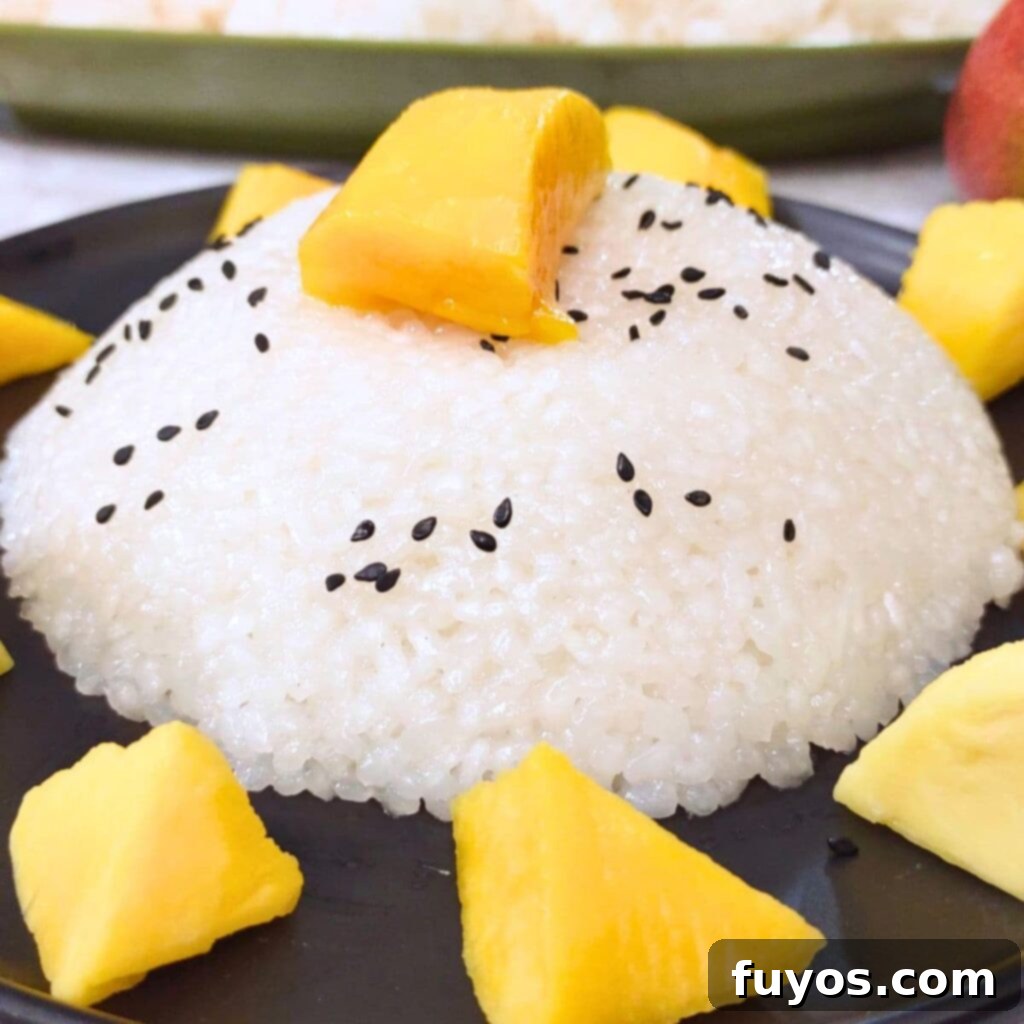
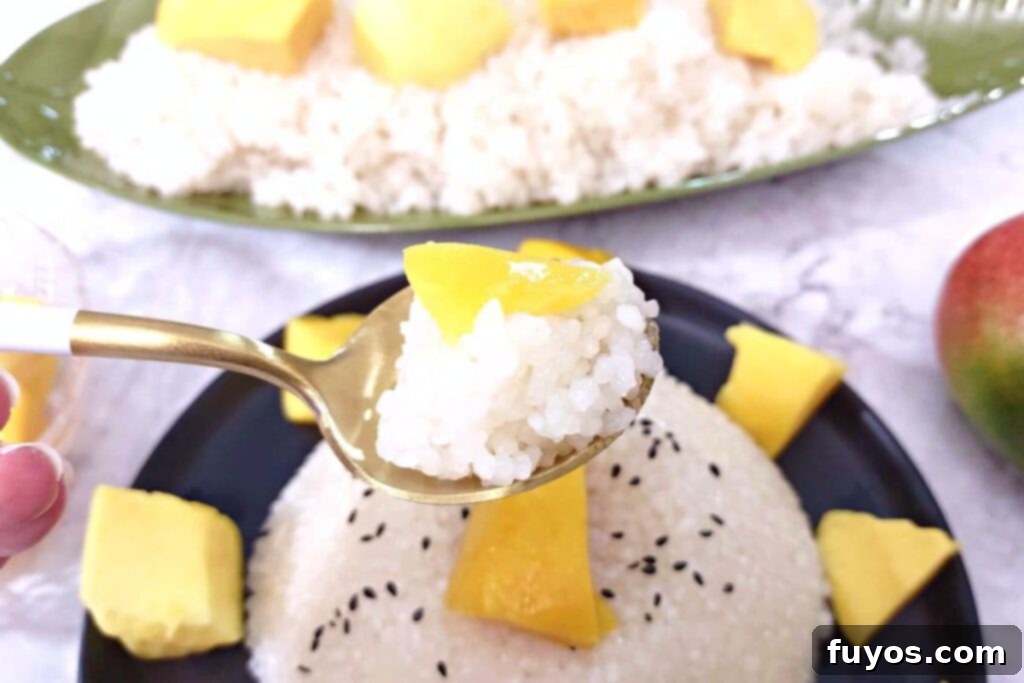
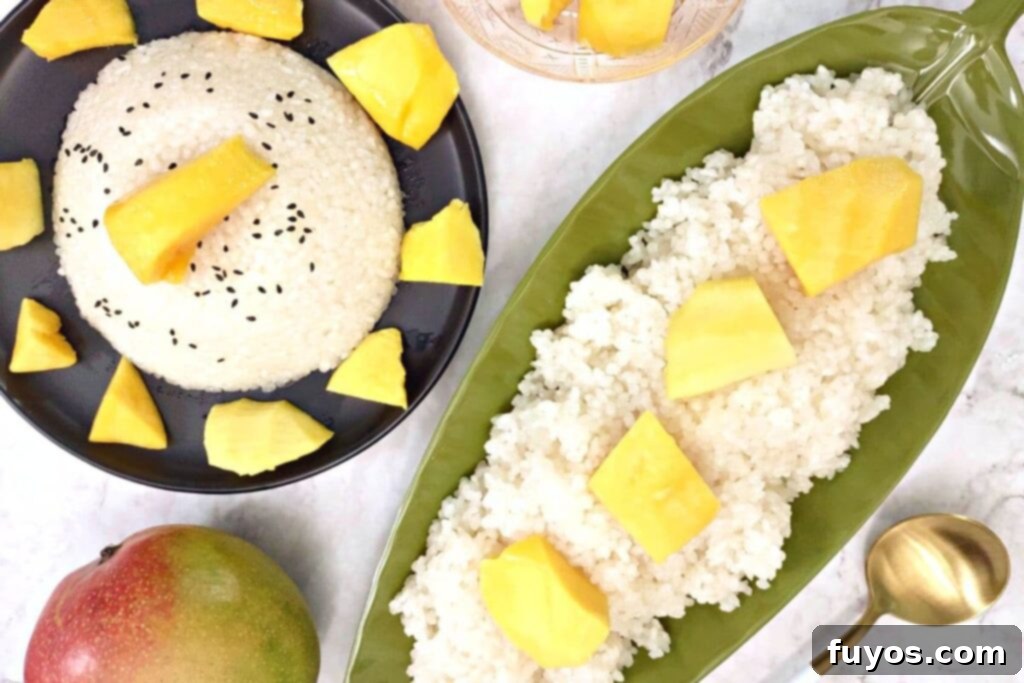
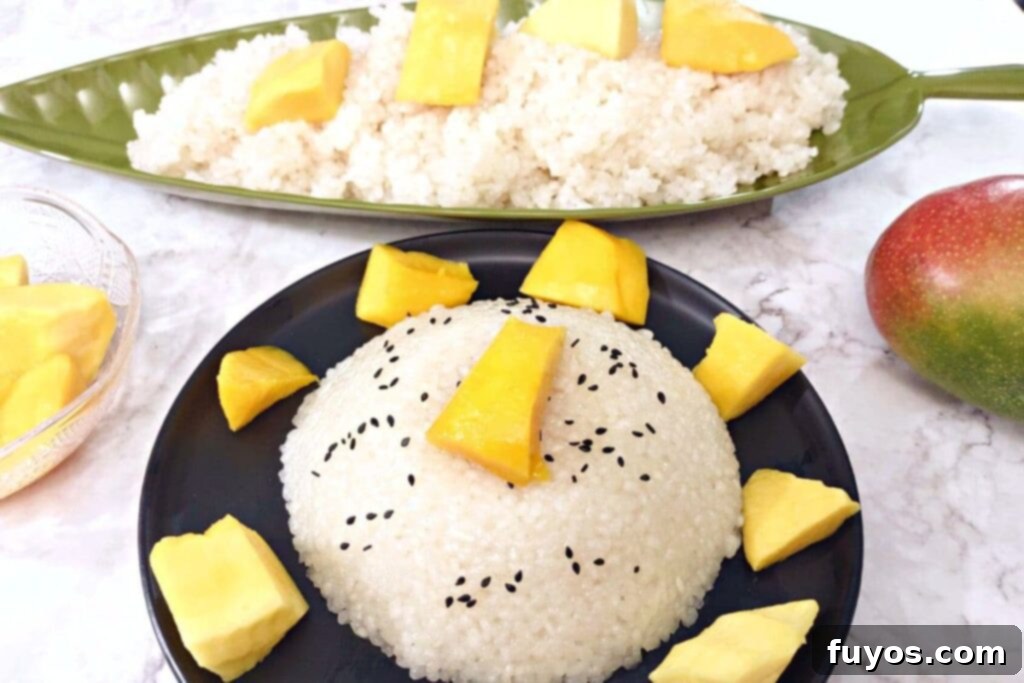
- Portion the warm sticky rice into individual bowls or arrange it beautifully on a serving plate. Top generously with your freshly sliced or chunked mango.
- For an extra touch of flavor and visual appeal, garnish with toasted coconut flakes or sesame seeds, if desired. Serve immediately and enjoy!
Delightful Pairings: What to Serve With Microwave Sticky Rice
Sticky rice is incredibly versatile, making it a fantastic accompaniment to a wide range of dishes, whether you’re craving something sweet or savory. Here are some ideas to inspire your next meal:
- Mango: The classic pairing, offering a sweet and tangy contrast to the rich coconut rice.
- Banana: Sliced fresh banana provides a creamy sweetness, especially delicious when slightly caramelized.
- Sweet Red Beans: A traditional Asian dessert component that adds an earthy sweetness and textural variety.
- Caramel Sauce: A drizzle of homemade or store-bought caramel can elevate sweet sticky rice to an indulgent dessert.
- Crushed Peanuts: Adds a delightful crunch and nutty flavor, often seen in savory Thai and Lao dishes.
- Papaya Salad (Som Tum): The vibrant, spicy, and tangy flavors of a green papaya salad offer an exciting counterpoint to plain sticky rice.
- Curry Dishes: Sticky rice is an excellent absorbent for rich, flavorful curries like red, green, or Massaman chicken curry.
- Corn: Fresh or lightly steamed corn can add a subtle sweetness and pop of color.
- Sushi: While traditionally paired with sushi rice, sticky rice can offer a unique, chewier base for some sushi rolls or poke bowls.
- Steamed Vegetables: Simple steamed greens or mixed vegetables can make for a light and healthy side.
- Dumplings: Whether steamed or fried, savory dumplings pair wonderfully with a side of plain sticky rice.
- Spring Rolls or Lumpia: The crispy texture and savory fillings of spring rolls or Filipino lumpia find a perfect balance with soft sticky rice.
- Grilled Meats: Think marinated chicken, pork, or beef skewers; the sticky rice soaks up all those delicious juices.
- Larb: A traditional Lao meat salad, spicy and aromatic, is often enjoyed with sticky rice.
- Tuna: Especially in a savory preparation, flaked tuna can be a flavorful protein to accompany plain sticky rice.
- Coconut Shrimp: The subtle sweetness of coconut shrimp is beautifully complemented by the sticky rice.
Whether you lean towards a sweet treat or a savory entrée, sticky rice offers incredible versatility. For a classic dessert, serve it with sweetened coconut and abundant fresh mango slices, as featured in this recipe. Alternatively, transform it into a savory side by preparing it with unsweetened coconut milk and pairing it with dishes like my easy Air Fryer Frozen Spring Rolls, Air Fryer Frozen Coconut Shrimp, or delicious Bibigo Dumplings in the Air Fryer.
Katie’s tip
If you love tuna, then check out a compilation of my favorite Canned Tuna Air Fryer Recipes!
Recipe FAQs: Your Microwave Sticky Rice Questions Answered
Is Sticky Rice the Same as Glutinous Rice?
Yes, sticky rice is indeed the same as glutinous rice. These terms are used interchangeably to describe a specific type of short-grain rice. You might also encounter it in grocery stores labeled as sweet rice or even sushi rice, though sushi rice is slightly different. This unique rice grain, when cooked, develops a characteristic sticky and chewy texture due to its high amylopectin starch content. It’s important to note that not just any white rice can become “sticky rice” – the grain itself must be glutinous.
How Do I Make Regular Rice Into Sticky Rice?
The simple truth is that you cannot transform regular rice into sticky rice, as “sticky rice” refers to a specific variety and texture of rice grain. Regular long-grain or medium-grain white rice lacks the high amylopectin content that gives glutinous rice its unique stickiness. However, you can make regular rice chewier and slightly more cohesive by soaking it overnight before cooking. This process allows the grains to absorb more water, resulting in a softer consistency that can mimic a “stickier” feel. While you won’t achieve the exact same texture as true sticky rice with regular rice, you can still use it to prepare dishes like coconut rice, and the flavor will still be delicious. Just be aware that the characteristic chewy texture won’t be quite the same.
How Do You Heat Up Sticky Rice in the Microwave?
To reheat previously cooked sticky rice in the microwave, place the desired portion in a microwave-safe container. The key to retaining moisture and preventing it from drying out is to cover the dish with a wet paper towel. Heat on high for 1-2 minutes, stopping halfway through to stir the rice for even heating. The precise reheating time will vary based on the quantity of rice and the wattage of your microwave. Always use short increments to avoid overcooking and maintaining that ideal texture.
Can You Make Sticky Rice Without a Rice Cooker?
Absolutely, you can make sticky rice without a rice cooker! While traditional methods often involve bamboo steamers or electric rice cookers, a microwave-safe dish is a highly effective and convenient alternative. For stovetop methods, a bamboo basket is commonly used, but for microwave cooking, simply having a suitable bowl and a cover is all you need.
Do You Microwave Sticky Rice Covered or Uncovered?
You should always microwave sticky rice covered. Covering the dish is essential as it effectively seals in moisture, creating a steaming environment that allows the rice to cook properly and evenly. This also prevents the rice from drying out. You can achieve this with a microwave-safe lid, microwave-safe plastic wrap (ensure it’s vented slightly), or a damp paper towel.
Microwave Sticky Rice: Expert Tips for Success
Achieving perfectly cooked microwave sticky rice is simple with these additional insights and tips:
- Adjusting Liquid Levels During Cooking: It’s possible for your rice to run out of liquid before it’s fully cooked, especially if your microwave is particularly powerful or your bowl is wide. If you notice the rice is still crunchy but dry, you can add small amounts of additional water, about ¼ cup at a time. Stir it in gently and continue cooking in 1-minute increments until the rice is tender. Because the sugar in the cream of coconut can create bubbles on the surface, you might need to gently push the rice aside to check for any remaining water at the bottom of the container. In my experience, I sometimes need about ½ cup of extra water in total.
- Serving Size Guidance: A good general guideline for serving is about ½ cup of dry rice per person. This recipe, using 2 cups of dry sticky rice, comfortably serves 4 people. Feel free to adjust the quantities proportionally if you’re feeding a larger crowd or just preparing a single serving for yourself.
- Microwave Wattage Matters: My microwave, which is 1000W, typically cooks this recipe to perfection in approximately 11-12 minutes total after the initial 7-minute cook. However, cooking times can vary significantly based on the wattage of your microwave, the size and shape of your bowl, and the exact amount of rice you’re preparing. Always keep an eye on your rice and adjust cooking times as needed, ensuring it’s tender and all liquid is absorbed.
- Storage and Reheating: Leftover microwave sticky rice can be stored in an airtight container in the refrigerator for up to 3-4 days. To reheat, simply follow the instructions in our FAQ section: place it in a microwave-safe dish, cover with a damp paper towel, and microwave in short bursts until warmed through. This makes it an excellent option for meal prepping and enjoying quick, delicious treats throughout the week.
More Great Rice Recipes
Air Fryer Spam Musubi: A Taste of Hawaii At Home!
Frozen Fried Rice in the Air Fryer in Under 15 Minutes!
Air Fryer Arancini – Easy Italian Mozzarella Rice Balls
Easy Microwave Rice Pudding (Arroz Con Leche) Recipe
- How to Reheat Rice in an Air Fryer
- Air Fryer Cauliflower Rice
Final Thoughts on Microwave Sticky Rice
This microwave sticky rice recipe truly revolutionizes the way you can enjoy this beloved dish. It’s an incredibly simple and efficient method to create a fantastic side or dessert, whether you prefer it sweet, creamy, and topped with fresh mango, or a more savory accompaniment to your main course.
I personally adore piling on generous slices of fresh, sweet mango to savor it as a luxurious treat. But its versatility doesn’t stop there; it’s equally delightful served alongside a rich red curry chicken, where the sticky rice perfectly soaks up all the aromatic spices and sauces, creating a harmonious and comforting meal.
Another fantastic benefit of this recipe is how well it reheats. Don’t hesitate to make a larger batch! You can easily enjoy smaller portions throughout the week, making it a convenient and delicious option for a quick weekday meal or snack. This recipe proves that you don’t need fancy equipment or extensive culinary skills to bring authentic, satisfying flavors into your home. Enjoy the ease and deliciousness of homemade microwave sticky rice!
Sweet Coconut Microwave Sticky Rice With Mango
Equipment
-
Microwave
-
Bowl safe for microwave use
-
Lid, cling wrap, or damp paper towel to cover bowl
-
Spoon or spatula for stirring
-
Measuring cup
Ingredients
- 2 Cups sticky rice
- 2 ½ Cups warm water
- 15 Ounce can cream of coconut
- ½ Tsp salt
- 1 Mango, peeled and sliced or cut into cubes
Instructions
-
Rinse your rice until the water runs clear to get rid of any dust, debris, and excess starch (if you have a fine mesh strainer or cheesecloth feel free to use that to make things easier)2 Cups sticky rice
-
Place the rice in a microwave safe bowl
-
Cover the rice with enough warm water to completely cover it2 ½ Cups warm water
-
Soak for 10-15 minutes until rice slightly softens and plumps
-
Drain, then add 2 cups of water and the cream of coconut to the rice and stir to combine15 Ounce can cream of coconut
-
Cover the bowl with a lid, microwave safe plastic wrap, or a damp paper towel
-
Cook on high for 7 minutes, then stir
-
Continue to cook in additional 1-minute increments until water is completely absorbed and rice is no longer crunchy in the center
-
Add the salt and stir to distribute thoroughly½ Tsp salt
-
Portion the sticky rice into bowls or turn out onto a plate, then top with mango1 Mango, peeled and sliced or cut into cubes
-
Garnish with toasted coconut flakes or sesame seeds, if desired
Notes
- This recipe is traditionally made with sticky rice, sometimes known as sweet, glutinous, or sushi rice. It will also work with jasmine and other short-grained white rice, but you won’t get the same “sticky” texture from the rice. It will, however, still taste delicious!
- The amount of warm water you need for soaking is just enough to cover the rice in the bowl you use, so it may vary slightly depending on the size and shape of your container – I only needed about 1 ½ cups
- Cream of coconut is not something you’ll see in a lot of recipes but is one of my favorite cooking hacks. Instead of cooking a sauce of coconut milk and sugar, I improvise and save time with this already-sweet version
- The best mangoes are the small, yellow kidney-shaped Alfonso mangoes. I’ve often seen them called “champagne” mangoes. However, they’re not often in season, so feel free to use any mango you can find!
- Variations: Feel free to omit the cream of coconut and use just water, or plain coconut milk. This is better if you plan to use your sticky rice alongside curry or another savory entrée instead of dessert
- If your rice runs out of liquid before it finishes cooking, you can add small amounts of additional water (¼ cup at a time) and continue cooking as needed. Since the sugar in the cream of coconut will bubble at the top, you’ll need to pull the rice away from the bottom of the container and look for water. I needed about ½ cup additional
- A typical serving is ½ cup dry rice per person, so if you’d like to scale based on the number you’re feeding, feel free
- My rice was done in around 11-12 minutes total in a 1000W microwave. However, this will vary based on the size of your bowl, how much rice you’re making, and the wattage of your microwave
- Exact nutritional values will vary based on brand of ingredients and quantity consumed, so please consider this a guideline only
Nutrition
Number of total servings shown is approximate. Actual number of servings will depend on your preferred portion sizes.
Nutritional values shown are general guidelines and reflect information for 1 serving using the ingredients listed, not including any optional ingredients. Actual macros may vary slightly depending on specific brands and types of ingredients used.
To determine the weight of one serving, prepare the recipe as instructed. Weigh the finished recipe, then divide the weight of the finished recipe (not including the weight of the container the food is in) by the desired number of servings. Result will be the weight of one serving.

Did you try this recipe?
Mention @TheDinnersDoneQuick or tag #dinnersdonequick! for even more!
Pin Recipe
Leave A Review
