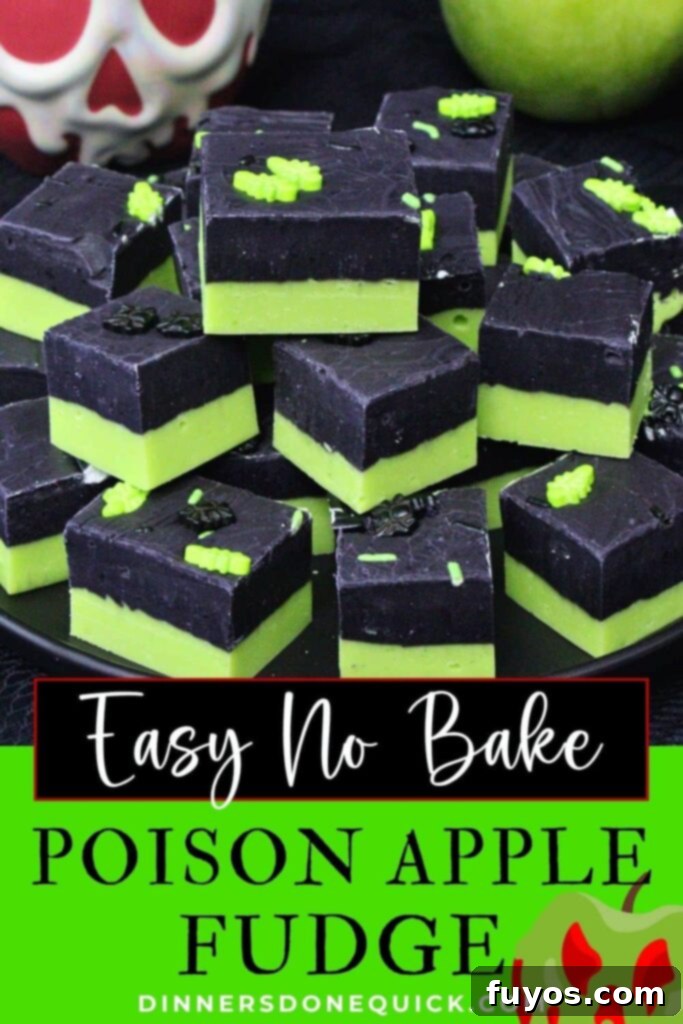
Spooktacular Poison Apple Fudge: The Ultimate Easy No-Bake Halloween Treat!
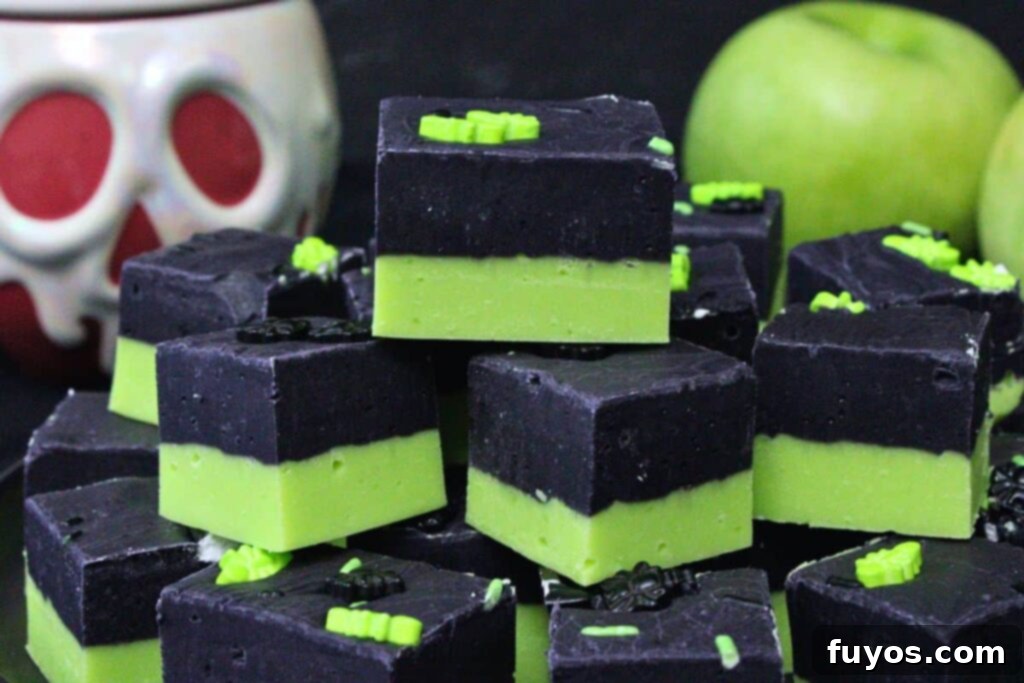
Get ready to conjure up some magic in your kitchen this Halloween with our enchanting **Poison Apple Fudge**! This wickedly fun and incredibly easy no-bake treat is designed to bring a dramatic, spooky flair to any party or movie night. Inspired by the iconic poisoned apple from classic fairy tales, this fudge features vibrant green apple-flavored layers contrasted with a rich, dark black topping, making it a visually striking and deliciously unique addition to your seasonal spread.
Whether you’re hosting a haunted gathering, preparing a special snack for a spooky movie marathon, or simply craving a sweet and eerie delight, this microwave fudge recipe is your secret weapon. It’s not only a feast for the eyes but also a treat for the taste buds, combining the tart, crisp notes of green apple with the creamy sweetness of fudge. Best of all, its simplicity means you can whip it up in advance, saving you time and stress when the ghosts and goblins come calling.
Why You’ll Absolutely Love This Spooky Fudge Recipe
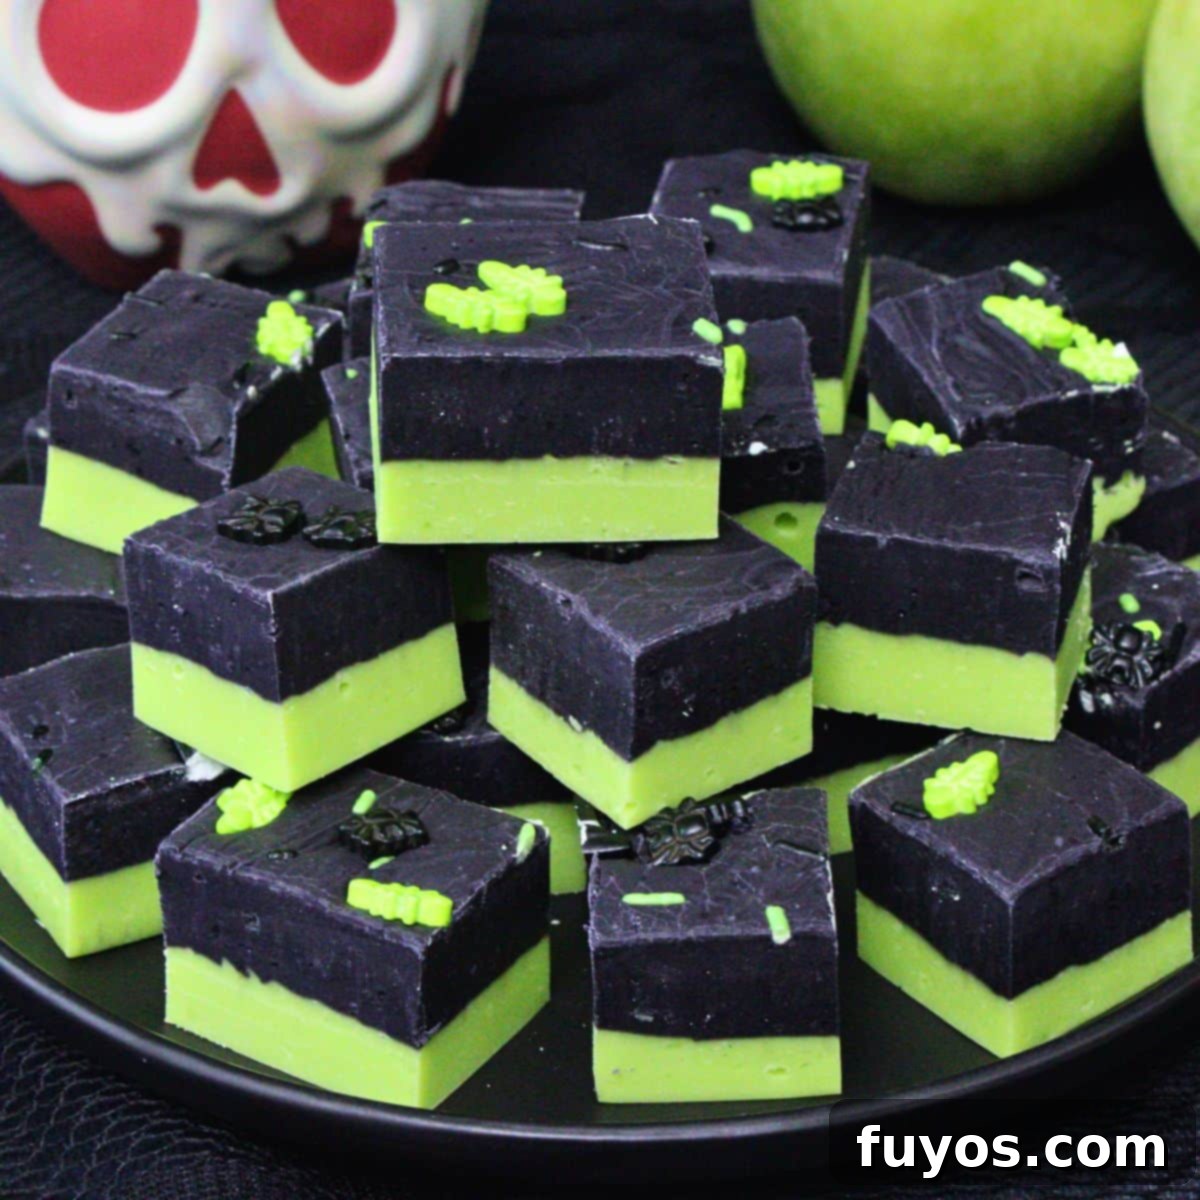
Our Poison Apple Fudge isn’t just a dessert; it’s an experience! It’s adored not only for its decadent and delicious flavor but also for its dramatic, Halloween-perfect aesthetic. Every square offers a bite of creamy bliss, delivering a perfect balance of spooky fun and nostalgic deliciousness.
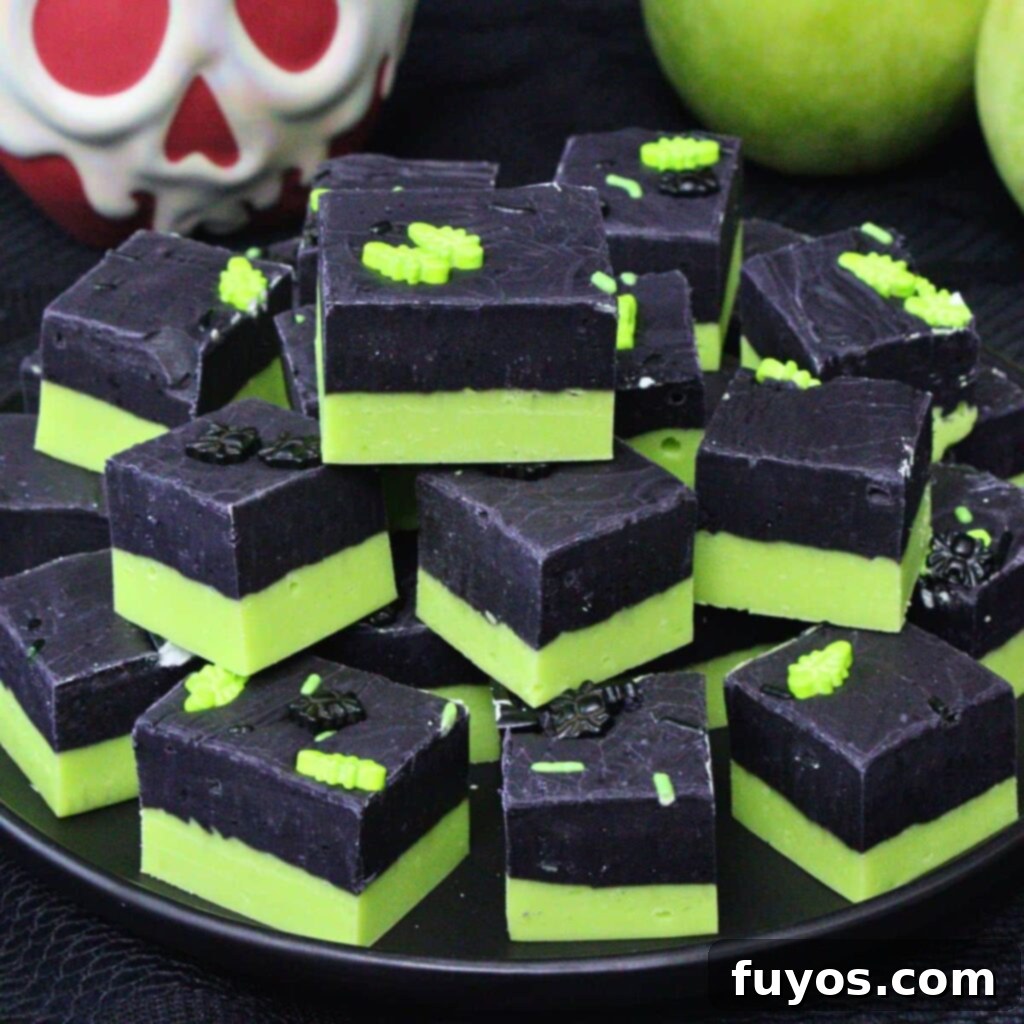
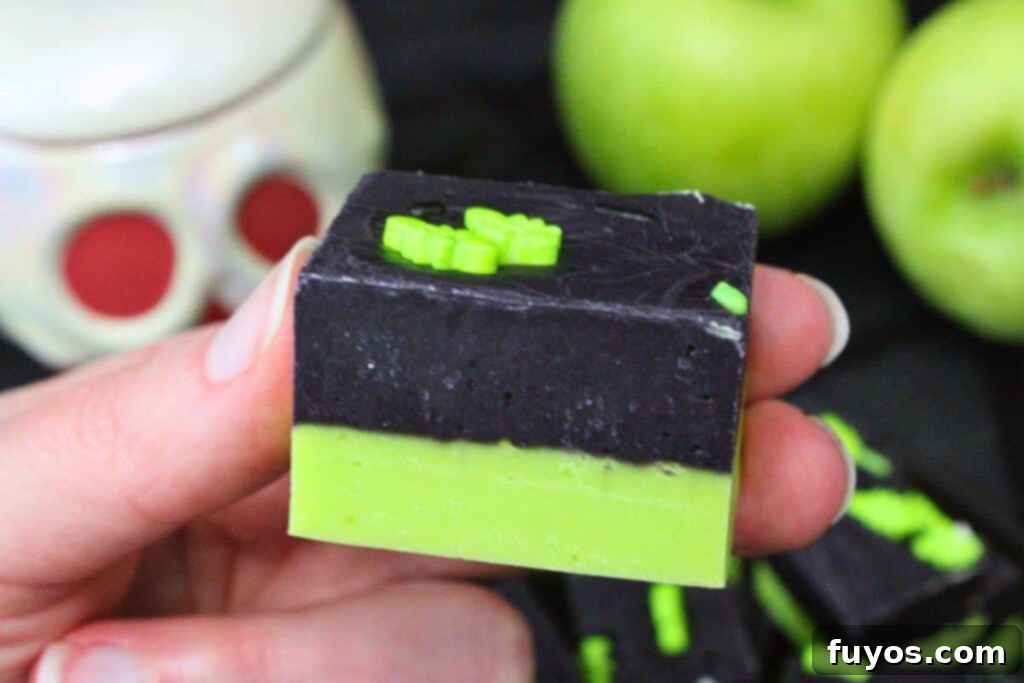
Inspired by the sinister beauty of the poisoned apple in Snow White, this treat captivates with its striking color palette. It brilliantly combines a rich, green-apple flavored (and colored) white chocolate base with a deep, mysterious black topping. This dual-layer design isn’t just visually appealing; it creates a delightful contrast in texture and flavor that makes it truly irresistible.
Imagine this fudge gracing your Halloween dessert table, its vibrant green and deep black hues drawing every eye, or tucked into witchy treat bags, ready to delight your guests. It delivers that perfect balance of spooky charm, storybook magic, and pure deliciousness. Beyond its captivating appearance and taste, this recipe is a lifesaver for busy hosts. It’s incredibly easy to make in advance, allowing you to focus on other party preparations or enjoy a stress-free dessert before heading out for trick-or-treating. It’s truly a versatile treat that fits seamlessly into any Halloween celebration or themed movie night, promising smiles and a touch of enchanting eeriness.
If you’re enchanted by the apple theme, you may also enjoy my Caramel Apple Fudge, and you can even use the same versatile green apple flavoring extract for a delightful twist!
Quick + Easy Recipes
straight to your inbox
Ingredients Needed for Your Spooky Fudge
Crafting this enchanting Poison Apple Fudge requires just a few simple ingredients, easily found at your local grocery store. The magic truly lies in their combination and the vibrant colors they create!
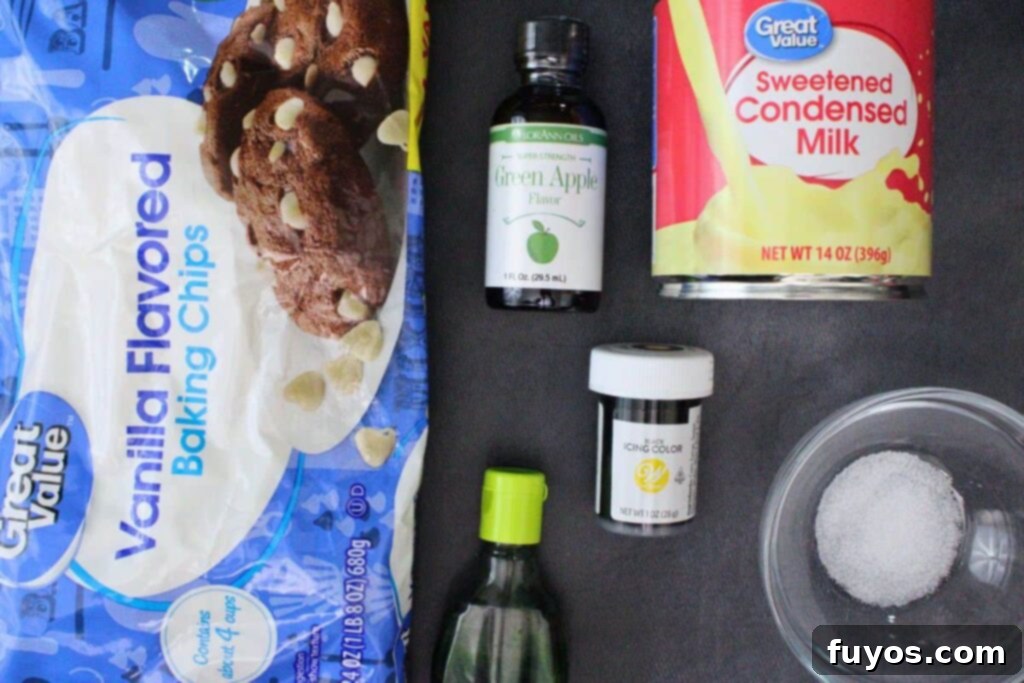
- 3 cups white chocolate chips: This is the creamy base for our fudge, essential for achieving those bright, vivid colors.
- 1 tsp green apple extract, divided: The key to our signature “poison apple” flavor. Dividing it ensures both layers are equally delicious.
- 14-ounce can sweetened condensed milk: The secret ingredient that creates the rich, smooth, and perfectly set fudge texture without any cooking.
- Neon green food coloring: To give our apple layer that unmistakable, vibrant, and slightly eerie green hue. Gel food coloring works best for intense colors without thinning the fudge.
- Black gel food coloring: For the dramatic, mysterious top layer that truly completes the “poison apple” effect. Gel coloring is highly recommended for deep, rich black.
- Pinch of salt: A tiny bit of salt enhances all the sweet flavors and provides a subtle balance.
Ingredient Tips and Smart Substitutions
To ensure your Poison Apple Fudge is nothing short of spectacular, consider these tips and flexible substitutions:
- Choosing Your Chocolate: For the black portion of the fudge, you can actually use some dark or milk chocolate instead of half of the **white chocolate** if you prefer a deeper chocolate flavor. However, for the green layer, white chocolate is absolutely essential to achieve that bright, vibrant neon green color that makes this fudge so striking. Darker chocolates will muddy the green hue.
- Flavoring the Fudge: While I specifically use **green apple extract** to perfectly capture the “poison apple” theme, feel free to get creative! You can easily swap it for classic vanilla extract for a more traditional fudge flavor, or experiment with other fruit extracts like cherry or raspberry if you want a different “poisoned fruit” vibe. Just ensure the extract you choose complements the overall sweetness.
- Food Coloring Quality: Gel food colorings are highly recommended over liquid ones. Gels provide much more intense and vibrant colors with a smaller amount, which means they won’t alter the fudge’s consistency as much as liquid food coloring might. This is particularly important for achieving that true neon green and deep black.
Step-By-Step Instructions for Making Poison Apple Fudge
Creating this eye-catching Poison Apple Fudge is surprisingly simple and requires no baking! Just follow these easy microwave steps to craft your spooky masterpiece:
- Prepare Your Pan: Begin by **lining an 8×8” or 9×9” square pan with parchment paper**. Make sure the parchment paper overhangs the sides; this will create “handles” that make it incredibly easy to lift the finished fudge out of the pan later.
- Melt for the Green Layer: In a microwave-safe bowl, **add 1 ½ cups of the white chocolate chips and half the can of sweetened condensed milk**. This forms the base of your vibrant green layer.
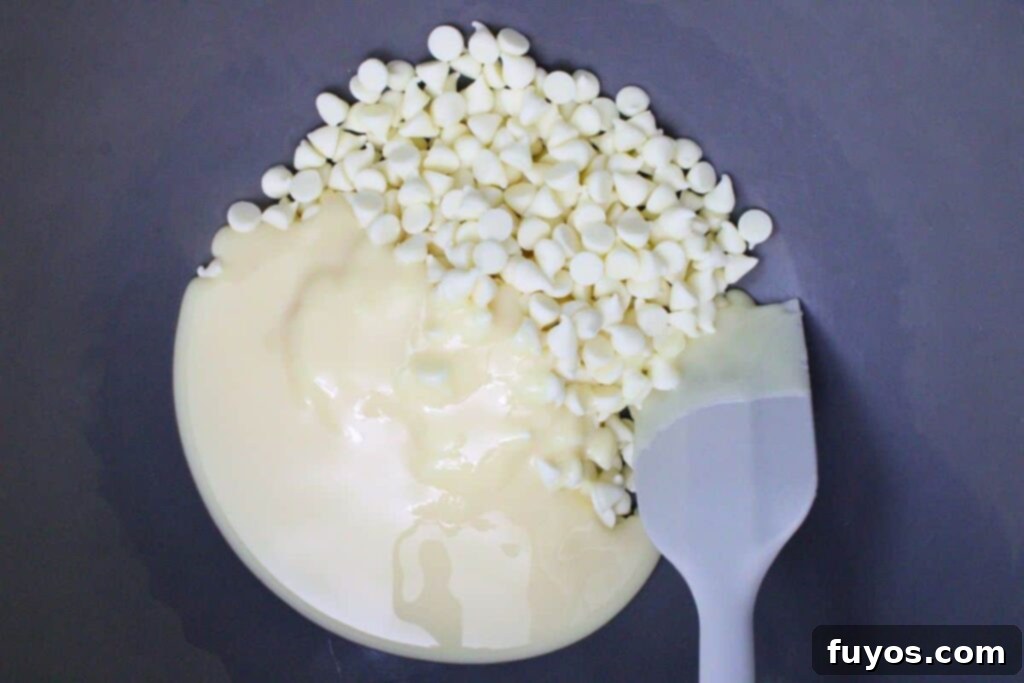
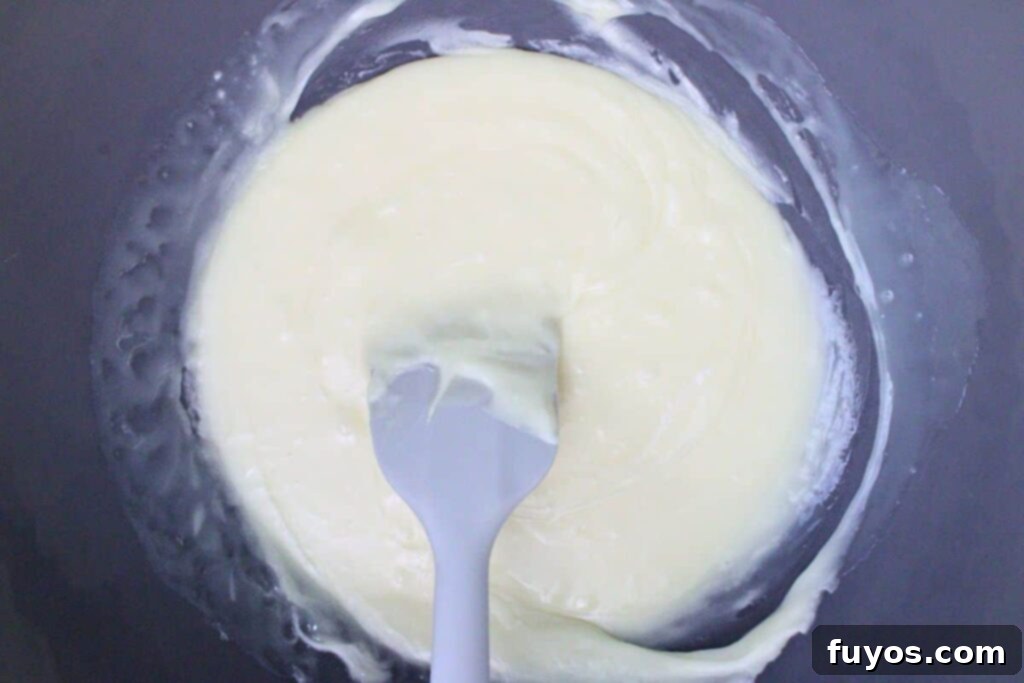
- Microwave with Care: **Cook the mixture on high for 1 minute**, then remove and stir thoroughly. Continue to cook in additional 30-second increments, stirring well after each interval, until the mixture is fully melted, perfectly smooth, and slightly thickened. The stirring is key to even melting and preventing scorching.
- Color the Green Layer: Now, **stir in ½ tsp of green apple extract, a pinch of salt, and enough neon green food coloring** to achieve a truly vibrant green color. The exact amount of food coloring can vary significantly between brands, so add it gradually until you reach your desired intense hue (I typically use about 10 drops of McCormick brand).
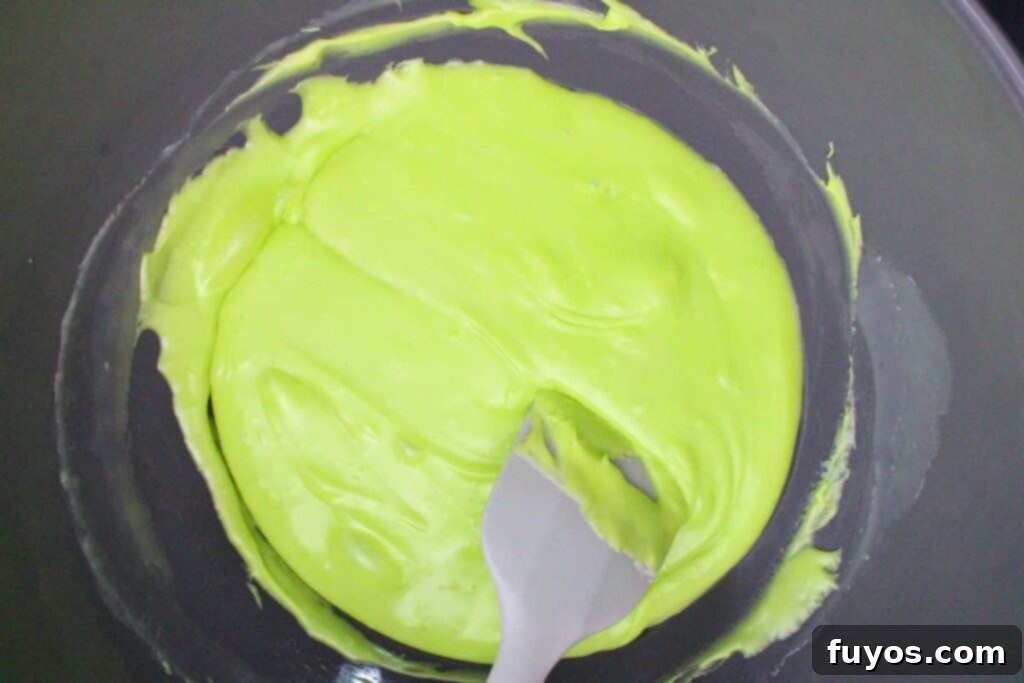
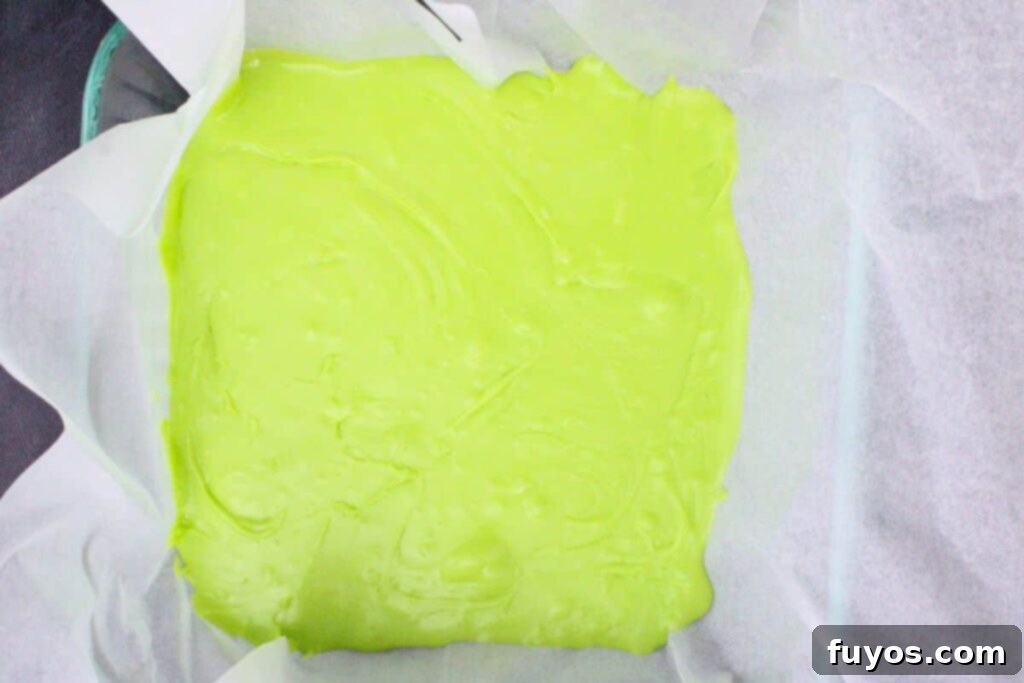
- Pour the Green Layer: Carefully **pour the neon green fudge mixture into your prepared baking dish**. I often leave the top a little uneven for a more rustic, organic look, but ensure the fudge is fully distributed across the base of the dish to form an even layer.
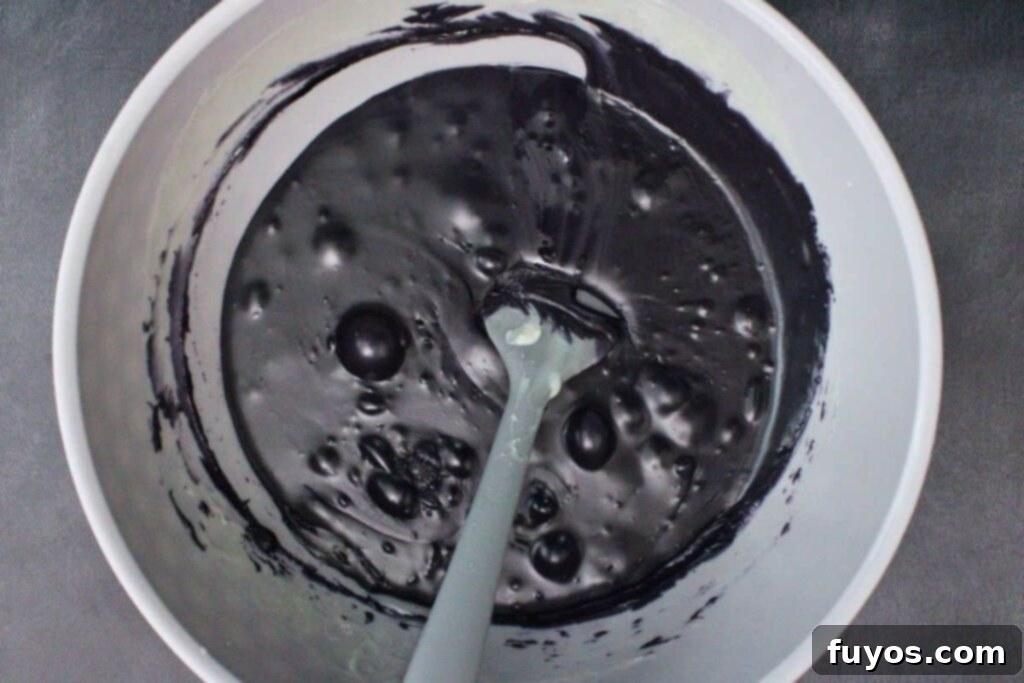
- Prepare the Black Layer: In a separate microwave-safe bowl, **add the remaining 1 ½ cups white chocolate chips and the other half of the can of sweetened condensed milk**. Repeat the same melting process as you did for the green layer, cooking in bursts and stirring until smooth and thickened. Once melted, **stir in the remaining ½ tsp green apple extract, a pinch of salt, and black gel food coloring**. Again, add the black coloring gradually (I use about ¾ tsp of Wilton brand) until you achieve a rich, opaque black that evokes true sinister beauty.
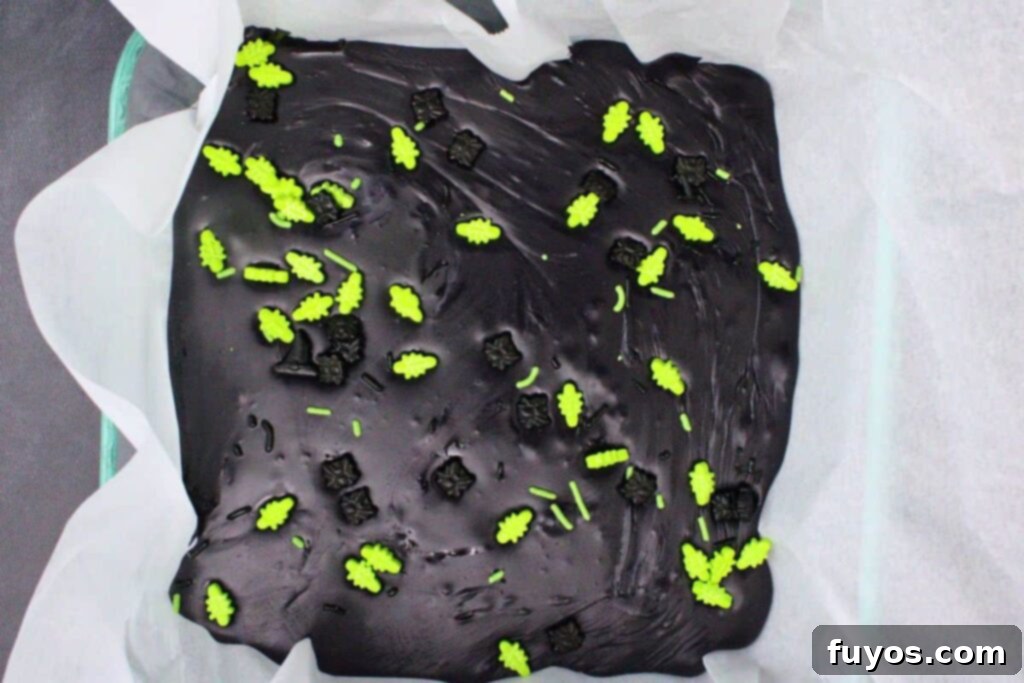
- Assemble the Layers: Gently **pour this dark, mysterious black mixture directly on top of the green layer in your baking dish**. Carefully smooth the top with a spatula to create a flat, even surface. *This is a fantastic moment to add some festive Halloween sprinkles if you wish, pressing them lightly into the top layer before it sets!*
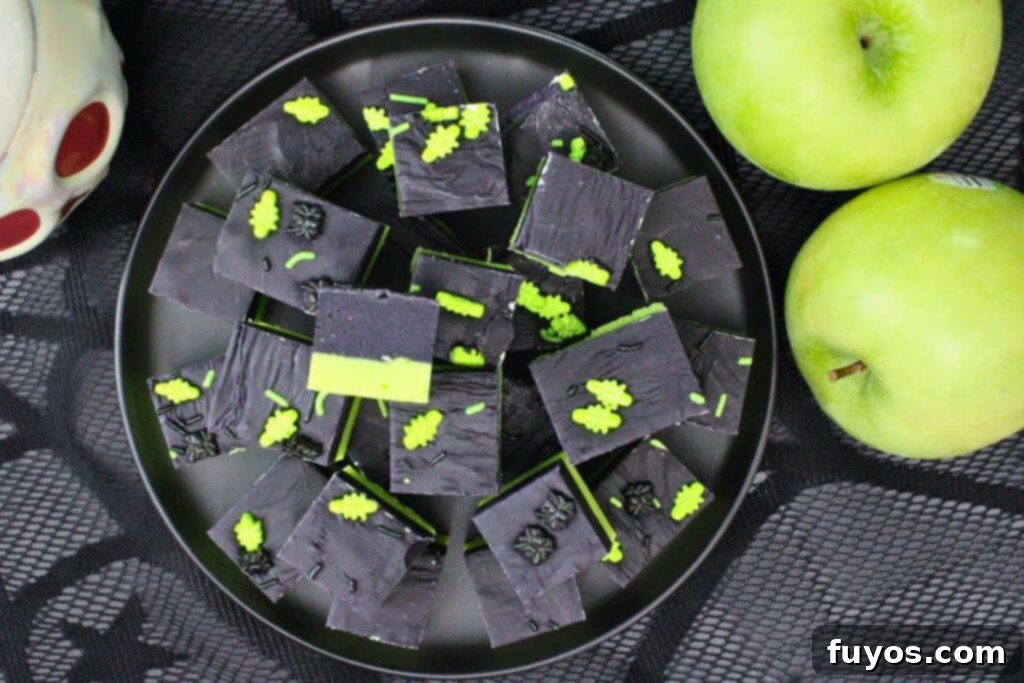
- Chill and Serve: Finally, **place the pan in the refrigerator until the fudge is completely set** (this typically takes about 3-4 hours). Once firm, use the parchment paper overhangs to lift the fudge from the pan. Place it on a cutting board and **cut into desired 1” or 2” square pieces**. Arrange them spookily and **enjoy your homemade Poison Apple Fudge!**
Creative Pairing Suggestions for Your Halloween Bash
Elevate your Halloween celebration by pairing this striking Poison Apple Fudge with other themed treats and drinks. Here are some ideas to make your spooky spread unforgettable:
Halloween Dessert Pairings
- Witch Hat Cookies: These sweet, playful, and easy-to-make cookies perfectly complement the magical theme of our fudge. Their whimsical design adds another layer of fun to your dessert table.
- Caramel Apple Slices: Keep the delicious apple theme going with a more traditional Halloween treat. Offering fresh apple slices drizzled with rich caramel provides a refreshing contrast to the fudge. For an extra special touch, consider my Air Fryer Apple Fries served with a luscious salted caramel sauce – they’re a fantastic, warm counterpart!
- Spiderweb Brownies: Rich, fudgy, and chocolatey brownies decorated with intricate white spiderwebs look absolutely stunning next to the bold, contrasting colors of the Poison Apple Fudge. They add depth and another classic Halloween flavor.
- Bloody Red Velvet Cupcakes: For a truly dramatic display, pair the fudge with visually striking Bloody Red Velvet Cupcakes. Their deep red and creamy white frosting offer a vivid contrast that enhances the dark charm of the fudge and amplifies the spooky ambiance.
Spooky Drink Pairings
- Witches’ Brew Punch: A vibrant green, bubbling punch creates a fantastic visual contrast to the deep hues of the fudge. This versatile drink can be made alcoholic for adult guests or a fun, kid-friendly version. For a perfectly matched adult beverage, my Wicked Witch Cocktail boasts similar colors and a delicious kick!
- Poison Apple Cocktails: Take the theme to the next level with a dedicated Poison Apple Cocktail! Combine apple liqueur, cranberry juice, and vodka, finished with a black sugar rim for a truly adult complement. My Appletini Cocktail has just the right color and can be easily garnished with Halloween-focused elements. And for a crowd-pleasing, fun twist, these **Poison Apple Jello Shots** will be an absolute hit!
- Ghost Shots or Black Magic Margaritas: These themed alcoholic options offer a balance of sweet and spooky, providing exciting choices for your adult guests.
- Apple Cider (Hot or Cold): For a cozy, non-alcoholic option that perfectly enhances the green apple flavor notes of the fudge, serve warm or chilled apple cider. Alternatively, try the Witch’s Heart Cocktail, which features apple cider for a themed, heartwarming drink.
Themed Party Pairings & Decorations
- Dark Fairy Tale Theme: If your party embraces a broader dark fairy tale theme, incorporate other treats named after classic villains. Think “Maleficent Macarons” or “Evil Queen Punch” to complement your Poison Apple Fudge and create an immersive experience.
- Witch’s Apothecary Bar: Set up your fudge alongside other “potions and poisons” – creatively labeled treats and drinks in potion bottles – to create a fantastical witch’s apothecary bar.
- Spooky Forest Tablescape: Elevate your dessert display by creating a spooky forest tablescape. Use elements like faux moss, twisted black candles, branches, and vintage potion bottles to play into the enchanted, poisoned apple lore, making your fudge a centerpiece of mystical allure.
Recipe FAQs: Your Poison Apple Fudge Questions Answered
What Is The Secret To Good Fudge, Especially Microwave Fudge?
The secret to good fudge, especially microwave fudge, is all about achieving the perfect balance of ingredients and precise timing during the melting process. Firstly, always use high-quality white chocolate chips and good sweetened condensed milk – these are your core ingredients. When microwaving, the key is to avoid overheating. Use short bursts of cooking time (like 30-second increments) and stir thoroughly after each one. This prevents the chocolate from seizing or becoming grainy, which can ruin the texture.
Stirring the mixture until it’s perfectly smooth and glossy, and then working relatively quickly before it begins to set, helps ensure that creamy, luscious texture everyone loves. For our Poison Apple Fudge, using a high-quality gel-based food coloring is also crucial. Gel colors deliver vibrant, rich hues without adding excess liquid, which could impact the consistency, thereby enhancing that dramatic Halloween visual effect without compromising the deliciousness.
Can I Make This Recipe Without A Microwave?
Yes, absolutely! You can certainly make this decadent fudge without a microwave if you prefer or if you don’t have one handy. Instead of microwave melting, you’ll use the stovetop method. Combine your chocolate chips and sweetened condensed milk in a heavy-bottomed saucepan over very low heat. Stir constantly and gently until the mixture is fully melted and completely smooth. Be extra careful not to overheat the chocolate, as it can scorch or seize easily over direct heat. Using a double boiler can also provide a gentler melting process if you’re concerned about direct heat.
Once your mixture is melted and smooth, simply follow the remaining steps as you would with the microwave version. Add the green apple extract, a pinch of salt, and the neon green or black food coloring, mixing thoroughly. Then pour it into your prepared pan, allow it to set, and enjoy your stovetop-made spooky fudge!
Why Did My Fudge Get Too Hard?
Fudge that turns out too hard or crumbly is most commonly the result of overcooking or overheating the chocolate mixture. In the microwave, even an extra 30 seconds beyond the ideal melting point can make a significant difference. The key is to melt the chocolate and condensed milk gradually, in short bursts (typically 30 seconds at a time), stirring diligently after each one.
Another common reason could be using too much chocolate in proportion to the sweetened condensed milk, or conversely, not enough condensed milk. The condensed milk provides the moisture and creamy texture needed for soft, pliable fudge. If your microwave tends to run hot, consider reducing the cook time slightly or using a lower power setting to prevent the mixture from becoming too firm. Patience and careful observation during the melting phase are your best friends for perfectly creamy fudge.
Top Tips for Crafting the Best Poison Apple Fudge
To ensure your Poison Apple Fudge is as enchanting and delicious as possible, keep these expert tips in mind:
- Creative Layering Options: While a simple two-layer approach creates a dramatic effect, you can also experiment with alternating thinner layers of the two colors to create striking stripes! If you opt for stripes or a marbled look, you’ll need to work quite quickly, as fudge sets rapidly. This is why I personally prefer the more straightforward two-layer method for ease and consistent results, especially when making a larger batch.
- Adjust Microwave Timing: Microwave wattages can vary significantly, which directly impacts cooking times. My recipe is based on a 1000W microwave, where each layer cooked for approximately 1 ½ minutes total. If your microwave is higher or lower wattage, you may need to adjust the cooking time accordingly. Always start with shorter bursts and stir frequently to prevent overheating and ensure a perfectly smooth, melted consistency. Also, the size and material of your bowl can affect heating, so always use microwave-safe bowls and observe carefully.
- Achieving True Colors: For the most vibrant neon green and deepest black, always opt for gel food coloring. Liquid food colorings can dilute the fudge and won’t give you the intense pigments needed for that “poison apple” impact. Add coloring gradually, drop by drop, until you reach your desired saturation.
- Smooth vs. Rustic Top: When pouring the green layer, don’t worry too much about a perfectly smooth surface if you’re layering the black on top. A slightly uneven green layer can add character. However, make sure to smooth the black top layer evenly for a polished finish, especially if adding sprinkles.
Storage Tips for Lasting Freshness
One of the many great things about this Poison Apple Fudge is its excellent shelf life, allowing you to prepare it well in advance for your Halloween festivities:
- Refrigeration: Store cut squares of fudge in an airtight container in the refrigerator for up to 2-3 weeks. To prevent the pieces from sticking together and to avoid any color bleed between layers, it’s a good idea to place a small piece of parchment or wax paper between each fudge square.
- Room Temperature: If you have a cool, dry place away from direct sunlight, this fudge can also be stored at room temperature for about a week. However, for optimal freshness and a firmer texture, refrigeration is preferred.
- Freezing for Longer Term: For extended storage, you can easily freeze your fudge. Individually wrap each piece tightly in plastic wrap or parchment paper, then place them in a freezer-safe bag or an airtight container. Frozen fudge will maintain its quality for up to 3 months. To enjoy, simply thaw the fudge in the refrigerator overnight, or for a quicker thaw, let it sit on the counter for a few hours until softened.
More Enchanting No-Bake Halloween Treats
Strawberry Ghosts: Easy Microwave Halloween Treat!
Chocolate Spider Web Pretzels: Crunchy Halloween Treat!
Frankenstein Wafer Cookies: Cute No Bake Halloween Treat!
Witch Hat Cookies: Cute No Bake Halloween Treat!
- Apple Witch Brooms
Final Thoughts on This Spooktacular Fudge
This Poison Apple Fudge is truly a highlight for any Halloween celebration! Its stunning layered design of neon green and deep black creates an instant visual impact that perfectly captures the spooky spirit of the season. More than just a Halloween treat, it’s also wonderfully versatile for movie nights, especially those featuring fairy tales, enchanted forests, or other whimsical yet mysterious themes that evoke the classic Snow White narrative.
I absolutely love serving this fudge at Halloween parties. It’s not just eye-catching; the delightful green apple fruit flavor is a refreshing departure from typical pumpkin spice or chocolate-heavy treats. The best part? You can easily make it several days in advance, providing a fantastic, low-stress option for entertaining a crowd. It looks absolutely fantastic as a centerpiece on a dessert table or arranged artfully on a Halloween charcuterie board, promising to be a talking point among your guests.
Don’t miss out on adding this easy microwave fudge to your holiday repertoire. It’s delicious, visually impressive, and incredibly simple to prepare. Looking for even more fantastic ideas to complete your party spread? Be sure to explore all of my fun, creative, and spooky No Bake Halloween Treats for more inspiration and make this Halloween your most delicious yet!
Poison Apple Fudge (Easy Microwave Recipe)
Equipment
-
Microwave (for quick, easy melting)
-
Square pan (8×8 or 9×9 inch is ideal for perfect thickness)
-
Parchment paper (for easy lifting and clean-up)
-
2 Microwave safe bowl (one for each color layer)
-
Measuring cups and spoons (for accurate ingredient portions)
-
Spatula (or spoon, for mixing and spreading)
Ingredients
- 3 cups white chocolate chips (high quality, divided for layers)
- 1 tsp green apple extract (divided for distinct flavor)
- 14 ounce can sweetened condensed milk (divided, for smooth consistency)
- Neon green food coloring (gel recommended, I use 10 drops of McCormick brand)
- Black gel food coloring (gel recommended for intense color, I use ¾ tsp Wilton brand)
- Pinch of salt (to balance sweetness)
Instructions
-
Line an 8×8” or 9×9” square pan with parchment paper, leaving an overhang on the sides for easy removal later.
-
To make the green layer: Add 1 ½ cups of the white chocolate chips and half the can of sweetened condensed milk to a microwave-safe bowl. Cook on high for 1 minute, stir thoroughly, then continue cooking in additional 30-second increments, stirring after each, until the mixture is fully melted, smooth, and slightly thickened. Ensure no lumps remain.3 cups white chocolate chips, 14 ounce can sweetened condensed milk
-
Stir in ½ tsp of green apple extract, a pinch of salt, and enough neon green food coloring to achieve a vibrant green color. Start with a few drops and add more as needed (this can vary between brands of coloring; I typically use 10 drops of McCormick brand).1 tsp green apple extract, Pinch of salt, Neon green food coloring
-
Pour the vibrant green fudge mixture evenly into your prepared baking dish. You don’t need to smooth it perfectly if you like a slightly rustic base, but ensure it’s distributed fully across the bottom of the dish.
-
To make the black layer: In a different microwave-safe bowl, add the remaining 1 ½ cups white chocolate and the other half of the sweetened condensed milk. Repeat the same melting process as for the green layer until smooth and thickened. This time, stir in the remaining ½ tsp green apple extract, a pinch of salt, and black gel food coloring (I use ¾ tsp Wilton brand, adjust as needed for a deep, opaque black).3 cups white chocolate chips, 1 tsp green apple extract, 14 ounce can sweetened condensed milk, Black gel food coloring, Pinch of salt
-
Carefully pour this dark, mysterious black mixture on top of the green layer in your baking dish, then smooth the top with a spatula to create an even surface. Feel free to add some fun Halloween sprinkles here for extra festivity, pressing them lightly into the soft fudge!
-
Place the pan in the refrigerator until the fudge is completely set (this typically takes about 3-4 hours). Once firm, remove from the pan using the parchment paper handles and cut into desired 1” or 2” square pieces. Serve chilled and enjoy your spooktacular Poison Apple Fudge!
Notes
- You can also use some dark or milk chocolate instead of half of the white chocolate for the portion you tint black for a deeper cocoa flavor. However, you really need the white chocolate for the green portion to ensure you get a vibrant, true green color.
- I use the green apple extract because that’s the delightful theme of this fudge! If you prefer, you can certainly swap in vanilla extract or another complementary flavored extract to suit your taste preferences.
- Exact nutritional values will vary based on brand and flavor of ingredients, the precise size of your pieces, any additional decorations added, and the quantity consumed. Therefore, please consider this nutritional information as a general guideline only.
Nutrition
Number of total servings shown is approximate. Actual number of servings will depend on your preferred portion sizes.
Nutritional values shown are general guidelines and reflect information for 1 serving using the ingredients listed, not including any optional ingredients. Actual macros may vary slightly depending on specific brands and types of ingredients used.
To determine the weight of one serving, prepare the recipe as instructed. Weigh the finished recipe, then divide the weight of the finished recipe (not including the weight of the container the food is in) by the desired number of servings. Result will be the weight of one serving.
Did you try this recipe?
We’d love to see your spooky creations! Mention @TheDinnersDoneQuick or tag #dinnersdonequick! for a chance to be featured!
Pin Recipe
Leave A Review
