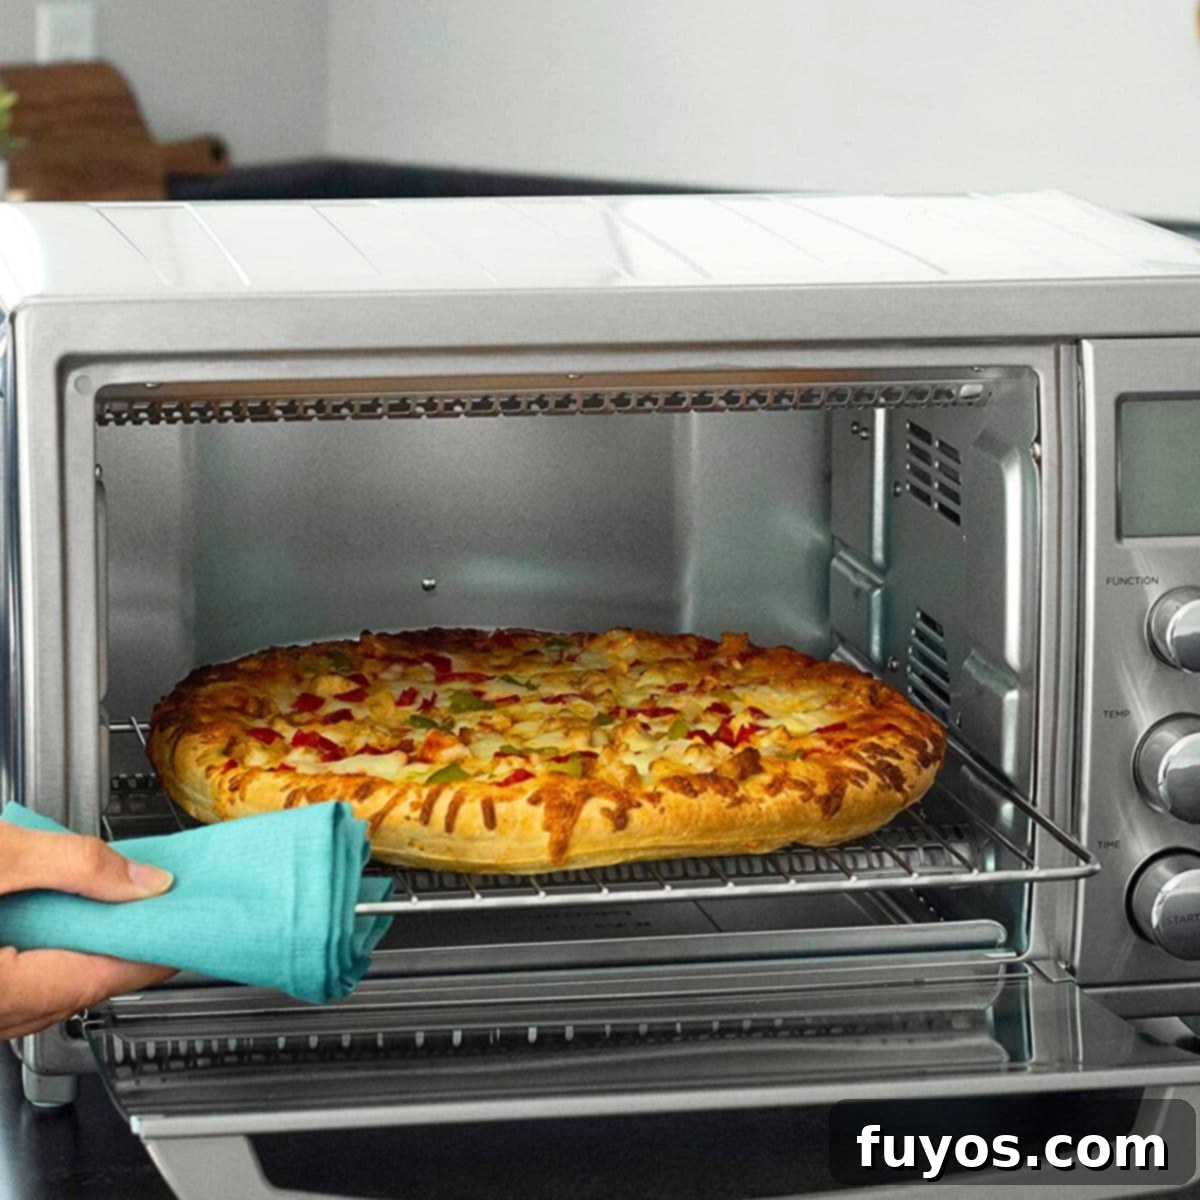
Mastering Your Black + Decker Air Fryer: A Complete Guide to Setup and Usage
Congratulations on getting your new Black + Decker air fryer! You’ve just opened the door to a world of healthier, crispier, and incredibly delicious meals with minimal effort. Whether you’re looking to fry, bake, roast, or even toast, your new appliance is ready to transform your cooking experience. This comprehensive guide will walk you through everything you need to know, from initial setup to mastering both basket-style air fryers and versatile countertop air fryer toaster ovens. Get ready to cook up a storm!
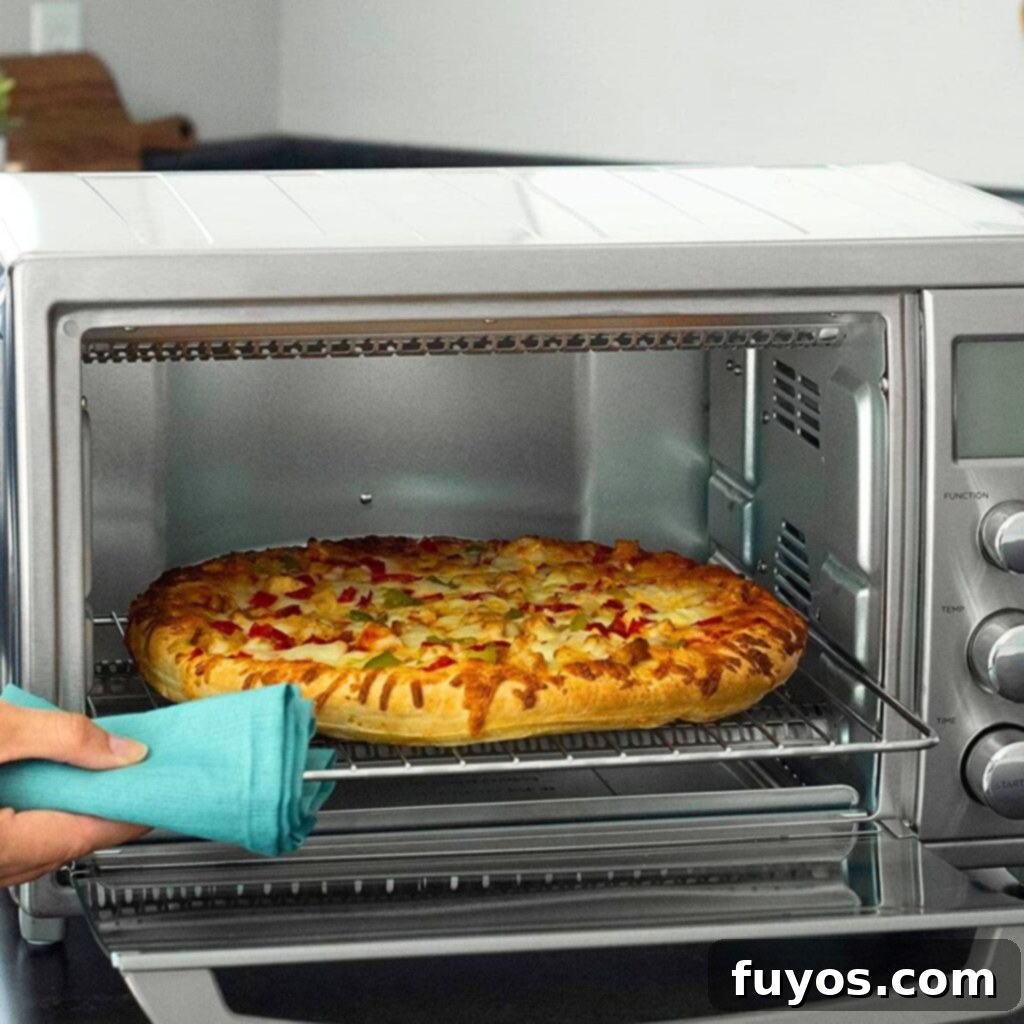
How to Set Up Your Black + Decker Air Fryer for First Use
Before you can enjoy those perfectly crispy fries or succulent roasted chicken, a proper initial setup is crucial. This ensures safety, optimal performance, and eliminates any factory smells. Follow these simple steps to prepare your Black + Decker air fryer:
- Unpack and Unbox Carefully: Begin by removing the air fryer from its packaging. Make sure to remove all exterior plastic, foam, tape, tags, and stickers. Check both the exterior and interior thoroughly.
- Choose a Safe Location: Place your air fryer on a stable, level, heat-resistant surface, such as a sturdy countertop or table. Ensure there’s adequate air space (at least 6 inches on all sides and above) around the unit to allow for proper ventilation and heat dissipation during operation. This prevents overheating and protects surrounding surfaces.
- Clean All Removable Parts: Take out all interior components, including racks, grill pans, broiler pans, baskets, and inserts. These parts are typically dishwasher-safe for convenience. Run them through a dishwasher cycle or wash them by hand with warm, soapy water.
- Wipe Down the Unit: After washing the removable parts, use a soft, damp cloth or sponge to gently wipe down the interior and exterior surfaces of the air fryer itself. This removes any dust or residue from manufacturing and shipping. Avoid abrasive cleaners or scouring pads.
- Dry Thoroughly: Ensure all washed parts and the main unit are completely dry before proceeding. Moisture can be a safety hazard when dealing with electrical appliances.
- Connect to Power: Plug the power cord into a grounded electrical outlet. Avoid using extension cords unless absolutely necessary and ensure it’s rated for the appliance’s wattage.
- Assemble Interior Components:
- For Basket Models: Place the rack into the basket and then insert the assembled basket firmly into the air fryer unit. It should click securely into place.
- For Toaster Oven Models: Slide the crumb tray into the designated opening at the bottom of the oven (usually accessible with the door closed). Then, slide the desired racks into the interior of the toaster oven at the appropriate height for your cooking needs.
- Perform Initial Burn-Off (First Use Cycle): Before cooking any food, run your Black + Decker air fryer empty for 15-20 minutes on its highest temperature setting. This vital step helps to burn off any residual manufacturing oils or coatings, which can cause a slight smell or even a small amount of smoke. This is completely normal for the first use and will dissipate. Ensure good ventilation in your kitchen during this process.
That’s it! Your Black + Decker air fryer is now fully set up, cleaned, and ready to embark on its delicious culinary journey. You’re ready to start cooking!
Quick + Easy Recipes
straight to your inbox
How Do I Turn on My Black + Decker Air Fryer?
A common question for new users is how to power on their appliance. With most Black + Decker air fryers, there’s a unique simplicity: to turn on your Black + Decker air fryer, you simply plug it in and set your desired cooking parameters. There is no dedicated on/off power button or toggle switch that you press to initiate power.
As soon as you select the time and temperature settings (or a specific function on toaster oven models), the unit will typically begin its cooking cycle automatically. Basket-style units usually feature an indicator light (often a power light or a fan icon) on the top or front panel. This light illuminates to signify that the unit is powered on and actively running, but it doesn’t function as a control for turning the appliance on or off.
Your air fryer is designed for convenience and safety. It will automatically shut off once the set cooking time has elapsed or the cycle is complete, often accompanied by an audible chime or ding. For safety and energy conservation, it is always recommended to unplug your Black + Decker air fryer from the wall outlet between uses.
Katie’s tip
If your air fryer is not turning on despite being plugged in, double-check that the basket is fully and securely inserted (for basket models). For countertop toaster oven models, ensure the door is completely closed. Most air fryers have safety interlocks that prevent operation if components aren’t correctly positioned.
How to Use Black + Decker Air Fryer Toaster Oven Crisp ‘N Bake and Convection Oven Models:
Black + Decker offers versatile toaster oven air fryer models, such as the Crisp ‘N Bake series, which combine multiple cooking functions into one compact appliance. These units feature mechanical dials (or digital interfaces on some models) for precise control. Here’s a step-by-step guide for optimal use:
- Power Connection: Plug your air fryer toaster oven securely into a grounded wall outlet.
- Crumb Tray Check: Always ensure the crumb tray is correctly inserted at the bottom of the unit. This collects drips and crumbs, making cleanup much easier.
- Prepare Food on Tray: Open the oven door and carefully remove the air fry basket tray. Arrange your food on the basket tray in a single, even layer. Overcrowding can lead to uneven cooking and less crispy results. For best air circulation, leave a little space between items if possible.
- Insert Food Tray: Slide the tray with your food back into the air fryer oven. For optimal air frying, place it near the center of the unit’s available rack heights to ensure balanced heat distribution.
- Select Air Fry Function: Turn the top control knob clockwise to the “Air Fry” setting. This activates the high-speed convection fan for rapid, even cooking.
- Set Cooking Time: Rotate the second (middle) knob clockwise to set the desired cooking time as indicated by your recipe.
- Begin Cooking: The air fryer toaster oven will typically start its cooking cycle immediately once you release the timer knob. The internal fan will engage, and the heating elements will activate.
- Completion Notification: When the cooking cycle is finished, a distinct bell will ding to alert you that your food is ready.
- Automatic Shut-Off: The unit automatically shuts off once the timer reaches zero, ensuring your food doesn’t overcook and providing peace of mind.
Beyond air frying, these versatile toaster ovens offer additional functions:
- Other Cooking Modes: For functions like broil, toast, keep warm, or conventional baking (at specific temperatures), simply turn the top dial to the appropriate setting. Broiling is excellent for browning tops, while baking is perfect for casseroles or smaller baked goods.
- Toasting Specifics: The third (bottom) knob is specifically dedicated to the toasting function. Rotate it to select your desired toast shade, usually indicated by bread-shaped icons, for perfect bagels or slices of bread.
It’s worth noting that the controls and operational steps are generally identical across both size options of the Black + Decker air fryer toaster convection oven, ensuring a consistent user experience regardless of model.
Our Top Analog Pick
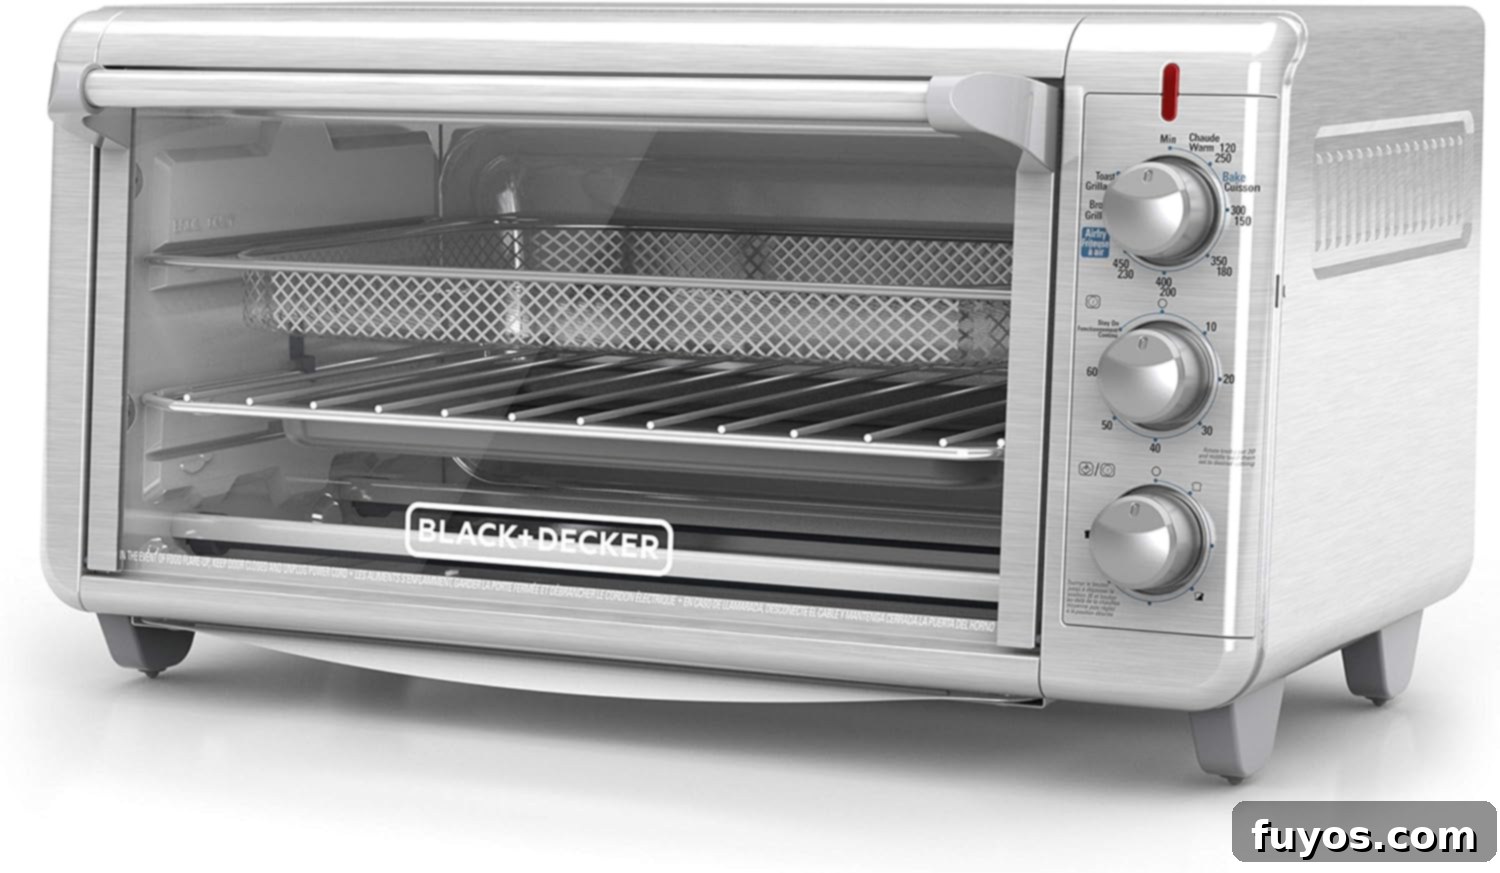
Black and Decker TO3265XSSD Extra Wide Crisp ‘N Bake Air Fry Toaster Oven
Our Top Digital Pick
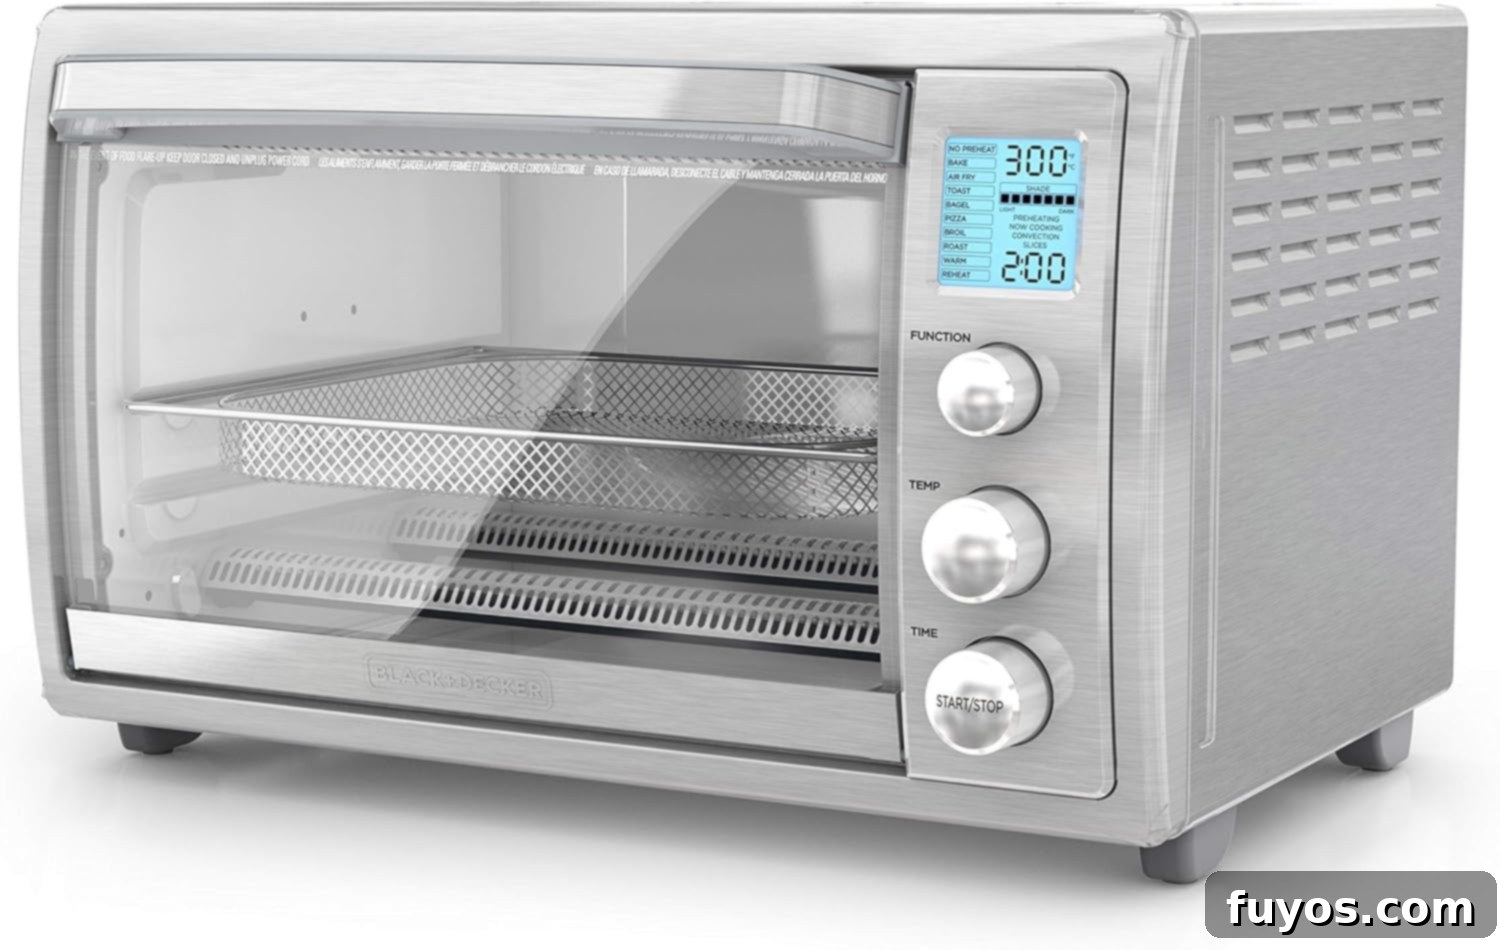
BLACK and DECKER TOD5035SS Digital Air Fryer Toaster Oven
The only slight variation you might encounter is with digital models like the Black and Decker TOD5035SS. While these still feature knobs, they control a digital screen rather than direct mechanical settings. You twist the knobs to navigate and select functions, time, and temperature displayed on the digital interface. Once your desired settings are programmed, you typically press a dedicated “Start” or “Time” button to begin the cooking cycle. Pressing it again will pause or stop the process, or the unit will automatically shut off when cooking is complete.
How to Use My Black + Decker Air Fryer (Purifry Basket Models):
Basket-style air fryers, like the Black + Decker Purifry series, are known for their compact size and ability to deliver perfectly crispy results for smaller batches of food, akin to deep frying but with significantly less oil. Here’s a detailed guide to using your basket air fryer:
- Plug In: Begin by plugging the air fryer securely into a grounded wall outlet.
- Set Temperature: Rotate the bottom control knob to select the desired cooking temperature for your recipe. This prepares the unit for preheating.
- Preheat the Air Fryer: Rotate the top timer knob clockwise and set it for approximately 3-5 minutes. This initiates the preheating cycle. Preheating is crucial for basket models to ensure your food cooks evenly and develops a consistently crispy exterior.
- Temperature Indicator: Observe the green thermometer indicator light (or a similar preheat light) on the unit. Once this light turns off, it signals that the air fryer has reached your selected temperature and is ready for food.
- Add Food: Carefully remove the basket from the air fryer. Place your food into the basket, arranging it in a single layer. Try to allow some air space between individual items to maximize hot air circulation and achieve the best crispy texture. Avoid overcrowding.
- Set Cook Time & Start: Your temperature should still be set from the preheat step. Now, rotate the top timer knob again, this time setting it to the specific cooking time indicated in your recipe. The air fryer will automatically start the cooking process as soon as you release the timer knob. An orange power light will illuminate to confirm it’s running.
- Cooking Cycle Completion: A small “ding” noise will sound to alert you that the cooking cycle is complete.
- Automatic Shut-Off: The air fryer will automatically turn off once the timer reaches zero. If you need to stop cooking before the timer expires, simply rotate the timer knob counterclockwise until it reaches the zero position.
Important Tips for Basket Air Fryers:
- Safety Pause Feature: The air fryer is designed with a safety feature that pauses operation when the basket is removed. This means if your recipe calls for shaking the basket to redistribute food or flipping items halfway through, you can do so without manually shutting off the unit. Simply pull out the basket, perform your action, and reinsert it. Cooking will automatically resume from where it left off.
- Cleaning the Basket Insert: To remove the inner insert from the basket for thorough cleaning (or to easily pour out cooked food without residual oil), locate the clear square button on the basket handle. Push this button forward, then press down on the exposed black tab underneath, and lift to separate the two pieces. When reassembling, simply place the insert back into the basket and push down firmly until you hear a secure click. Slide the clear square cover back into place.
These instructions generally apply to other Black + Decker basket models, including AeroFry units, though specific models like AeroFry might not be as widely available in certain regions like the US.
Traditional Air Fryer Basket
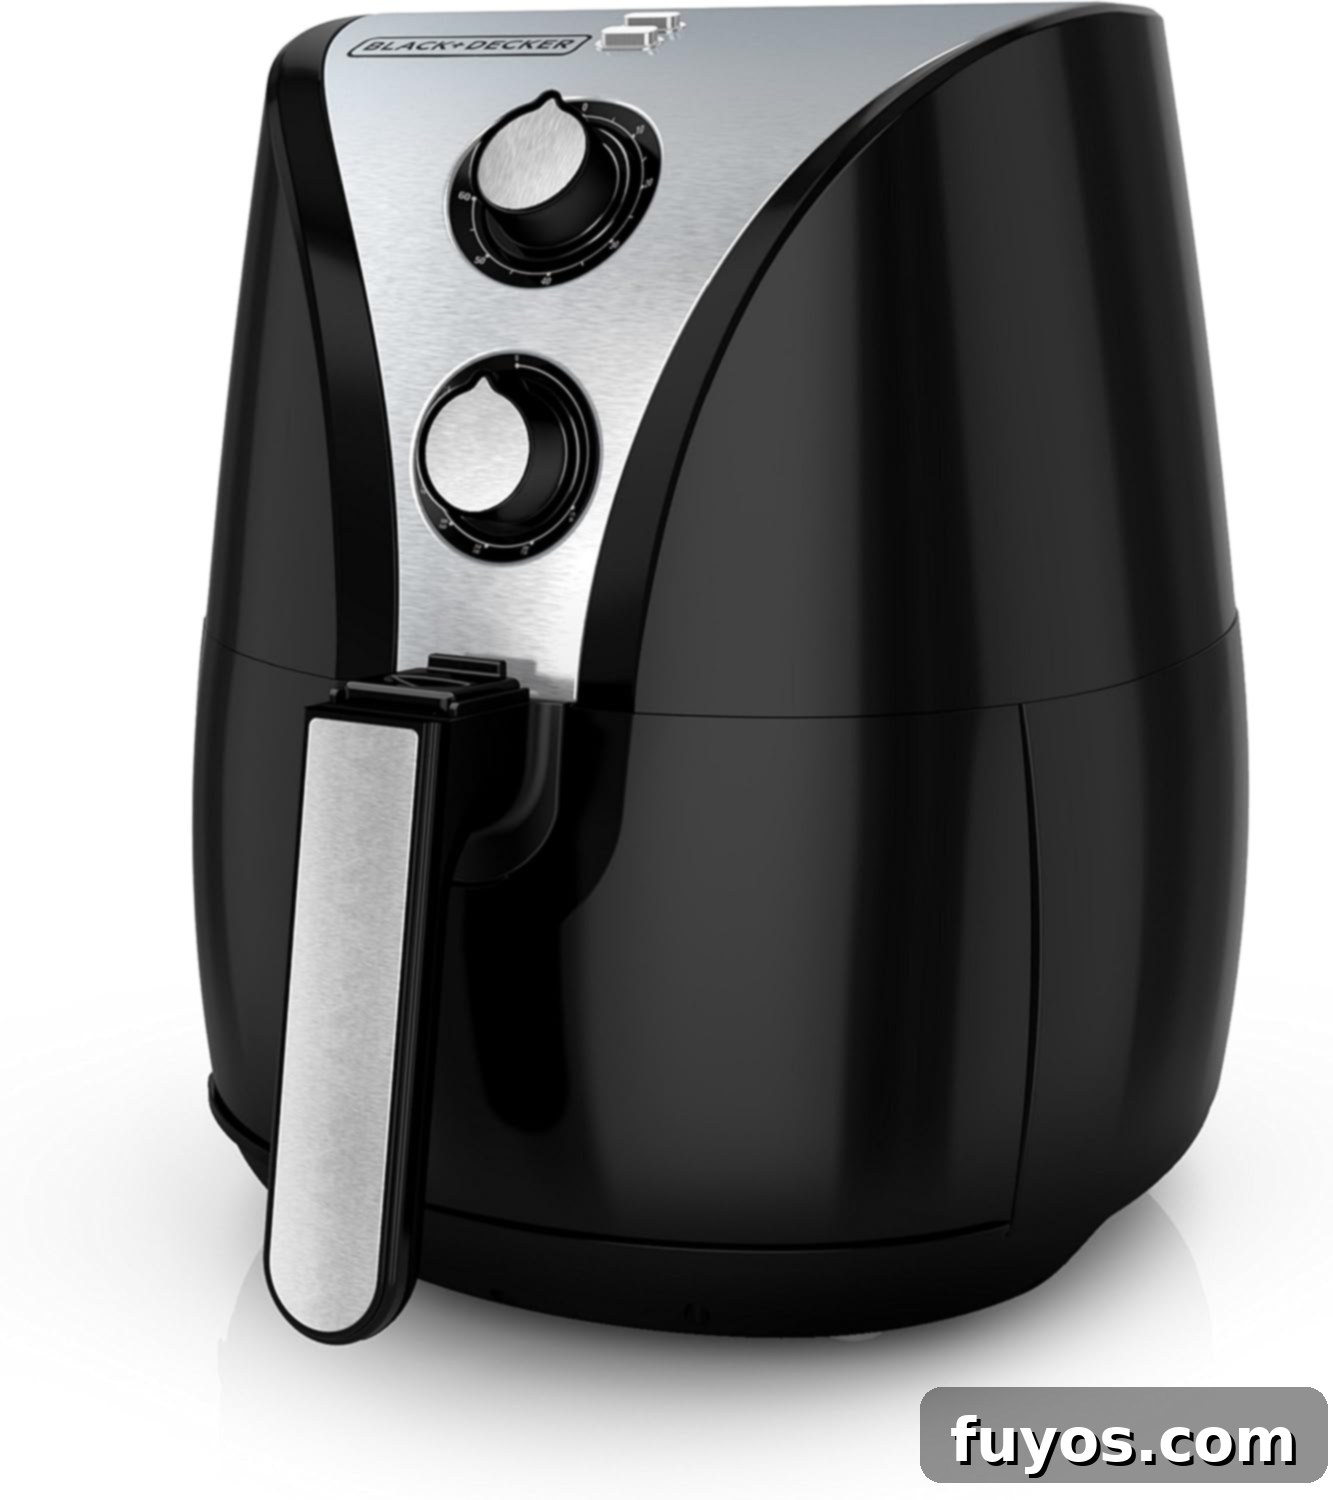
BLACK and DECKER Purify 2-Liter Air Fryer
Black + Decker Air Fryer FAQs
Do You Preheat Black + Decker Air Fryers?
Yes, for optimal results, you should preheat your Black + Decker air fryer, especially the basket models. While Black + Decker toaster oven air fryer models technically do not “require” preheating in the same way, setting the oven to the desired temperature for 5 minutes before adding food can significantly improve cooking speed and crispiness. For basket air fryers, preheating is highly recommended; an indicator light on the unit will typically signal when the chosen temperature has been reached, ensuring your food starts cooking at the right heat for even results.
What Temperature Does a Black + Decker Air Fryer Cook At?
The cooking temperature range varies slightly between Black + Decker air fryer models. Their versatile toaster oven air fryers typically offer a broader range, cooking at temperatures between 120°F (for warming) and 450°F (for broiling or intense roasting). The dedicated basket-style countertop air fryers generally operate within a temperature range of 170°F to 400°F. The higher temperature on toaster ovens allows for functions like broiling. Most common air frying tasks, such as making fries, chicken wings, or vegetables, will be performed effectively within the 350°F to 400°F range for both types of units.
How Do I Clean My Black + Decker Air Fryer?
Regular cleaning keeps your Black + Decker air fryer performing at its best. Always ensure the unit is unplugged and completely cooled before cleaning. For removable parts (baskets, trays, racks), most are dishwasher-safe, or you can wash them by hand with warm, soapy water and a non-abrasive sponge. For the interior of the main unit, wipe it down with a damp cloth and mild soap, ensuring no water gets into electrical components. A paste of baking soda and water can tackle stubborn residue. For the exterior, simply wipe with a damp cloth. Never immerse the main unit in water. Detailed cleaning instructions are usually found in your specific model’s user manual.
Other How-To Guides For Different Brands
How to Use a GoWise USA Air Fryer – A Helpful Guide
How to Use a Bella Air Fryer – Step by Step Guide
Learn How to Use Your LG Air Fryer Oven Like a Pro
In Conclusion: Your Air Frying Adventure Awaits!
Now that you’ve gained a comprehensive understanding of how to use a Black + Decker air fryer, including detailed setup instructions and operational guides for both basket and toaster oven models, you’re fully equipped to start creating amazing meals. The versatility and efficiency of these appliances make healthy and delicious cooking incredibly accessible.
Don’t hesitate to dive in and experiment! We highly recommend you check out our curated list of the best Black + Decker air fryer recipes to kickstart your culinary journey. Once you discover the incredible crispy textures and flavorful results your new appliance can achieve, you’ll be inspired to explore a wide array of dishes. Happy cooking, and enjoy all the tasty possibilities!
