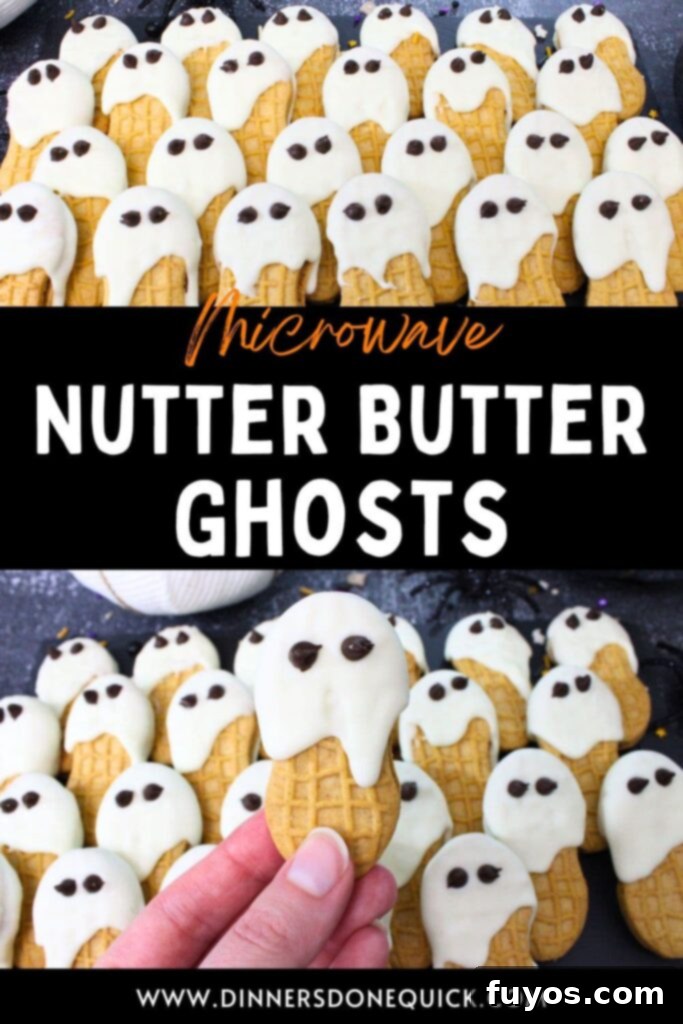
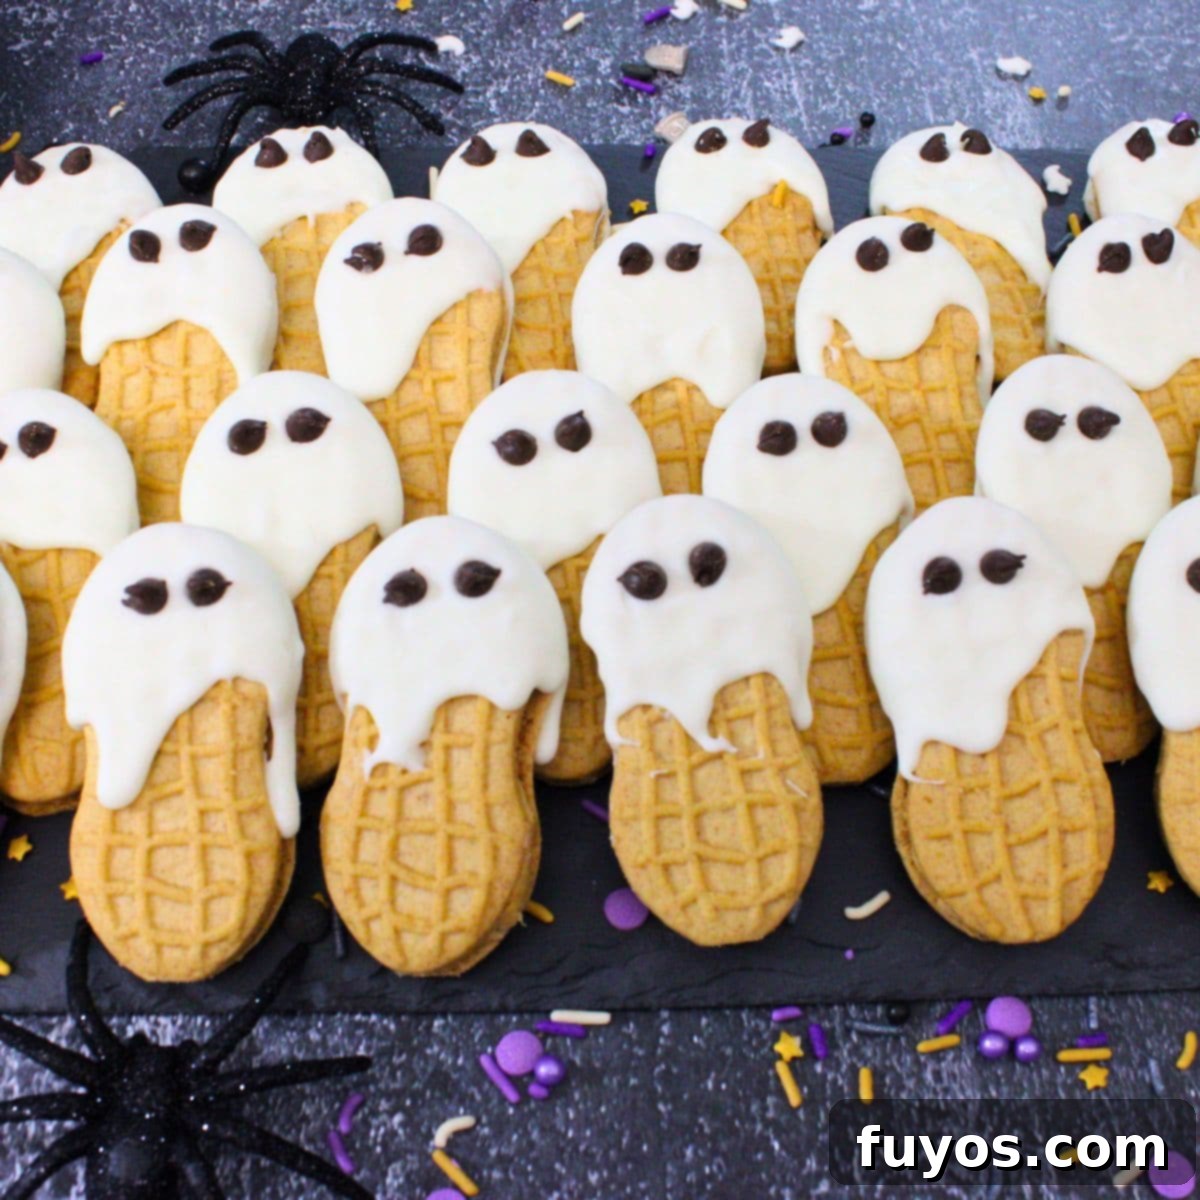
Spooky Fun in Minutes: Easy Nutter Butter Ghost Cookies for Halloween
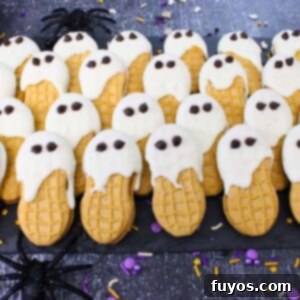
Halloween is a time for ghoulish delights, spooky decorations, and, of course, delicious treats! But let’s face it, our busy lives often leave little time for elaborate baking. If you’re looking for a quick, charming, and utterly delightful Halloween snack that requires minimal effort, look no further! These adorable Nutter Butter ghost cookies are the perfect solution. They transform pre-made peanut butter cookies into festive, ghost-like confections with just a few ingredients and a sprinkle of spooky magic, all in minutes. Easy enough for anyone, they’re a fantastic project for kids and adults alike!
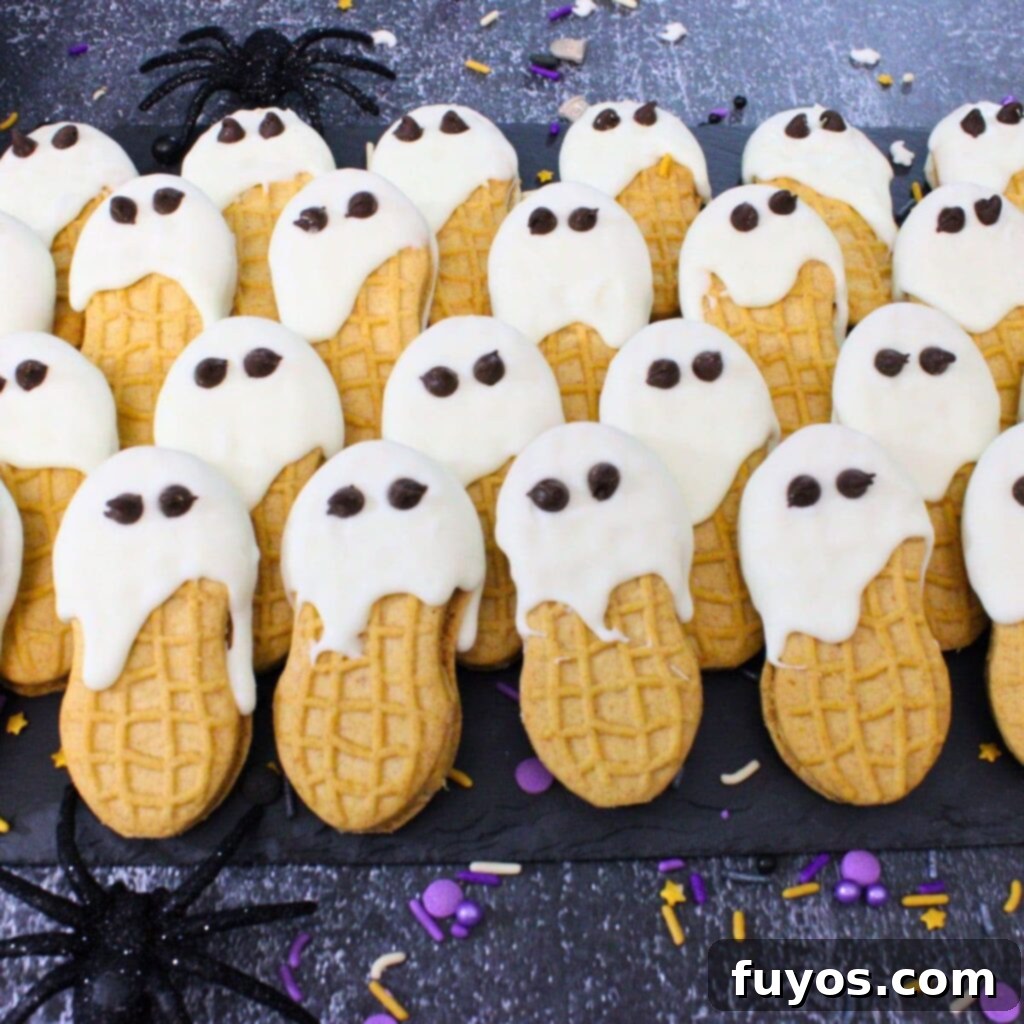
Why You’ll Adore These Easy Halloween Ghost Cookies
These Nutter Butter ghost cookies aren’t just easy; they’re a genuine game-changer for your Halloween festivities. Here’s why this recipe will quickly become a seasonal favorite:
- Effortless & Quick: Forget complicated baking! With just 3 simple ingredients and less than 2 minutes of active “cooking” (thanks to your microwave), you can whip up a batch of these spooky treats in a flash. They’re perfect for last-minute party contributions or a spontaneous Halloween craft session.
- Kid-Friendly Fun: This recipe is designed for little hands! Kids will love dipping the cookies and placing the “eyes,” making it a wonderful family activity. The less perfect the dip, the more unique and charming your Nutter Butter ghosts will be, encouraging creativity over perfection.
- Peanut Butter Perfection: Nutter Butter cookies provide a delightful peanut butter crunch that perfectly complements the sweet white chocolate coating. It’s a flavor combination that’s always a hit! For those with peanut allergies, consider using Vienna Fingers or other oblong-shaped sandwich cookies for a safe alternative.
- Customizable & Creative: While mini chocolate chips are classic for eyes, this recipe encourages creativity. Experiment with edible markers, different candy eyes, or even add mummy-like drizzles for variations. Each ghost can have its own personality!
- Perfect Party Snack: These decorated Halloween ghost cookies are ideal for any spooktacular party. They offer an easy, grab-and-go snack option that’s a welcome alternative to traditional Halloween candy, adding a homemade touch without the stress.
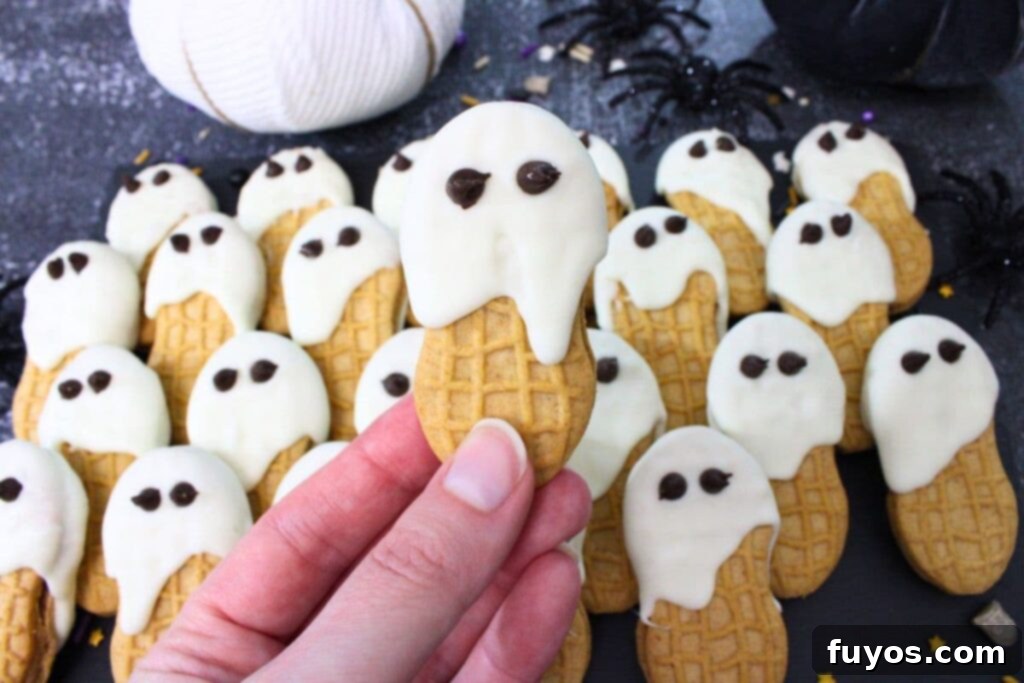
Whether you’re hosting a big Halloween bash or simply want a fun project with the kids, these Nutter Butter ghosts deliver big on charm and minimal on effort. They’re a sweet, delightful way to celebrate the season!
Quick + Easy Recipes
straight to your inbox
Simple Ingredients for Spooky Nutter Butter Ghosts
Making these adorable Nutter Butter ghosts is incredibly simple, requiring just three main components. You likely already have some of these on hand, making this a perfect last-minute Halloween treat!
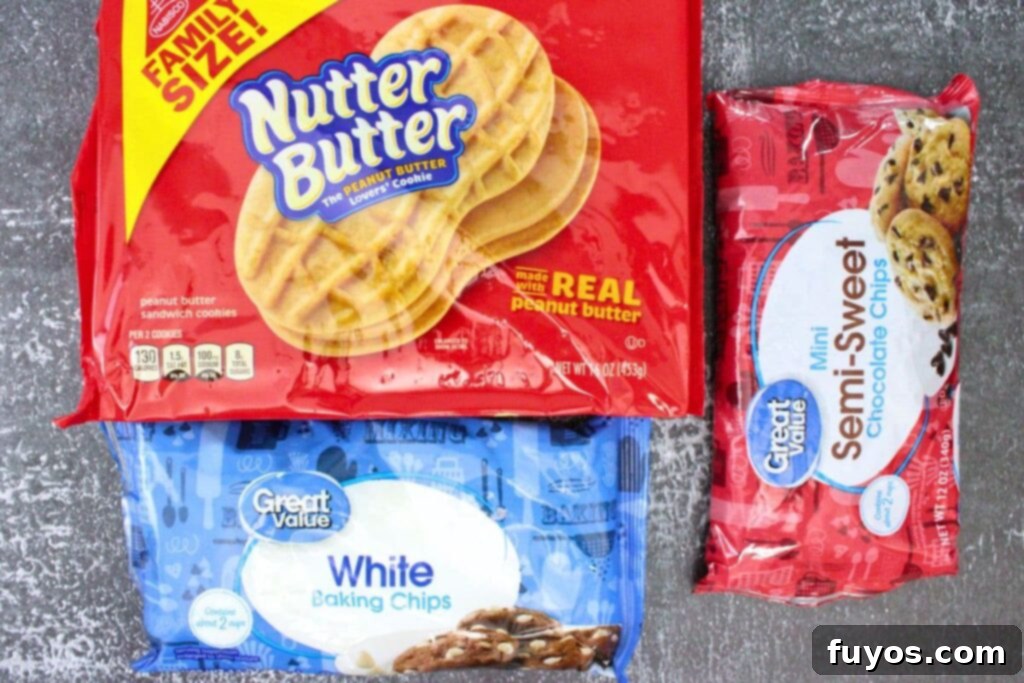
- Nutter Butter cookies: You’ll need about 24 cookies (a 16 oz package typically provides enough, often with a few extras in case some are broken during handling or shipping). The iconic peanut butter sandwich cookie shape is ideal for creating the ghost outline.
- White chocolate chips or white candy melts: An 11-ounce bag is usually sufficient. White chocolate chips give a classic taste, while candy melts are specifically designed for easy melting and a smoother, faster-setting coating. Both work wonderfully for a ghostly appearance.
- Mini chocolate chips: Approximately 48 mini chocolate chips are needed for the ghost eyes (two per cookie). These add a charming, expressive touch to your spooky snacks.
Ingredient Tips and Smart Swaps
- Quantity Flexibility: This recipe is incredibly flexible. You can easily adjust the number of cookies you make to suit the size of your gathering or simply how many spooky snacks you desire. The ingredient ratios scale up or down effortlessly.
- Cookie Alternatives: While Nutter Butters are fantastic for their shape and flavor, you can absolutely use other cookies!
- Vienna Fingers: These oblong vanilla sandwich cookies are an excellent alternative, especially for those with peanut allergies.
- Graham Crackers or Pirouette Cookies: While not the same shape, these can also be dipped and decorated to create different “spooky” figures.
- Shortbread or generic peanut butter cookies: Any similar-sized, sturdy cookie can be transformed.
- Choosing Your White Coating:
- White Chocolate Chips: Offer a rich, creamy flavor. They can be a bit finicky to melt smoothly, requiring careful, short bursts in the microwave and consistent stirring.
- White Candy Melts: Often preferred for dipping because they melt more easily and consistently, and set faster with a smoother finish, without needing tempering. They are specifically formulated for candy making.
- Creative Eyes for Your Ghosts: Mini chocolate chips are classic, but don’t limit yourself! You’ll need two “eyes” per ghost.
- Black Cookie Icing or Gel: Great for drawing on eyes after the white coating has set. This allows for more precise and varied expressions.
- Small Black Sugar Pearls: Offer a glossy, slightly raised eye effect.
- Edible Fondant or Candy Eyeballs: Widely available during Halloween, these are a super easy and fun option for instant character.
- Edible Markers: For older kids or adults, these can draw on detailed eyes and mouths for truly unique ghosts.
Step-by-Step Instructions for Your Nutter Butter Ghost Cookies
Get ready for some hauntingly good fun! Follow these simple steps to create your batch of adorable Nutter Butter ghosts:
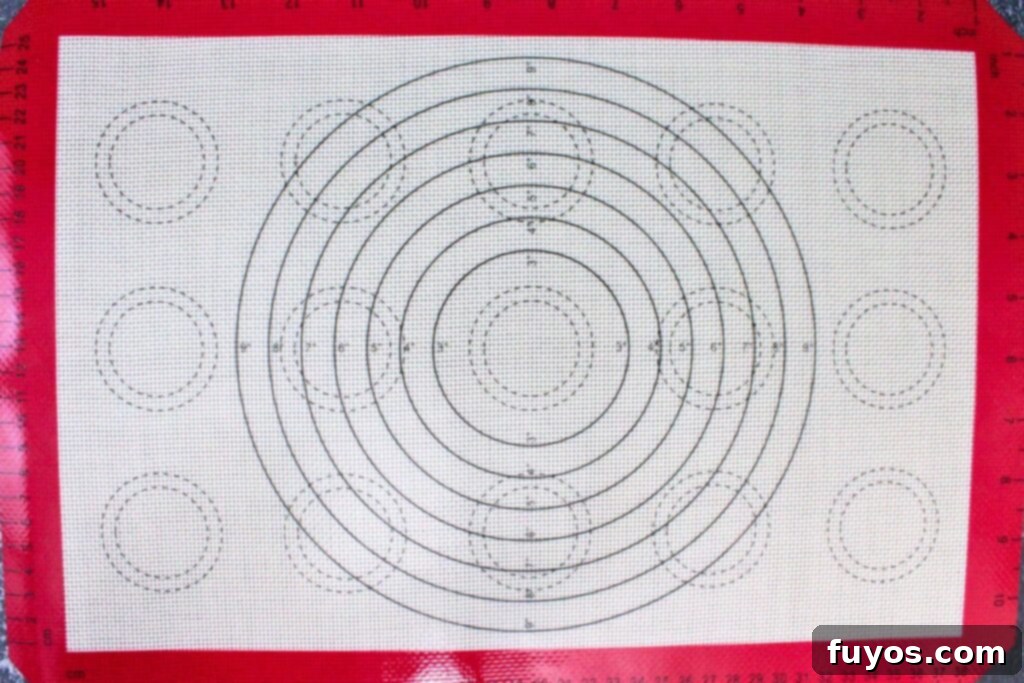
- Prepare Your Workspace: Begin by lining a baking sheet, wire rack, or any flat work surface with wax paper, parchment paper, or a silicone baking mat. This crucial step prevents your dipped cookies from sticking and makes cleanup a breeze.
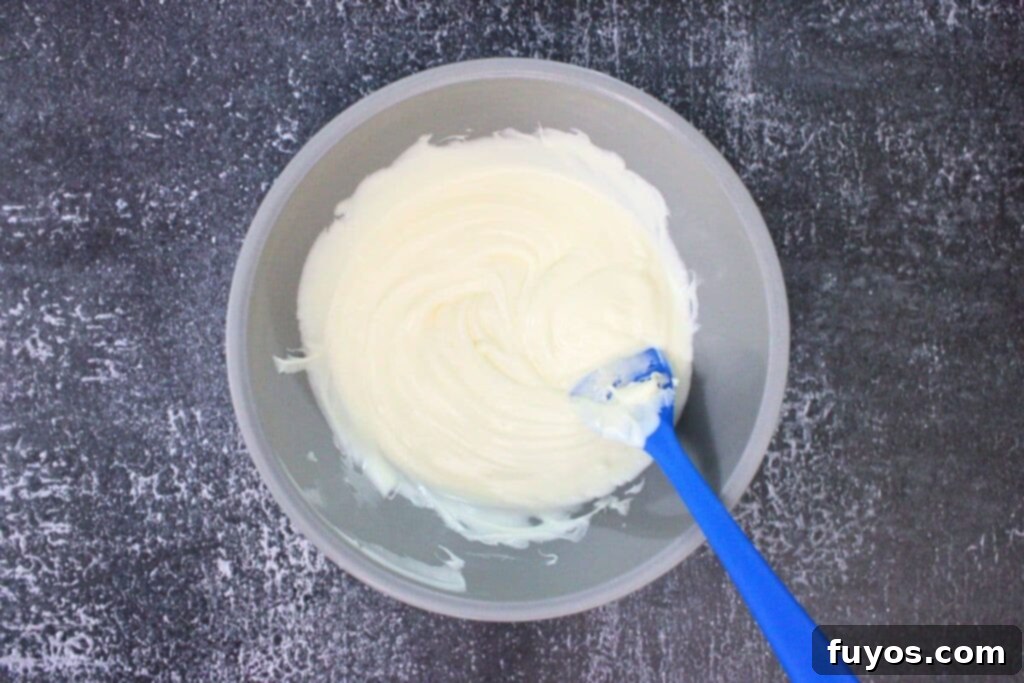
- Melt the White Chocolate: Pour your white chocolate chips or candy melts into a microwave-safe bowl. A tall, deep bowl works best for easy dipping. Microwave on high for 30 seconds, then stir thoroughly. Continue to cook in additional 10-15 second increments, stirring well after each interval, until the chocolate is completely smooth and creamy. Be careful not to overheat, as white chocolate can seize. If using candy melts, always refer to package instructions as melting times may vary.
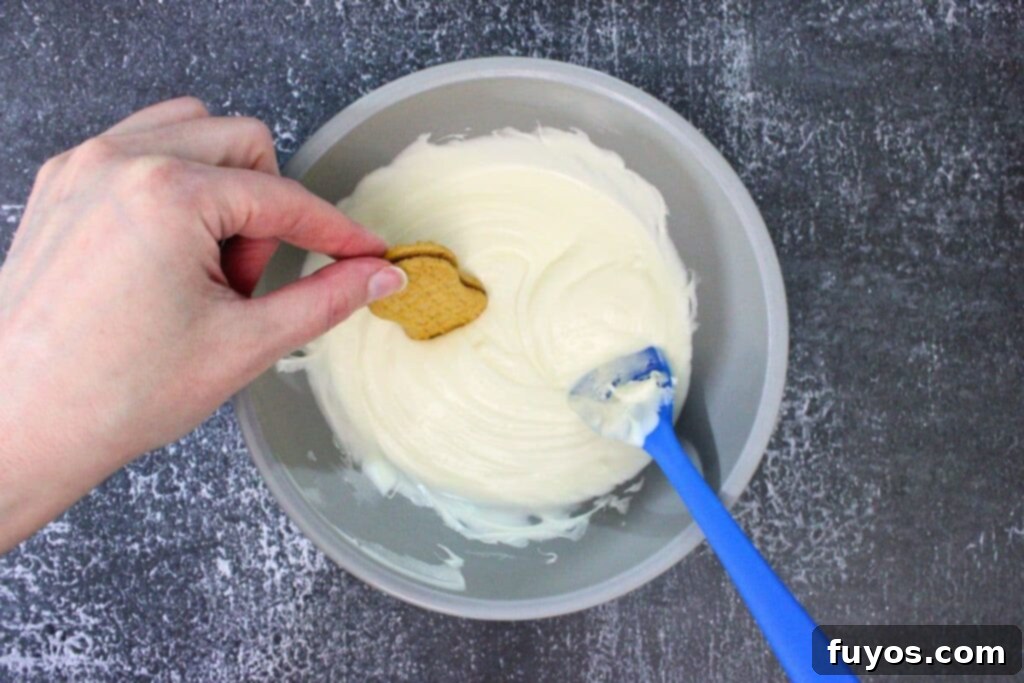
- Dip Your Nutter Butters: Hold one Nutter Butter cookie gently by its bottom end. Dip the opposite side into the melted white chocolate, aiming to cover approximately one-third to one-half of the cookie. This partial dip creates the classic ghost-like drape.
- Create the Ghostly Drip: Carefully lift the dipped cookie out of the chocolate. Instead of tapping off the excess back into the bowl, hold the cookie upright (with the undipped portion against your table or a clean surface) and gently tap it a few times. This technique encourages the chocolate to naturally drip downwards, forming charming, uneven edges that perfectly mimic a flowing ghost costume.
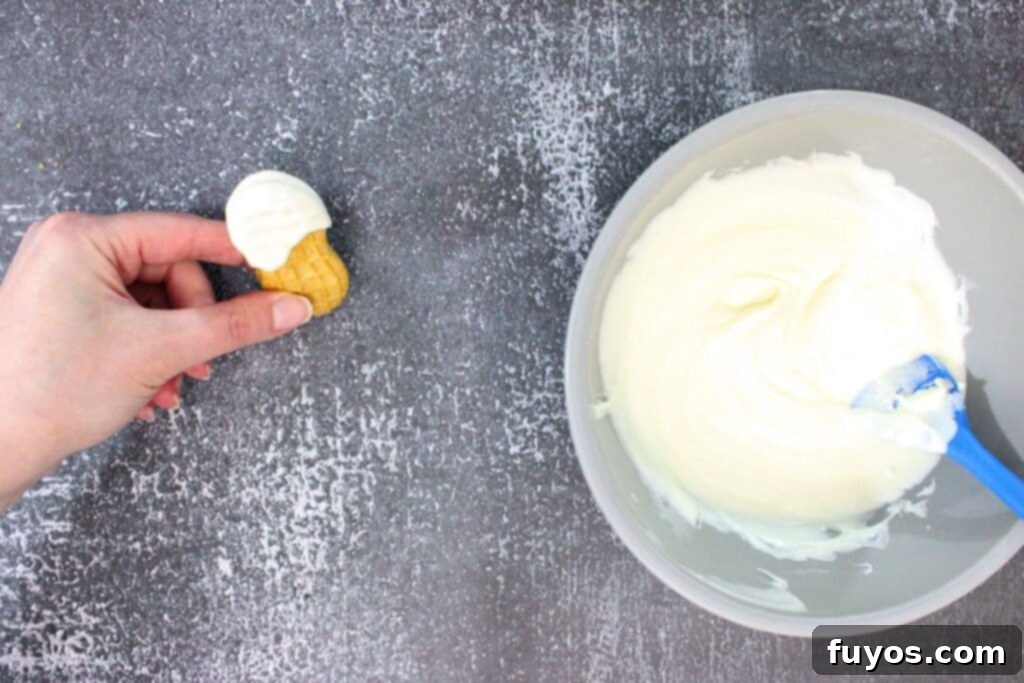
- Add the Eyes: Immediately after dipping and dripping, place the dipped cookie onto your prepared wax paper or silicone mat. Choose the side with the most appealing “drip” to face up. Gently position two mini chocolate chips (or edible candy eyes) near the top of the white chocolate-covered section to create the eyes. Press them lightly into the still-warm, soft chocolate so they adhere securely.
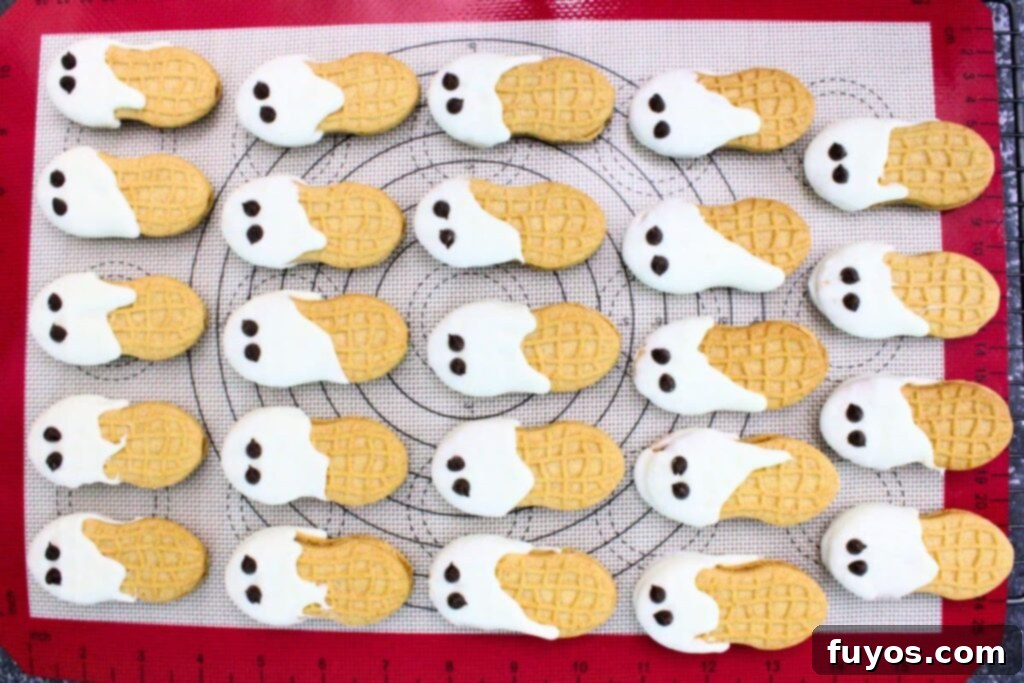
- Harden and Enjoy: Allow your decorated Nutter Butter ghost cookies to cool and harden completely. This typically takes about 10-15 minutes at room temperature. You can speed up the process by placing the baking sheet in the refrigerator or freezer for a few minutes. Once firm, your spooky and delicious Nutter Butter ghosts are ready to be devoured!
More Halloween Recipes to Try
Pumpkin Rice Krispie Treats w/ Rolos: Festive Fall Recipe
Headless Horseman Cocktail: Raise a Glass to Halloween!
Snake Calzone: Spooky Fun Air Fryer Halloween Recipe!
Green Ghost Cocktail: Halloween Green Gin Drink!
Chocolate Spider Web Pretzels: Crunchy Halloween Treat!
Ghost Shot With Vodka: Fun Halloween Drink!
Recipe FAQs: Your Nutter Butter Ghost Questions Answered
What Exactly Are Nutter Butter Ghosts?
Nutter Butter ghosts are charmingly spooky Halloween treats created by taking classic Nutter Butter cookies and dipping them into melted white chocolate or candy coating. This transforms the peanut butter sandwich cookies into adorable, ghost-like figures, often adorned with mini chocolate chips or edible candy eyes for their faces. They are a beloved, no-bake, and incredibly easy snack, perfect for adding a festive touch to any Halloween celebration, from school parties to family gatherings.
Can I Use Different Cookies for This Recipe?
Absolutely! While Nutter Butter cookies are ideal due to their oblong shape and popular flavor, you can certainly get creative with other types of cookies.
- Vienna Fingers: These are an excellent choice if you need a peanut-free alternative, as they have a similar oblong shape.
- Oreo Cookies: While round, dipped Oreos can make fantastic “mummy” cookies if you drizzle extra white chocolate over them to create bandages.
- Graham Crackers: You can break graham crackers into rectangles and dip them for a different texture and flavor profile.
- Shortbread Cookies: Any sturdy, plain cookie with a decent surface area for dipping will work well.
Just ensure the cookie is robust enough to handle dipping without crumbling and has a shape that can be adapted to a ghostly or spooky theme.
What’s the Best Way to Melt White Chocolate or Candy Coating?
The easiest and most common method is to melt your white chocolate chips or candy melts in a microwave-safe bowl. Here’s how to do it perfectly:
- Start by microwaving on high for 30 seconds.
- Remove and stir thoroughly, even if it doesn’t look melted yet.
- Continue microwaving in short bursts of 10-15 seconds, stirring well after each one, until the chocolate is completely smooth and liquid.
Important Tip: Be very careful not to overheat, as white chocolate can seize and become lumpy. If using candy melts, always follow the specific package instructions, as their melting points can vary. Alternatively, you can use a double boiler on the stovetop for a more controlled melting process, ensuring no water comes into contact with the chocolate.
How Do I Add the Eyes to the Nutter Butter Ghosts Effectively?
For the most effective adhesion, you should add the eyes to your Nutter Butter ghosts while the white chocolate coating is still warm and soft.
- Mini Chocolate Chips: Simply place two mini chocolate chips near the top of the dipped cookie and gently press them in.
- Edible Candy Eyes: These are applied the same way – just press them into the fresh coating.
- Black Icing or Fondant: If you’re using black cookie icing (like gel icing or royal icing that hardens), it’s best to wait until the white chocolate coating has fully set. This prevents the black color from smudging or bleeding into the white. Once hardened, use a small piping bag or a toothpick to dot on the eyes. Royal icing is particularly good as it will also harden, creating a more durable finish.
Can I Get Creative with Decorating My Nutter Butter Ghosts?
Absolutely! The fun of these Nutter Butter ghosts lies in their simplicity and the endless possibilities for customization. Don’t hesitate to let your imagination run wild with decorations!
- Colored Candy Melts: Use different colored candy melts for dipping to create a variety of “ghost” colors, like green ghouls or purple phantoms.
- Edible Markers: Once the white coating is completely dry, use edible food markers to draw intricate faces, spooky stitches, or funny expressions.
- Sprinkles & Dust: Before the chocolate sets, sprinkle edible glitter, Halloween-themed sprinkles, or colored sugar onto the wet coating for extra sparkle and texture.
- Mummy Variation: For a Nutter Butter mummy, dip the cookie as usual. Once it’s set, drizzle thin lines of additional melted white chocolate or a contrasting dark chocolate back and forth across the cookie to create the appearance of bandages. Add eyes for a truly wrapped mummy!
Each cookie can become a unique character, making your Halloween spread even more exciting!
How Can I Use Nutter Butter Ghosts for Halloween Parties?
Nutter Butter ghosts are incredibly versatile and perfect for a variety of Halloween party uses:
- Party Platters: Arrange them creatively on a spooky-themed serving platter or in a large bowl. You can add other Halloween candies or treats around them for a vibrant display.
- Kids’ Activity Station: Set up a “decorate your own ghost” station with plain dipped cookies, various eye options (mini chips, candy eyes, icing pens), and sprinkles. It’s an interactive and fun activity for children.
- Party Favors: Individually wrap the hardened ghosts in clear cellophane bags, tie them with festive orange or black ribbons, and hand them out as cute party favors or trick-or-treat alternatives.
- Dessert Table Centerpiece: Stack them artfully on a tiered dessert stand to create an impressive (yet easy) centerpiece for your Halloween spread.
Their charming appearance and delicious taste make them a guaranteed hit with guests of all ages!
Expert Tips for the Best Nutter Butter Ghosts
While this recipe is incredibly simple, a few professional tips can elevate your Nutter Butter ghosts from great to absolutely spectacular:
- Timing for Icing Eyes: If you opt to use black icing or gel for the eyes, always wait until the white chocolate coating has completely hardened. Applying icing to wet chocolate can cause it to smudge, bleed, or not adhere properly, ruining your ghost’s perfect gaze.
- Full Coverage Option: For a different look or if you prefer a completely uniform coating, you can dip the entire Nutter Butter cookie into the melted white chocolate. Use a fork to carefully submerge and lift the cookie, allowing excess chocolate to drip off. While it won’t have the charming uneven “drip” of the partial dip, it still creates a lovely ghostly effect.
- Mummy Nutter Butter Variation: To create spooky Nutter Butter mummies, follow the initial dipping instructions. Once the base white chocolate layer has set, drizzle thin, uneven lines of additional melted white chocolate (or even contrasting dark chocolate) horizontally across the cookie. This forms the “bandages” of a mummy. Add two small eyes peeking out from beneath the wraps for a truly eerie treat!
- Microwave Wattage Awareness: Melting times can vary significantly based on your microwave’s wattage. For reference, my white chocolate typically takes about 1 minute and 45 seconds total in a 1000W microwave to reach a perfectly smooth consistency. If you have a lower or higher wattage microwave, adjust your 10-15 second increments accordingly. If your chocolate starts to thicken or “seize up” while you’re dipping a large batch, simply pop it back into the microwave for another 10-20 seconds to loosen it up again.
- Avoid Water Contamination: Even a tiny drop of water can cause melted chocolate to seize and become grainy. Ensure your bowl, spoon, and any utensils used are completely dry before melting the chocolate.
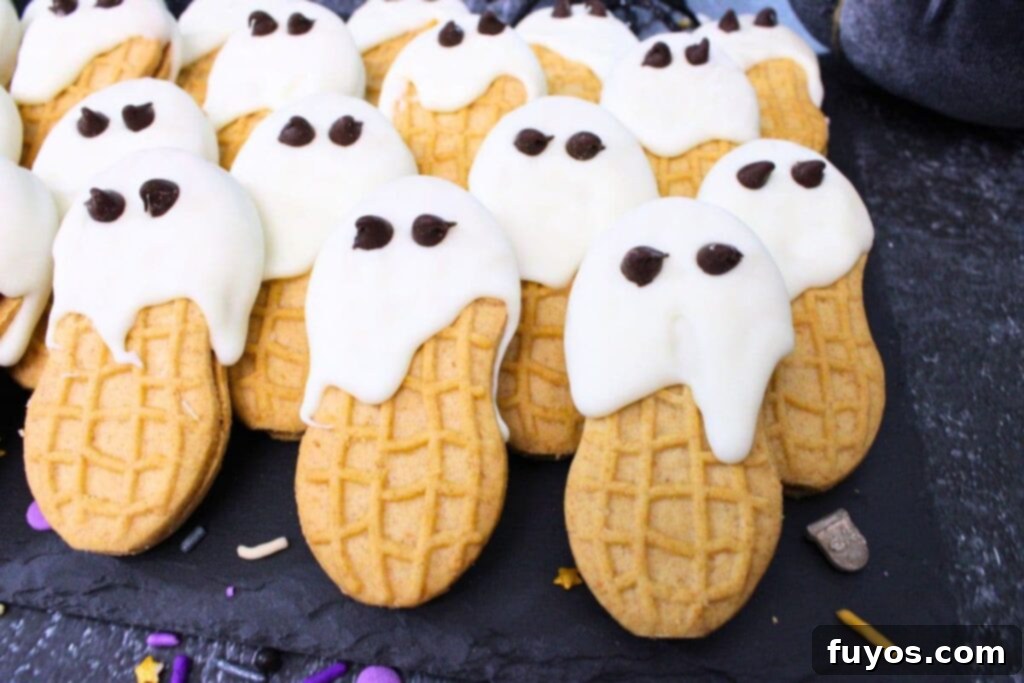
Storage & Presentation Tips for Your Spooky Snacks
Once your Nutter Butter ghosts are complete, proper storage and creative presentation will ensure they’re a hit at any Halloween event:
- Optimal Storage: Store your Nutter Butter ghosts in an airtight container at room temperature. A cool, dry place is best to prevent the chocolate from melting or becoming sticky. They will maintain their freshness and spooky appearance for up to 1 week, making them an excellent make-ahead treat for parties! If your ambient temperature is particularly warm, or if you live in a humid climate, refrigerating them can help prevent the chocolate from softening.
- Creative Presentation:
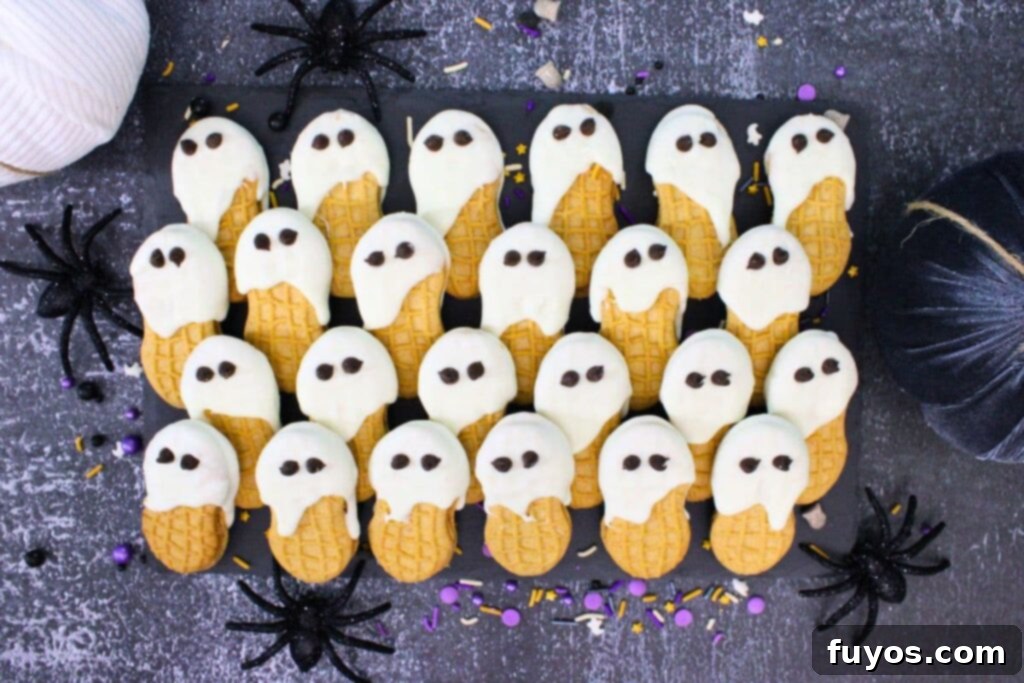
- Spooky Serving Tray: Arrange your ghosts on a Halloween-themed serving tray, perhaps with some fake spiderwebs, plastic spiders, or dried leaves for an extra eerie touch.
- Graveyard Scene: Create a mini graveyard by crumbling chocolate cookies (Oreo crumbs work great!) onto a platter to simulate dirt, then stand your Nutter Butter ghosts amongst them.
- Individual Favors: For party favors or trick-or-treat handouts, wrap individual ghosts in clear cello bags and tie them with festive ribbons. This also makes them easy for guests to grab and go.
- Edible Display: Stand them upright in a bowl filled with candy corn or other Halloween candies for a fun, edible display.
More Microwave Dipped Treats You’ll Love
Chocolate Covered Strawberry Yogurt Clusters: Sweet & Healthy!
How to Make Tanghulu in the Microwave – Easy Candied Fruit!
Microwave Chocolate Covered Strawberries (Easy Recipe)
How to Make Jolly Rancher Grapes with Microwave Magic
Pencil Wafer Cookies: Fun Back to School Recipe!
- Chocolate Covered Pretzels Microwave Recipe
Final Thoughts: Your Easiest Halloween Treat is Here!
When the spooky season rolls around, but time is short, these Nutter Butter ghosts are truly the perfect culinary magic trick! They prove that you don’t need hours in the kitchen or a long list of ingredients to create something adorable and delicious for Halloween.
With just three simple ingredients – Nutter Butter cookies, white chocolate, and mini chocolate chips – and a quick microwave melt, you can transform ordinary cookies into a delightful parade of ghosts. The minimal effort for maximum spooky charm makes this a winning recipe for busy families, last-minute party hosts, and anyone looking to infuse some fun into their Halloween.
Plus, the ability to make them in advance (they store wonderfully for up to a week!) takes away any last-minute stress, allowing you to focus on other Halloween preparations. These easy Halloween cookies are a guaranteed crowd-pleaser, loved by kids for their fun design and by adults for their nostalgic taste and simplicity. As a bonus, they are naturally suitable for a vegetarian diet, provided you choose a vegetarian-friendly chocolate coating.
So, gather your ingredients, enlist your little monsters, and get ready to create a batch of these irresistible Nutter Butter ghosts. Happy Halloween, and happy snacking!
Easy 3-Ingredient Nutter Butter Ghosts for Halloween
Equipment
-
Microwave
-
Mixing bowl (tall, microwave safe)
-
Wax paper (or silicone baking mat)
Ingredients
- 16 Ounce package Nutter Butter cookies (or generic peanut butter cookie equivalent)
- 11 Ounce bag white chocolate chips (or white candy melts for best results)
- 48 Mini chocolate chips (or edible candy eyes, black gel icing – see notes for alternatives)
Instructions
-
Line a baking sheet, wire rack, or flat work surface with wax paper or a silicone baking mat. This prevents sticking and makes cleanup easy.
-
Pour your white chocolate chips (or candy melts) into a microwave-safe, tall, deep bowl. Cook on high for 30 seconds, then stir thoroughly. Continue microwaving in 10-15 second increments, stirring after each, until perfectly smooth. Adjust time if using candy melts (refer to package instructions).11 Ounce bag white chocolate chips
-
Hold the bottom of one Nutter Butter cookie and dip the opposite side into the melted white chocolate, covering approximately ⅓ to ½ of the cookie.16 Ounce package Nutter Butter cookies
-
Lift the cookie from the chocolate. To create an uneven, ghostly edge, stand the cookie upright (undipped part against the table) and gently tap it. This allows the chocolate to drip downwards naturally.
-
Place the dipped cookie on the wax paper or silicone mat. Immediately and gently place 2 mini chocolate chips (or candy eyes) near the top to form eyes. Press them into the still-warm chocolate to ensure they stick.48 Mini chocolate chips
-
Allow the decorated cookies to cool and harden fully. This takes about 10-15 minutes at room temperature, or faster in the refrigerator/freezer. Once hardened, enjoy your spooky Nutter Butter ghosts!
Notes
- You can make as many or as few Nutter Butter ghost cookies as you like; the recipe scales easily. A 16-ounce package of Nutter Butters typically contains around 24 cookies, with a few extras in case some are broken.
- Mini chocolate chips are a classic choice for the ghost “eyeballs.” However, feel free to use black cookie icing, small black sugar pearls, or edible fondant eyeballs for different effects. Remember you’ll need two per ghost!
- If you choose black icing for the eyes, apply it only after the white chocolate coating has completely hardened. This prevents any smudging or color bleeding.
- For a different aesthetic, you can dip the entire cookie using a fork to achieve an even layer of white chocolate all over. This results in a slightly less unique, but still charmingly ghostly, appearance.
- My white chocolate typically took about 1 minute and 45 seconds total in a 1000W microwave to become perfectly smooth. Microwave wattages vary, so adjust heating increments as needed. If the chocolate starts to thicken during dipping (especially with larger batches), re-microwave for 10-20 seconds to re-soften.
- Exact nutritional values will vary based on brand of ingredients and quantity consumed. Values reflect the use of all white chocolate, whereas there will be some extra. Please consider this a guideline only.
Nutrition
Number of total servings shown is approximate. Actual number of servings will depend on your preferred portion sizes.
Nutritional values shown are general guidelines and reflect information for 1 serving using the ingredients listed, not including any optional ingredients. Actual macros may vary slightly depending on specific brands and types of ingredients used.
To determine the weight of one serving, prepare the recipe as instructed. Weigh the finished recipe, then divide the weight of the finished recipe (not including the weight of the container the food is in) by the desired number of servings. Result will be the weight of one serving.

Did you try this recipe?
Mention @TheDinnersDoneQuick or tag #dinnersdonequick! for even more!
Pin Recipe
Leave A Review
