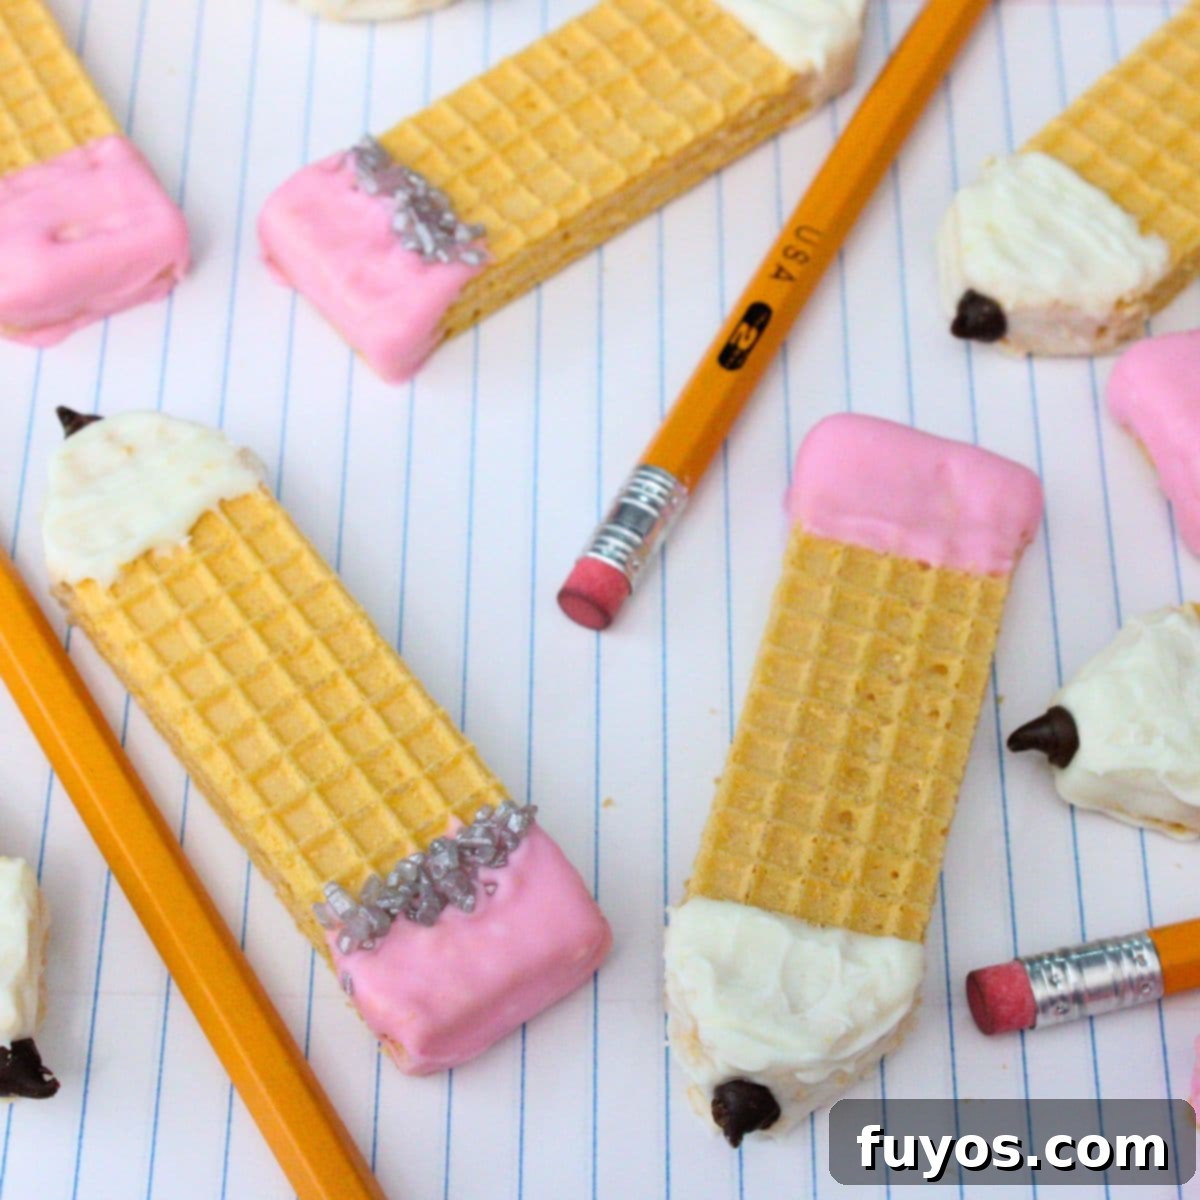
Easy DIY Pencil Wafer Cookies: The Perfect No-Bake Back-to-School Treat!
As the school bells prepare to ring, or simply whenever you’re seeking a delightful and easy-to-make dessert, these charming pencil wafer cookies are an absolute must-try! They’re not only incredibly adorable but also remarkably simple to create, requiring just a few basic ingredients and the convenience of a microwave. This makes them a fantastic activity for kids, allowing them to participate in the fun of preparing their own school-themed snacks. Beyond being a delightful treat for your little ones, these cookies also make the perfect sweet gesture to surprise teachers, showing appreciation with a homemade touch.
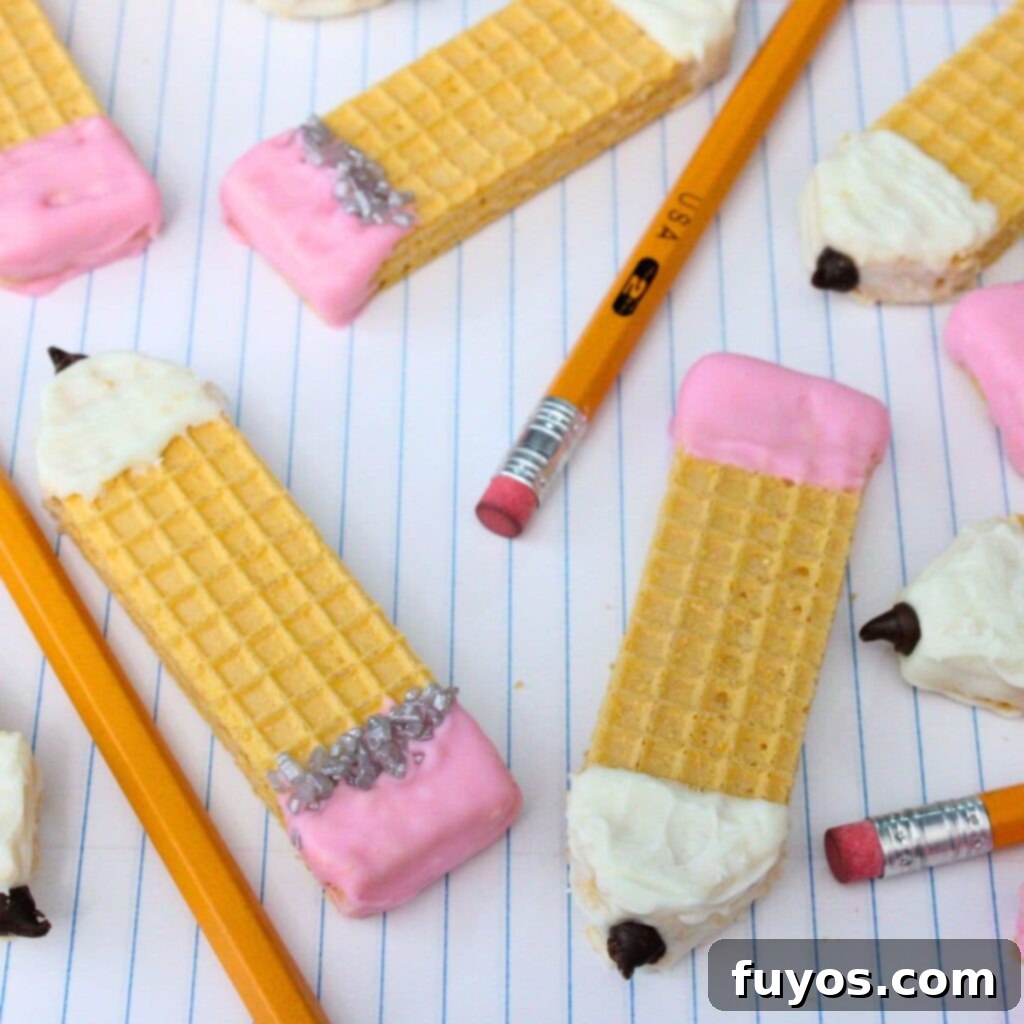
What Are Pencil Wafer Cookies?
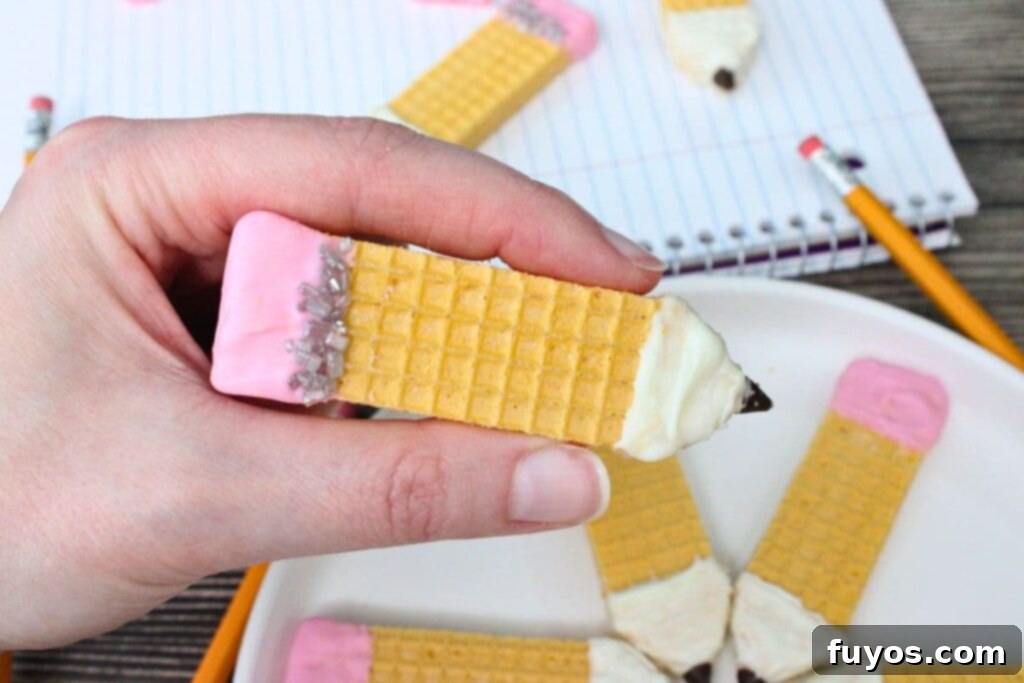
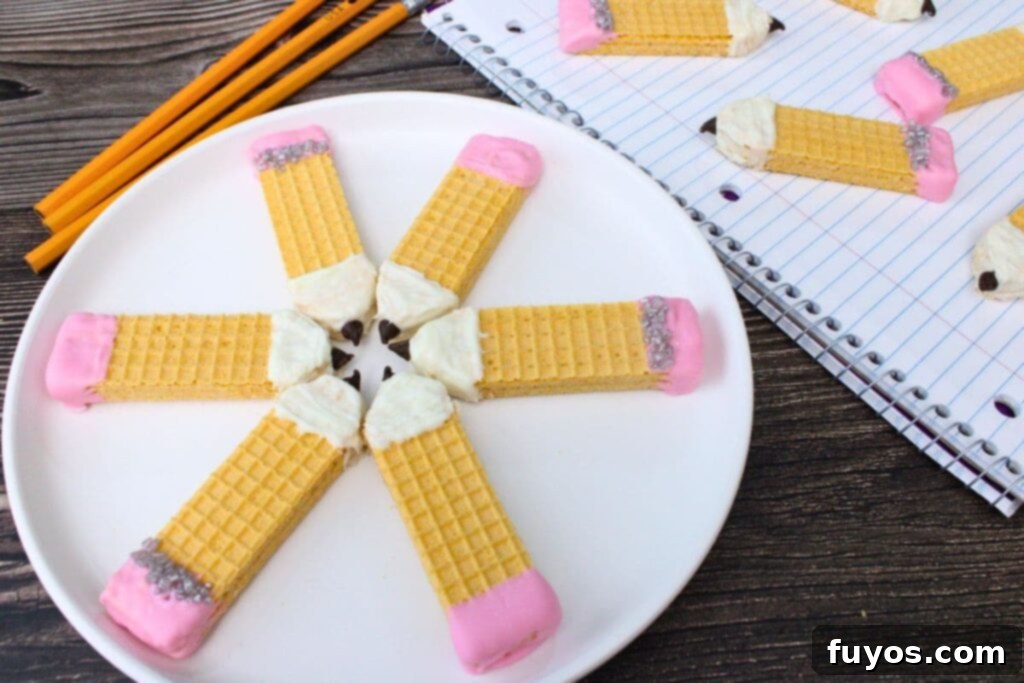
Pencil wafer cookies are an imaginative and delicious type of school-themed treat that transforms ordinary wafer cookies into miniature, edible pencils. The creative process involves using rectangular vanilla or banana-flavored wafer cookies – which typically come in a cheerful yellow hue, perfectly mimicking the body of a pencil – as the base. The “lead” of the pencil is ingeniously formed with a mini chocolate chip, while the “sharpened” tip and the “pink eraser” are artfully crafted using colored chocolate melts.
These specialized candy melts are incredibly easy to work with, as they can be smoothly melted in a microwave, making the dipping process simple and mess-free. Once melted, you simply dip the ends of the wafer cookies to create the distinct pencil components. The result is a visually appealing and incredibly tasty treat that’s ideal for a variety of occasions. Whether it’s to celebrate back-to-school season, pack into lunchboxes for a special snack, or serve as a fun dessert for a first day of school party, these cookies are both decorative and delicious. Best of all, since no baking is involved and the melting process is microwave-friendly, even younger children can safely help with the assembly, turning snack-making into a fun and memorable family activity!
Katie’s tip
When Halloween starts creeping in, you may also be interested in these adorable Frankenstein Wafer Cookies which are sure to be a spooktacular hit!
Quick + Easy Recipes
straight to your inbox
Pencil Wafer Cookies Ingredients

- 12 vanilla or banana flavored wafer cookies
- 12 mini chocolate chips
- ½ cup white chocolate chips or melting wafers
- ½ cup pink candy melts
- 1 Tbsp silver sanding sugar (optional)
Ingredient Tips and Substitutions
- You can use any brand of wafer cookies you prefer. For the most authentic “pencil” look, aim for yellow-colored wafers, which usually come in vanilla or banana flavors. However, feel free to experiment with other yellow-toned flavors if you can find them! If you’re feeling adventurous, you could even use other colors like chocolate, strawberry, or orange wafers to create a vibrant set of multicolored pencils for a unique twist.
- I love using silver sanding sugar to create the metallic band that typically holds the eraser in place on a real pencil. This small detail adds a wonderful touch of authenticity. If applying the sanding sugar seems too intricate or time-consuming, don’t worry – your cookies will still be incredibly cute without it! Alternatively, you could use a fine-tipped food-safe marker or a thin line of silver or gray icing piped on to achieve a similar effect with less fuss.
- If you’d rather not deal with the melting and dipping process of chocolate or candy melts, you can absolutely use royal icing or a thick frosting piped onto the cookies. While icing offers flexibility in design and color, I personally find that melted chocolate provides a neater finish and is less messy to eat, as it sets firmly. It also gives a nice snap when you bite into it!
- This recipe is easily scalable, so feel free to make as many cookies as you want! The quantities provided here are for a dozen cookies, which I find is a great starting point for a small batch or to introduce kids to the activity. If you’re planning a large party or school event, simply double or triple the ingredients as needed. Just ensure you have enough parchment paper or silicone mats ready for all your delicious creations!
How to Make Pencil Wafer Cookies
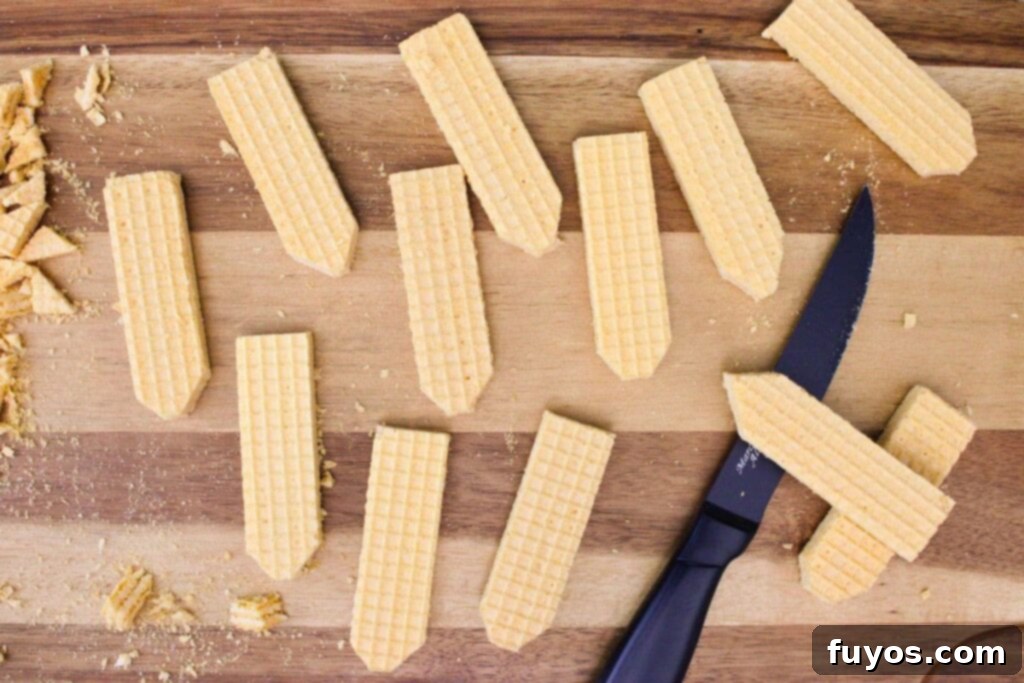
- Prepare your wafer cookies by carefully cutting one end of each cookie. Use a small, sharp knife to make two diagonal cuts, one on each side, meeting at a point to form a sharp “tip” similar to a freshly sharpened pencil. After creating the point, slice off the very tip to create a small, flat surface at the end. This flat surface is crucial as it provides a stable base for the mini chocolate chip, making it much easier to attach later and ensuring your “pencil lead” stays perfectly in place. Adult supervision is recommended for this step if children are helping.
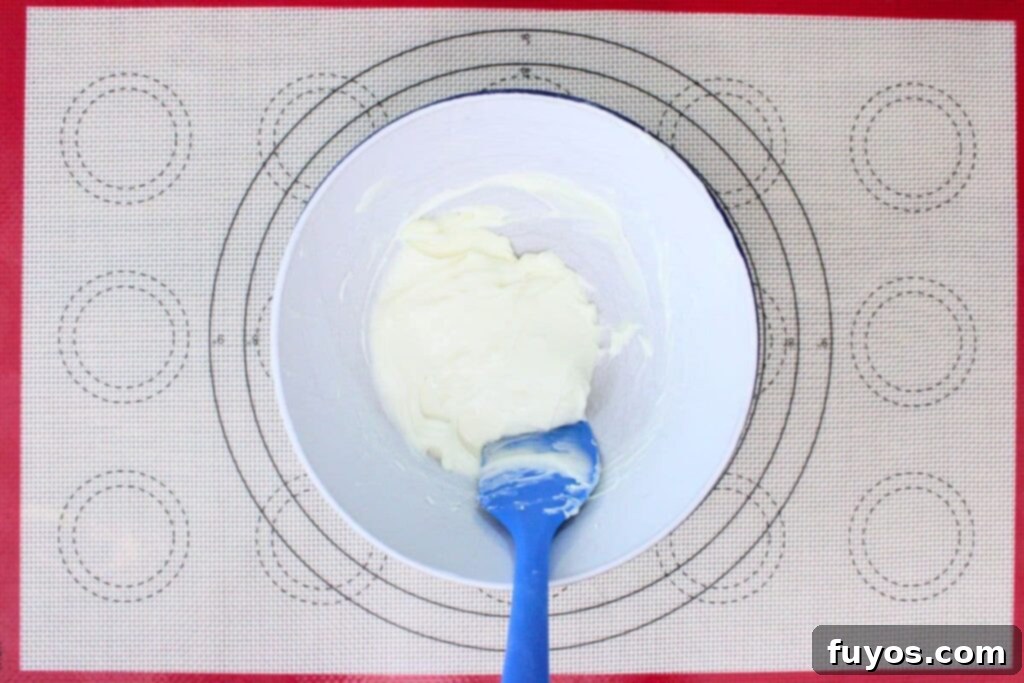
- Melt the white chocolate according to the package directions. If you’re using white chocolate chips, I recommend microwaving them in a microwave-safe bowl in 30-second intervals on high power. After each interval, be sure to stir the chocolate thoroughly. Continue this process until the chocolate is completely smooth and creamy, which usually takes about 1 minute total, but can vary based on your microwave’s wattage. Stirring frequently prevents the chocolate from overheating and becoming grainy or seizing. For best results, avoid overcooking.
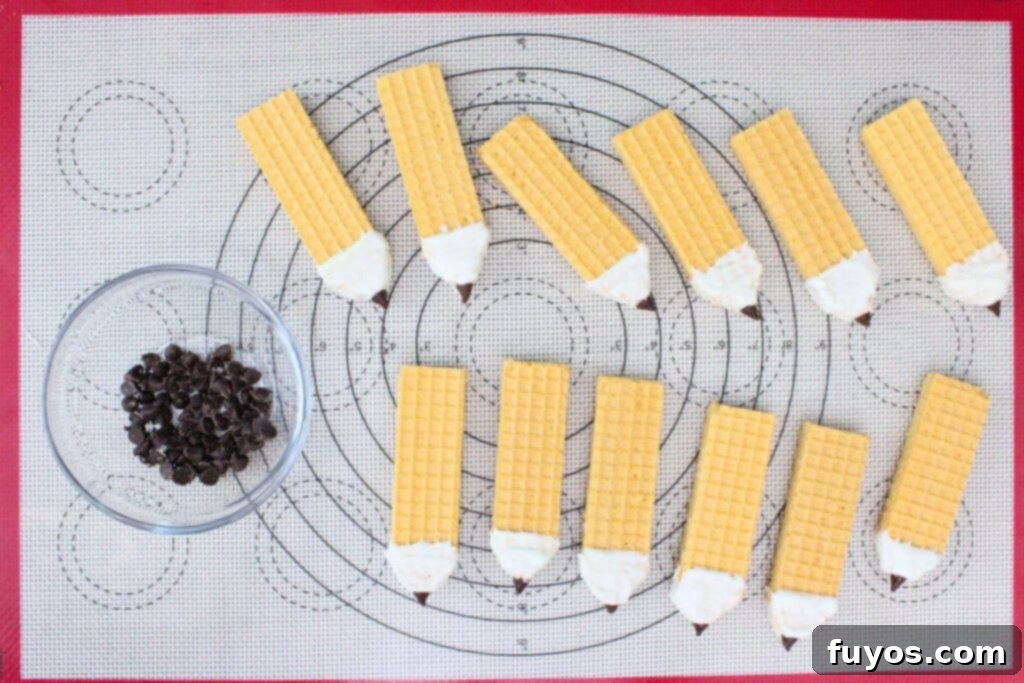
- Dip the pointy, cut end of each wafer cookie into the melted white chocolate. Submerge it just enough to cover the angled cuts you made, creating the “wood” part of the sharpened pencil. Allow any excess chocolate to drip off for a cleaner finish. While the chocolate is still wet, immediately press a mini chocolate chip onto the flat tip of the cookie to form the “pencil lead.” The warmth and stickiness of the freshly dipped chocolate will help the chip adhere perfectly. Once dipped and tipped, carefully place each cookie onto a piece of parchment paper or a silicone baking mat to allow the chocolate to harden. Continue with the rest of your cookies, working efficiently while the chocolate remains dippable.
- Next, melt the pink candy melts following their specific package instructions. Candy melts often require a slightly different melting approach than chocolate chips to maintain their vibrant color and smooth consistency. For my candy melts, I found that microwaving at 50% power for 1 minute, then stirring, and continuing to cook for an additional 30 seconds at 50% power worked perfectly to achieve a smooth, dippable consistency. Always stir well between intervals to ensure even melting and prevent burning.

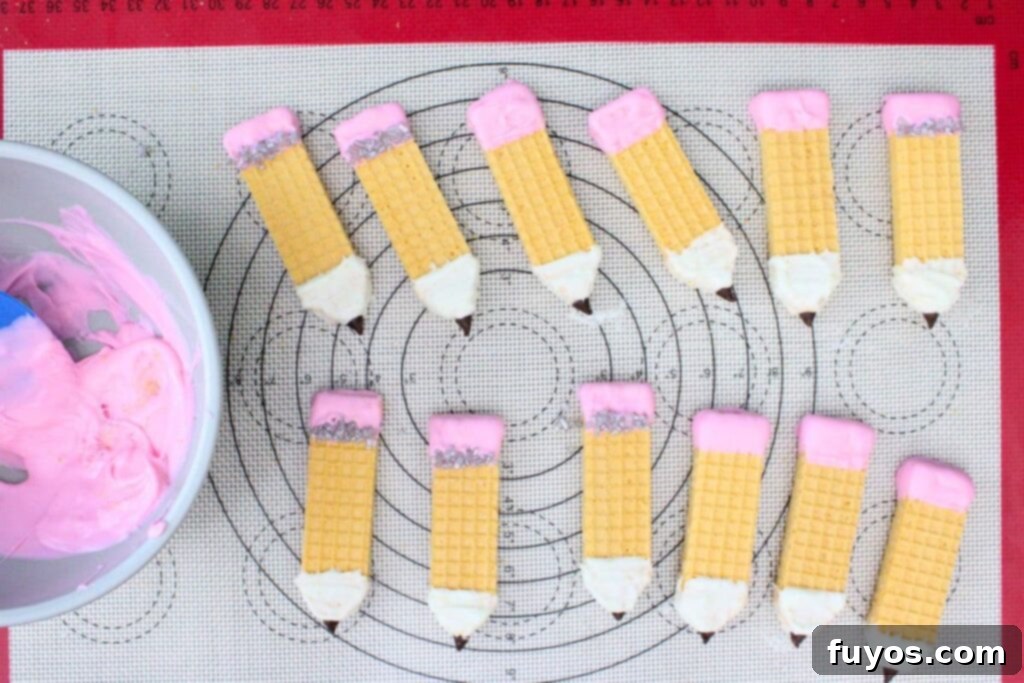
- Take the uncut end of each wafer cookie and dip it into the melted pink chocolate. Submerge it about ½ inch deep to create the “eraser” portion of the pencil. Let any excess chocolate drip off back into the bowl to prevent puddles on your mat. Once dipped, place the cookie back onto your parchment paper or silicone mat. This is the perfect time to add the optional silver sanding sugar for the “metal band.” While the pink chocolate is still wet, use a small, clean brush or a toothpick to carefully sprinkle or direct the silver sanding sugar onto the edge of the pink chocolate, forming a narrow band closer to the center of the cookie. This delicate touch adds a realistic and polished look.
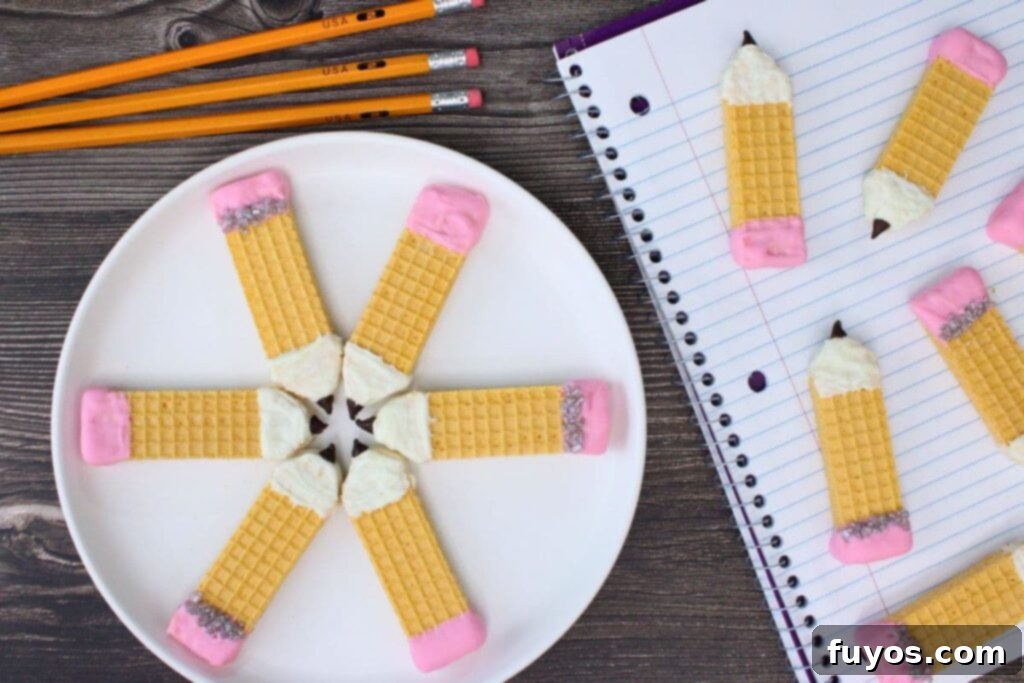
- Finally, allow all the decorated wafer cookies to cool completely and fully harden. This typically takes about 15-20 minutes at room temperature, but you can speed up the process by placing them in the refrigerator for 5-10 minutes. Once the chocolate is firm to the touch, your adorable pencil wafer cookies are ready to be enjoyed!
More Chocolate Dipped Treats
Bird’s Nest Treats: Easter Haystacks Microwave Recipe!
Chocolate Covered Cranberry Sauce: Thanksgiving Treat!
3 Ingredient Nutter Butter Ghosts: Spooky Halloween Treat
Microwave Chocolate Covered Strawberries (Easy Recipe)
- Halloween Chocolate Pretzels
- Chocolate Covered Oreos For Thanksgiving
Recipe FAQs
How Do You Decorate Pencil Wafer Cookies?
To decorate pencil wafer cookies, you first need to shape the wafer base. Begin by cutting one end of the rectangular wafer cookie at an angle on both sides to form a pointy “tip.” Next, trim off the very end of this tip to create a small, flat surface. This flat edge will make it easier to attach the “lead.” Then, dip or coat this pointed end in melted white chocolate or a light-colored icing to represent the sharpened wood casing. Immediately after dipping, place a mini chocolate chip onto the flat tip to act as the “pencil lead.” For the “eraser,” dip the opposite, uncut end of the wafer cookie into melted pink candy melts or pink icing, about half an inch deep. For an extra touch of realism, you can add a band of silver sanding sugar or a thin line of silver icing between the wafer and the pink eraser to mimic the metal ferrule.
Can You Use Different Flavors for Pencil Wafer Cookies?
Absolutely! While vanilla or banana-flavored wafer cookies are typically yellow and provide the most traditional “pencil” appearance, you are welcome to use other flavors for your pencil wafer cookies. The key is simply to use rectangular wafer cookies as your base. Experimenting with different flavors like chocolate, strawberry, or orange wafers can create a fun assortment of multicolored pencils. Imagine vibrant red, brown, or orange pencils – these can be particularly fun for themed parties or to match specific school colors! Just be mindful that the color of the wafer will determine the “body” color of your pencil, allowing for creative variations while still maintaining the iconic pencil shape.
Are Pencil Wafer Cookies Good for School Lunches?
Yes, pencil wafer cookies are an excellent, fun, and creative treat, making them perfect for school lunches, especially during the exciting back-to-school season. They add a festive and personalized touch that kids will adore. However, it’s important to remember that the chocolate and candy melts used for decoration can become soft or melt when exposed to heat. To prevent this, try to avoid leaving them in direct sunlight. If packing them in a lunchbox that might be in a warm environment, consider including a small ice pack or storing the cookies in a cooler bag to help maintain their firm texture and prevent any messy meltdowns. Pack them carefully in an airtight container to keep them fresh and protected.
Recipe Tips for the Best Pencil Wafer Cookies
- Achieving a smooth chocolate dip can sometimes be tricky. If your melted chocolate isn’t coating the wafers smoothly or you notice small wafer crumbs falling into the chocolate, don’t fret! You can use your finger (make sure it’s clean!), a small spatula, or even a clean paintbrush to gently smooth out the chocolate on the cookie. For any lumps or crumbs that inevitably make their way into your melted chocolate, a toothpick works wonders for carefully picking them out, ensuring your remaining dips stay pristine.
- While it might seem tempting to melt both the white and pink chocolates at once to save time, I highly recommend melting them one at a time. Dipping the cookies in two separate colors consecutively can be challenging. The chocolate can start to cool and seize, making it harder to work with, especially when you need to maintain different temperatures or prevent color contamination. By melting one color, dipping all the necessary cookies, then melting the second color, you ensure optimal consistency for each step. If your chocolate does harden too much while working, simply pop it back into the microwave for another 15-30 seconds at a lower power setting (like 50%) and stir until it’s smooth again.
Pencil Wafer Cookies Storage Tips
- To ensure your delicious pencil wafer cookies stay fresh and maintain their delightful crispness, store them in an airtight container at room temperature. They will remain tasty for up to a week. If you prefer, or if your home is particularly warm, you can also store them in the refrigerator, which may help the chocolate stay firmer. Just be sure the container is truly airtight to prevent them from becoming stale or absorbing other odors.
- These cookies are absolutely perfect for packing into school lunches, offering a fun surprise for your child. However, a crucial tip is to always avoid leaving them in direct heat or sunlight. Whether they’re on the counter, in a lunchbox, or in a backpack, exposure to warmth can cause the chocolate and candy melts to soften and potentially melt, leading to a sticky mess. If you anticipate them being in a warm environment, consider adding a small, reusable ice pack to the lunchbox to keep them cool and perfectly intact until snack time.
More Microwave Dessert Recipes
Caramel Candied Strawberries: Easy 2 Ingredient Recipe!
Leprechaun Bark: Festive St Patrick’s Day Microwave Treat
Pumpkin Rice Krispie Treats w/ Rolos: Festive Fall Recipe
Jolly Rancher Strawberries: 2 Ingredient Candied Fruit!
Lucky Charms Rice Krispie Treats Microwave Recipe
How to Make Jolly Rancher Grapes with Microwave Magic
Final Thoughts
These pencil wafer cookies are truly a delightful and straightforward no-bake dessert, making them the perfect back-to-school treat to brighten up any student’s day. The best part? Since the entire process relies on the microwave, it’s a wonderfully safe and engaging kitchen activity that kids can actively help with – and, of course, enjoy eating afterward! It’s a fantastic way to get them excited for the new school year or celebrate a special academic achievement.
Feel free to get creative with how you share these sweet masterpieces. Pack a few in their lunchboxes for a midday surprise, or arrange a thoughtful plate to gift to teachers, showing your appreciation with a unique, handmade touch. And, don’t forget to sneak a few for yourself! These whimsical cookies offer a perfect blend of fun, simplicity, and deliciousness, making them an ideal way to add a bit of joy to an otherwise busy school season. Simple recipes like this, that infuse a little charm and creativity into daily routines, are truly something special.
Katie’s tip
Make sure to check out my Air Fryer Toaster Strudel and Totino’s Pizza Rolls in the Air Fryer for convenient ways to cover breakfast and after school snacks too!

Pencil Wafer Cookies For Back to School!
Equipment
-
Microwave
-
Microwave safe bowl
-
Measuring cups
-
Spatula (or spoon; for stirring)
-
Silicone baking mat (or parchment)
Ingredients
- 12 vanilla or banana flavor sugar wafer cookies
- 12 mini chocolate chips
- ½ cup white chocolate chips or candy melts
- ½ cup pink candy melts
- 1 Tbsp silver sanding sugar (optional)
Instructions
-
Cut one end of each wafer cookie at an angle on both sides to form a pointy “tip.” Then, cut the very tip off to form a flat surface at the end (this makes it easier to stick on the chocolate chip later)12 vanilla or banana flavor sugar wafer cookies
-
Follow your package directions to melt the white chocolate. For mine, I used white chocolate chips and microwaved in 30-second increments on high, stirring each time, until smooth after 1 minute total½ cup white chocolate chips or candy melts
-
Dip the pointy tip of the pencil into the white chocolate, so it just covers where you made the cuts. Let the excess drip off, then immediately place a mini chocolate chip at the end to form the “pencil lead.” Place the dipped cookie on a piece of parchment paper or silicone baking mat to harden while you work through the rest of the cookies12 mini chocolate chips
-
Then, melt the pink melting chocolates per package directions. For me, this was 50% power for 1 minute, then stir and cook for an additional 30 seconds, also at 50% power½ cup pink candy melts
-
Dip the uncut end of the wafer cookie into the pink chocolate, about ½” deep. Let the excess drip off again, then place back onto your parchment or mat. If you want to add the sanding sugar, use a small brush or a toothpick to direct it onto the end of the chocolate nearer the center of the cookie in a band1 Tbsp silver sanding sugar
-
Allow to cool and fully harden (about 15-20 minutes) then enjoy!
Notes
- You can use any brand of sugar wafer cookies, and you just want them to be yellow-colored (so if you can find other flavors besides vanilla and banana that are yellow, feel free!)
- I use silver sanding sugar to add the little “metal band” that holds the eraser on, but if that’s too tedious to add, skip it! They’re still cute without it! You could also use a silver or gray icing and pipe it on in a stripe.
- If you don’t want to deal with melting and dipping chocolate at all, you can pipe on icing (but I think it looks neater and it’s less messy to eat with the chocolate).
- Make as many cookies as you want! It’s easy to scale up for bigger batches; I just think a dozen is a good starting point.
- If your chocolate isn’t dipping smoothly, you can use your finger, a spatula, or a (clean) paintbrush to smooth it as you go. Wafer crumbs will inevitably end up in the chocolate, so you may need to pick out lumps (a toothpick works well for that).
- While you could heat both chocolates at once and double dip, I find this to be harder to do, and the chocolate will seize before you finish, which is why I do one at a time. If your chocolate does harden too much, just microwave it again for about 30 seconds and stir until smooth.
- Store pencil wafer cookies in an airtight container at room temperature for up to a week (refrigerator is fine as well)
- Exact nutritional values will vary based on brand, size, and flavor of ingredients, any decorations added, and quantity consumed, so please consider this a guideline only
Nutrition
Number of total servings shown is approximate. Actual number of servings will depend on your preferred portion sizes.
Nutritional values shown are general guidelines and reflect information for 1 serving using the ingredients listed, not including any optional ingredients. Actual macros may vary slightly depending on specific brands and types of ingredients used.
To determine the weight of one serving, prepare the recipe as instructed. Weigh the finished recipe, then divide the weight of the finished recipe (not including the weight of the container the food is in) by the desired number of servings. Result will be the weight of one serving.

Did you try this recipe?
Mention @TheDinnersDoneQuick or tag #dinnersdonequick! for even more!
Pin Recipe
Leave A Review
