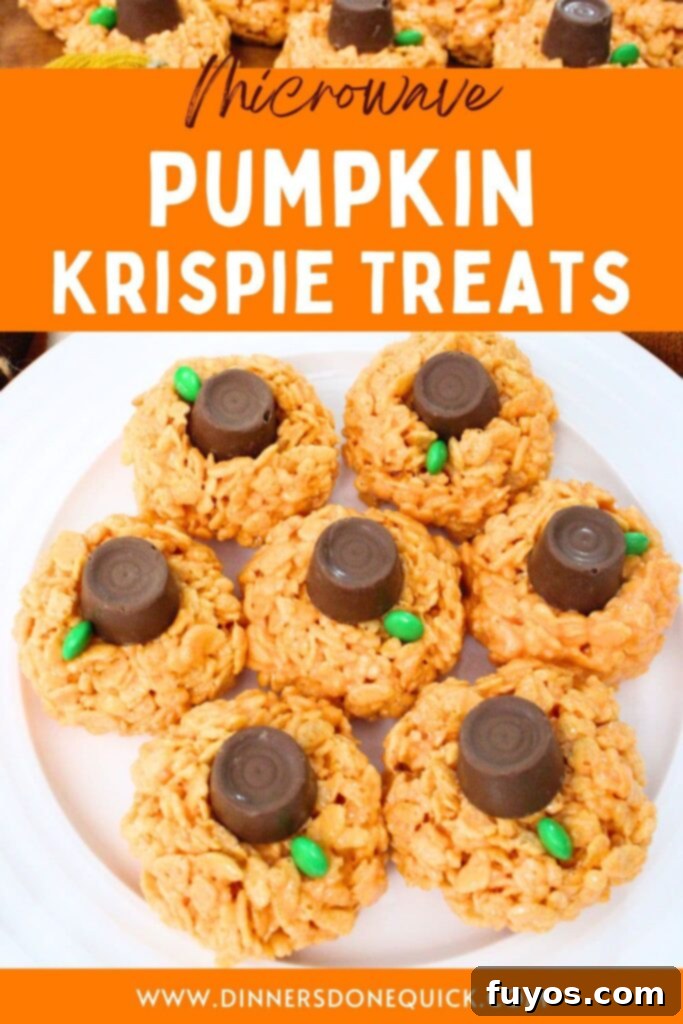
Easy Microwave Pumpkin Rice Krispie Treats with Rolos: The Perfect Fall & Halloween Dessert
Halloween is undeniably one of the most exciting holidays of the year, and for me, that means it’s time to throw a fantastic party! Of course, no celebration is complete without an array of delicious and visually appealing treats. These utterly adorable **pumpkin Rice Krispie treats with Rolos** are my go-to recipe for the autumn season. They’re incredibly simple to make, require no baking, and are guaranteed to be a crowd-pleaser at any fall-themed gathering, from Halloween parties to Thanksgiving feasts.
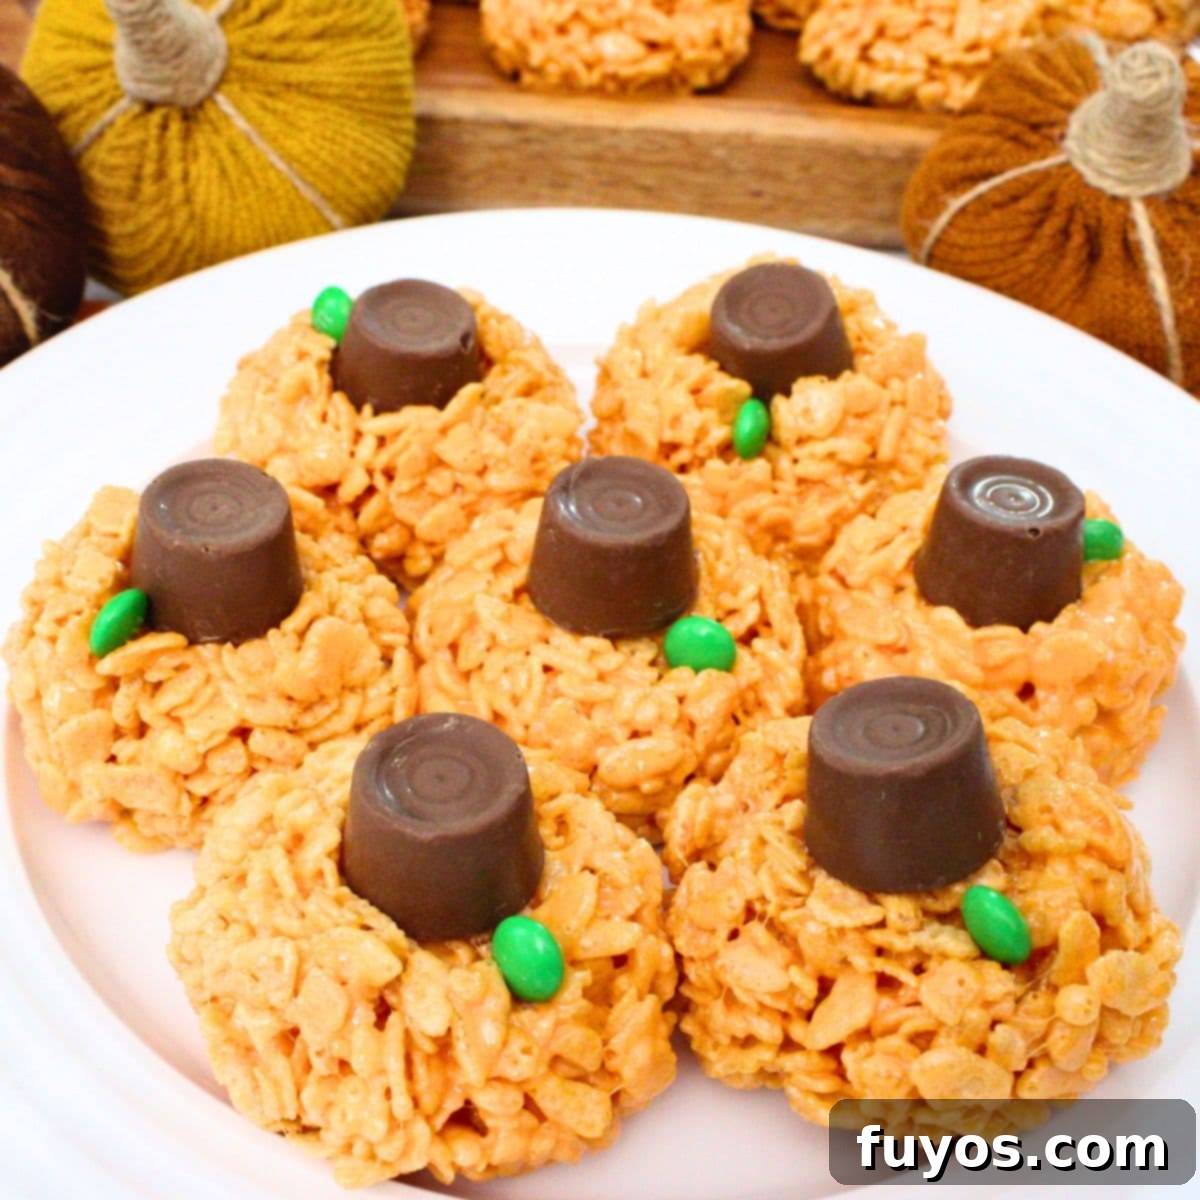
Why You’ll Love These Festive Fall Treats
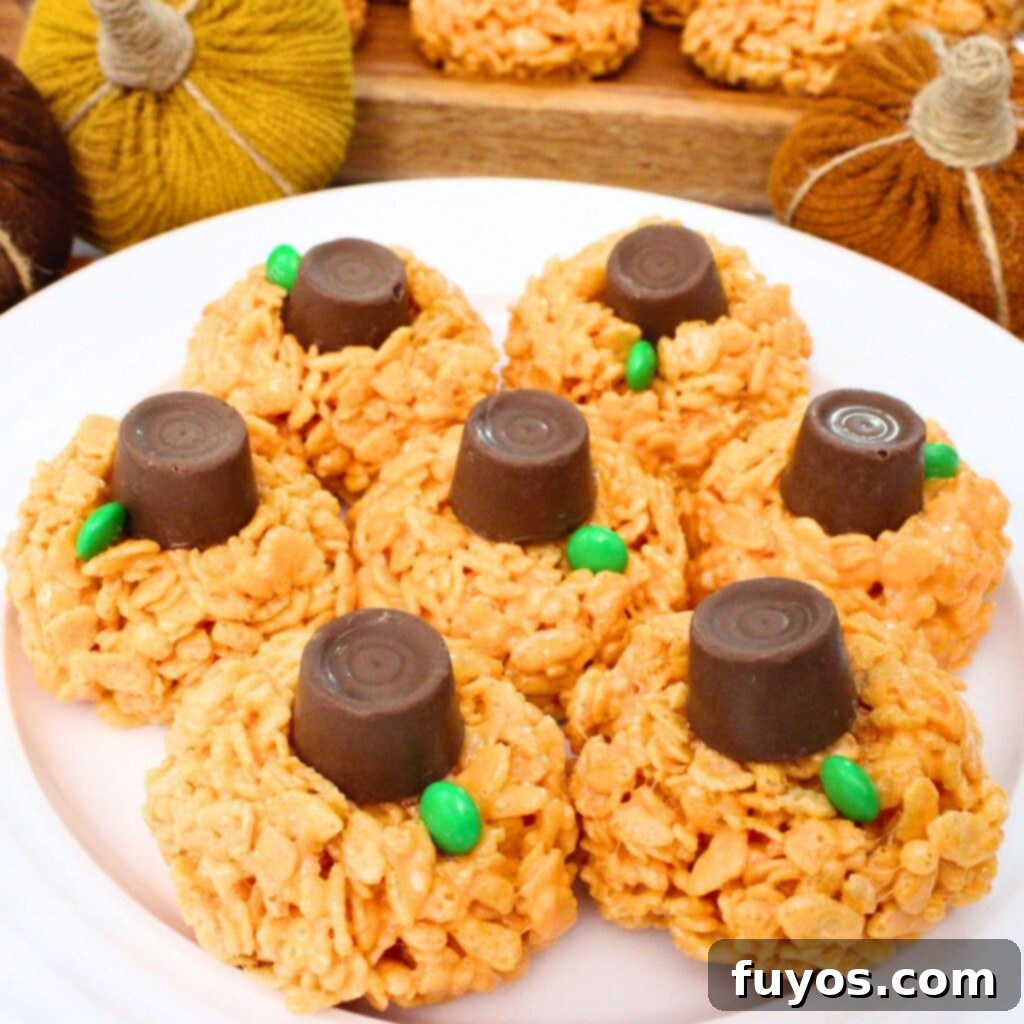
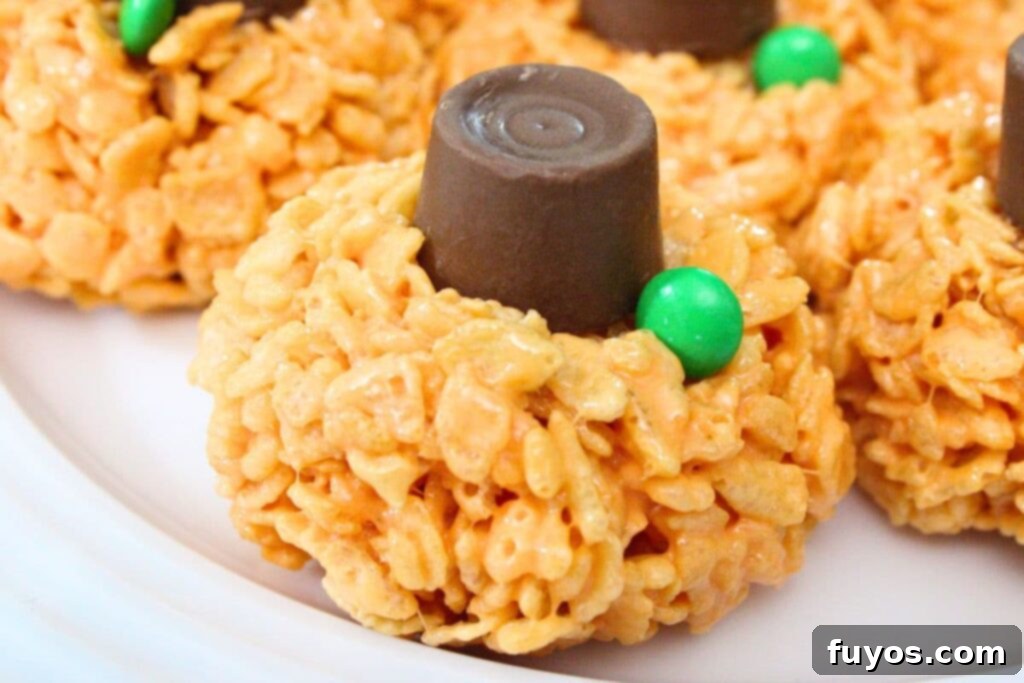
There’s an undeniable charm to these delightful pumpkin-shaped Rice Krispie treats that makes them an instant hit at any gathering. Their vibrant orange hue, achieved with just a few drops of food coloring, perfectly captures the spirit of autumn. Crowned with a classic Rolo candy, which cleverly doubles as a delightful chocolatey stem, these treats transform simple ingredients into edible masterpieces. They’re not just snacks; they’re tiny, festive sculptures, guaranteed to bring smiles to faces of all ages.
Imagine a platter of these cheerful little pumpkins gracing your dessert table. Whether it’s a spooky Halloween bash, a cozy Thanksgiving get-together, or just a casual fall playdate, these **Rolos pumpkin Rice Krispie treats** are a perfect fit. They’re universally loved by kids and adults alike, making them a safe bet when you want to ensure everyone finds something sweet to enjoy. Plus, they’re wonderfully portable, making them ideal for school parties, potlucks, or office celebrations.
The beauty of this recipe lies in its simplicity and the joy it brings. You don’t need to be an expert baker to create these impressive-looking treats. With a few basic ingredients and a microwave, you can whip up a batch in under 20 minutes, leaving you more time to enjoy the festivities.
katie’s tip
Enhance your fall dessert spread with more delightful options! You can also add my adorable Hershey Kiss Acorns and creative Turkey Leg Rice Krispie Treats to your Thanksgiving table, offering even more festive autumn treats!
It’s important to note that while these treats are meticulously shaped to resemble pumpkins, their primary flavor is that of a classic, sweet Rice Krispie treat. They don’t actually *taste* like pumpkin, unless you choose to add a flavor variation (which we’ll discuss later!). This ensures they appeal to even the pickiest eaters who might not be fans of traditional pumpkin-spiced desserts. They offer the nostalgic comfort of a marshmallow and cereal treat, enhanced by a touch of caramel from the Rolo stem.
Looking for a fun, easy-to-make treat for other seasons? If you’re planning a springtime party or just want to explore more microwave-friendly cereal treats, be sure to check out my easy Lucky Charms Rice Krispie Treats Microwave Recipe! The versatility of Rice Krispie treats makes them perfect for any occasion.
Quick + Easy Recipes
straight to your inbox
Ingredients List for Pumpkin Rice Krispie Treats
Creating these delightful pumpkin-shaped treats requires just a handful of common pantry staples. The magic truly happens when these simple ingredients come together to form a sweet, chewy, and visually appealing dessert. Here’s everything you’ll need to make your own batch of festive fall Rice Krispie treats:
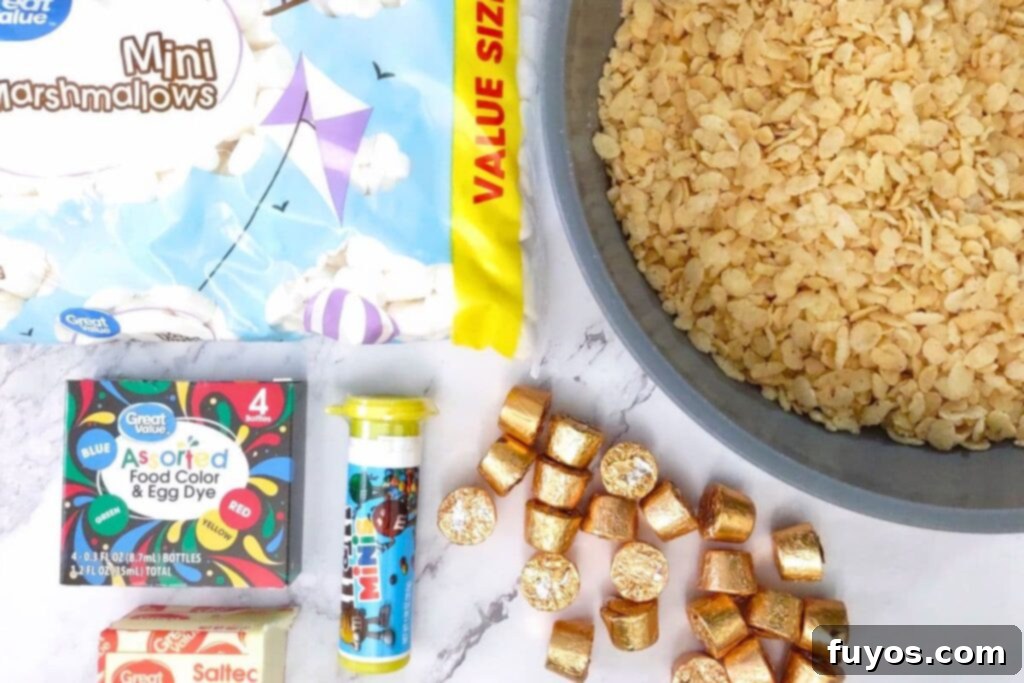
- 6 cups Rice Krispies cereal (or any high-quality crispy rice cereal)
- ¼ cup salted butter (unsalted butter with a pinch of salt can also work)
- 10 ounce bag mini marshmallows (approximately 40 large marshmallows)
- Red and yellow liquid food coloring (to achieve that perfect pumpkin orange hue)
- 18-24 Rolo candies, unwrapped (these will form the charming pumpkin stems)
- 18-24 small green candies (such as mini M&Ms) or green icing (for the optional “leaf” detail)
Ingredient Tips and Substitutions for Your Pumpkin Treats
- When it comes to marshmallows, I highly recommend using mini marshmallows. They melt much more quickly and evenly in the microwave, leading to a smoother, more consistent mixture. If you only have large marshmallows on hand, you’ll need about 40 of them to equal a 10-ounce bag of minis. For an extra soft and gooey treat, don’t hesitate to use up to a 16-ounce bag of marshmallows. The more marshmallows, the chewier and stickier your treats will be!
- The **Rolo candies** are fantastic for creating the pumpkin stems, adding a delightful caramel and chocolate touch. However, if Rolos aren’t your preference or readily available, you have plenty of substitution options. Consider using pretzel sticks broken into small pieces for a salty crunch, small trimmed Tootsie Rolls, chocolate-covered almonds or cashews, or even mini peanut butter cups for a different flavor profile. The goal is a small, cylindrical, or stem-like candy that can be pressed into the top.
- For the charming **green candies** that act as little leaves, mini green M&Ms are a perfect choice due to their size and vibrant color. However, feel free to get creative! Any small green candy will work. If you’re feeling ambitious, you could also pipe on small leaves using green icing, adding a more refined touch to your edible pumpkins. Candied seeds, if you can find them, also make a unique addition.
- **Pumpkin flavor variation**: While the classic recipe focuses on the visual appeal, you can easily infuse actual pumpkin flavor if desired. Simply add 1 teaspoon of pumpkin pie spice and ¼ cup of pumpkin puree to the marshmallow mixture. Be aware that adding pumpkin puree can slightly alter the texture and may require a little extra cereal to achieve the desired consistency. Also, as mentioned earlier, some children might prefer the traditional taste.
Step-by-Step Preparation: Crafting Your Pumpkin Rice Krispie Treats
Making these charming pumpkin Rice Krispie treats is a breeze, especially with the microwave doing most of the heavy lifting. Follow these simple steps to create your perfect fall dessert:
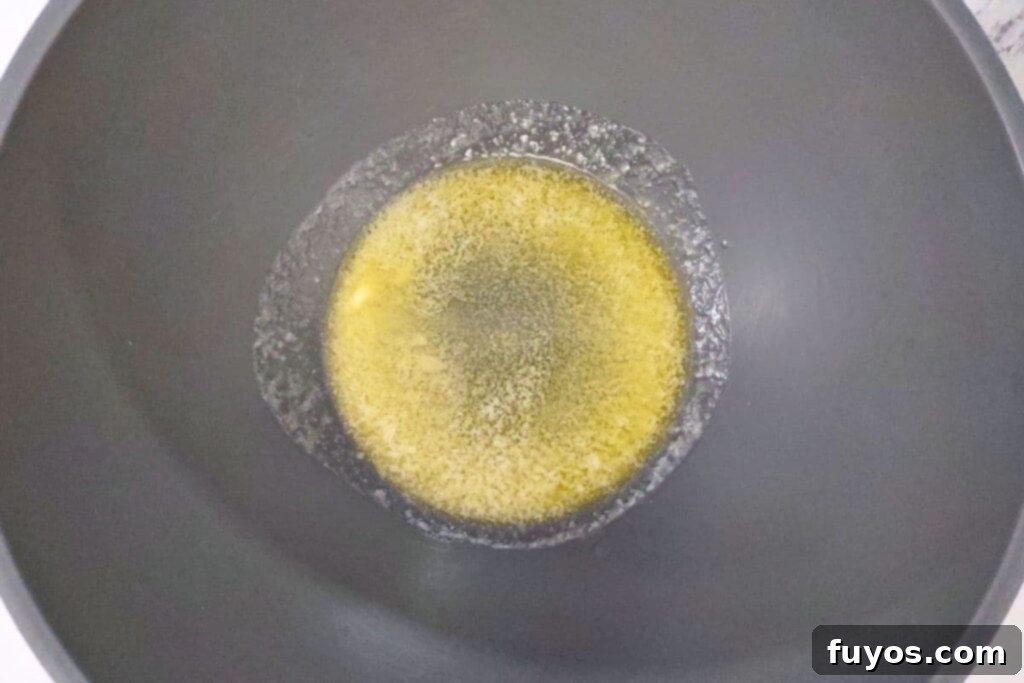
- **Melt the Butter:** Begin by placing ¼ cup of salted butter in a large, microwave-safe bowl. Microwave it on high for approximately 30-45 seconds, or until it is fully melted and glistening. This butter will help prevent sticking and add a rich flavor to your treats.
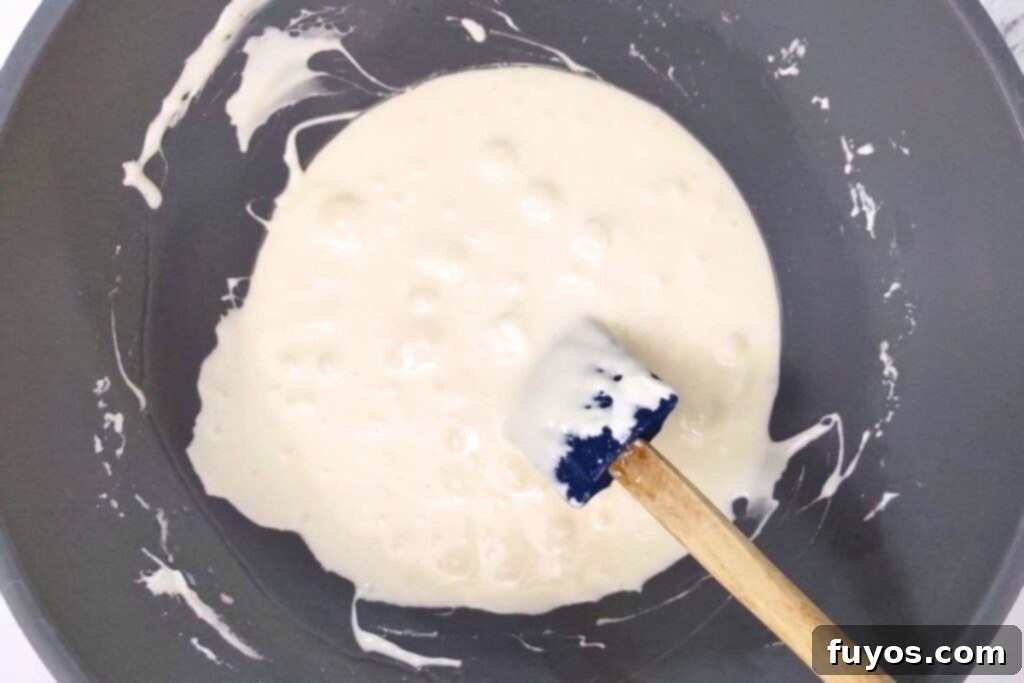
- **Melt Marshmallows:** To the melted butter, **add the entire 10-ounce bag of mini marshmallows and stir gently** to coat them in butter. Return the bowl to the microwave and heat in 30-second increments, stirring thoroughly after each interval. Continue this process until the marshmallows are completely melted and form a smooth, gooey mixture. This usually takes about 1 to 1 ½ minutes in total, depending on your microwave’s wattage. Be careful not to overheat, as this can make your treats too hard.
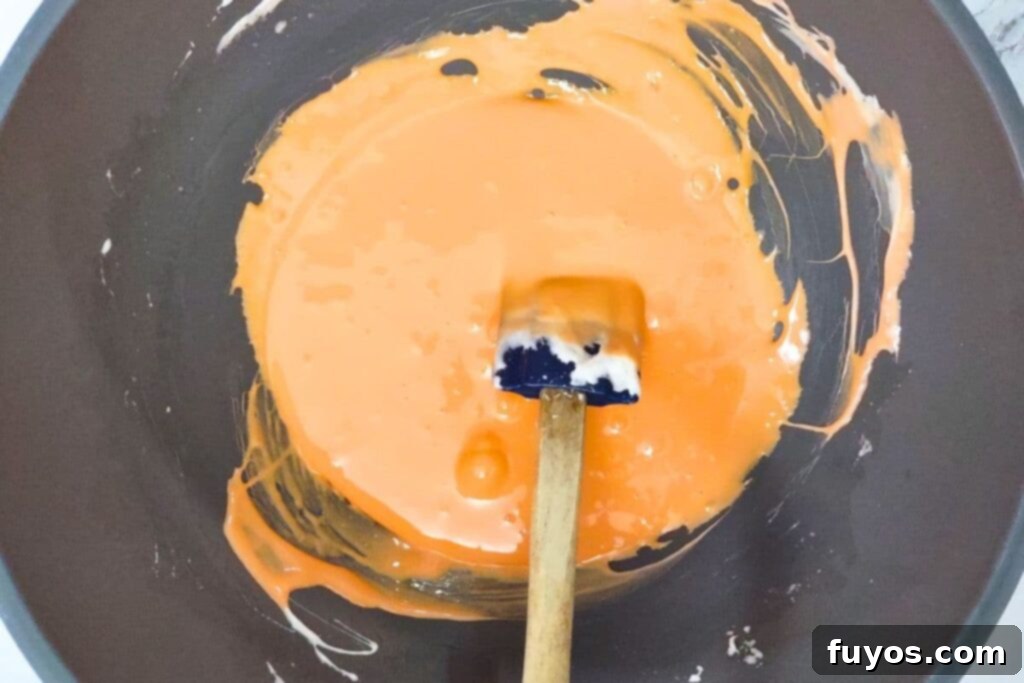
- **Color the Mixture:** Now for the fun part – achieving that signature pumpkin orange! **Drop in your red and yellow liquid food coloring**. For the vibrant shade pictured in this recipe, I used approximately 2 drops of red and 14 drops of yellow. However, the exact amount can vary based on the brand of food coloring and the specific shade of orange you desire, so add gradually and stir well until you reach your preferred pumpkin hue. Ensure the color is thoroughly blended into the marshmallow mixture.
- **Combine with Cereal:** **Pour the Rice Krispies cereal into the warm marshmallow mixture.** Using a sturdy spoon or a rubber spatula, stir continuously until all the cereal is evenly coated with the vibrant orange marshmallow. This requires a bit of muscle! Once combined, allow the mixture to cool for a few minutes. It needs to firm up slightly to be workable, but not too much that it becomes rigid. This cooling period is also an excellent time to unwrap your Rolo candies, preparing them for the next step.
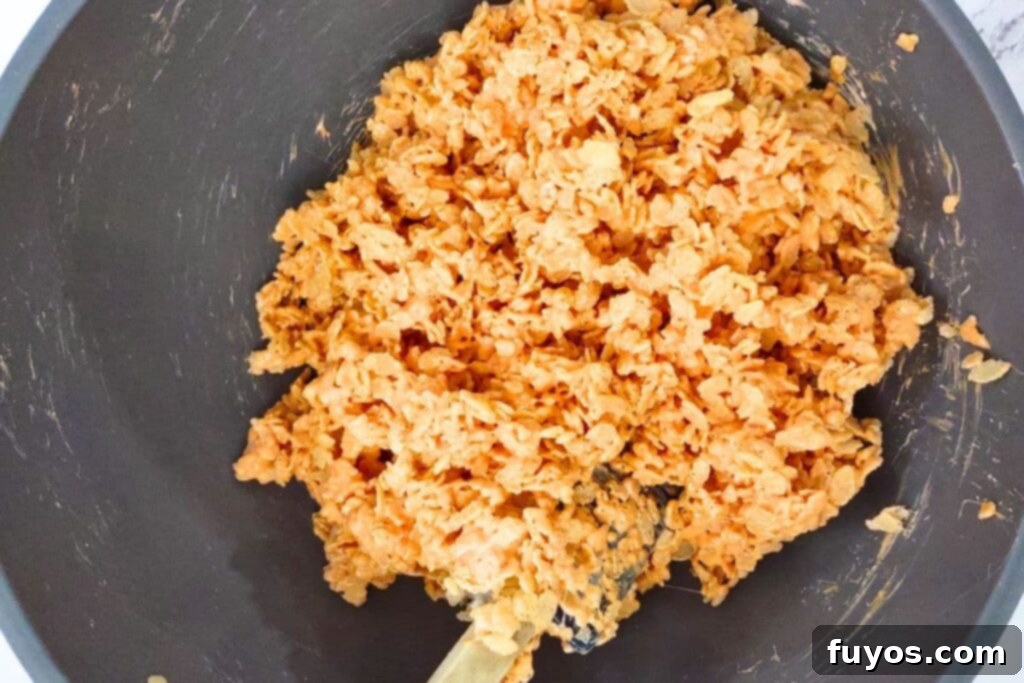
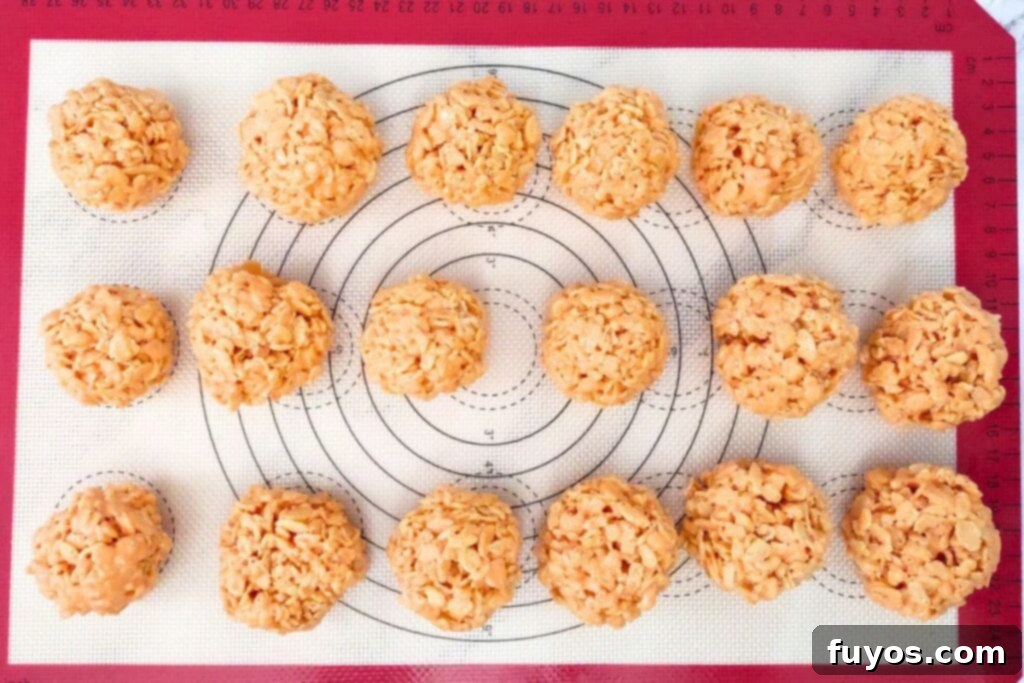
- **Form the Pumpkins:** To prevent the sticky mixture from adhering to your hands, lightly spray your palms with a nonstick cooking spray. **Grab a portion of the mixture and gently press it into a ball shape.** I find that pressing the mixture firmly into a ball works better than trying to roll it like a meatball, as it helps create a denser, more pumpkin-like shape. The number of treats you yield will depend on the size of your pumpkins. For approximately 21 medium-sized treats, aim for about ¼ cup of mixture per ball. If you prefer larger, more substantial pumpkins (around ⅓ cup each), you’ll make about 18.
- **Prepare for Decorating:** As you form each Rice Krispie pumpkin, **place them onto a sheet of parchment paper or a silicone baking mat.** This prevents them from sticking to your work surface and makes for easy cleanup later. Arrange them with enough space in between to allow for easy access when adding the stems and leaves.
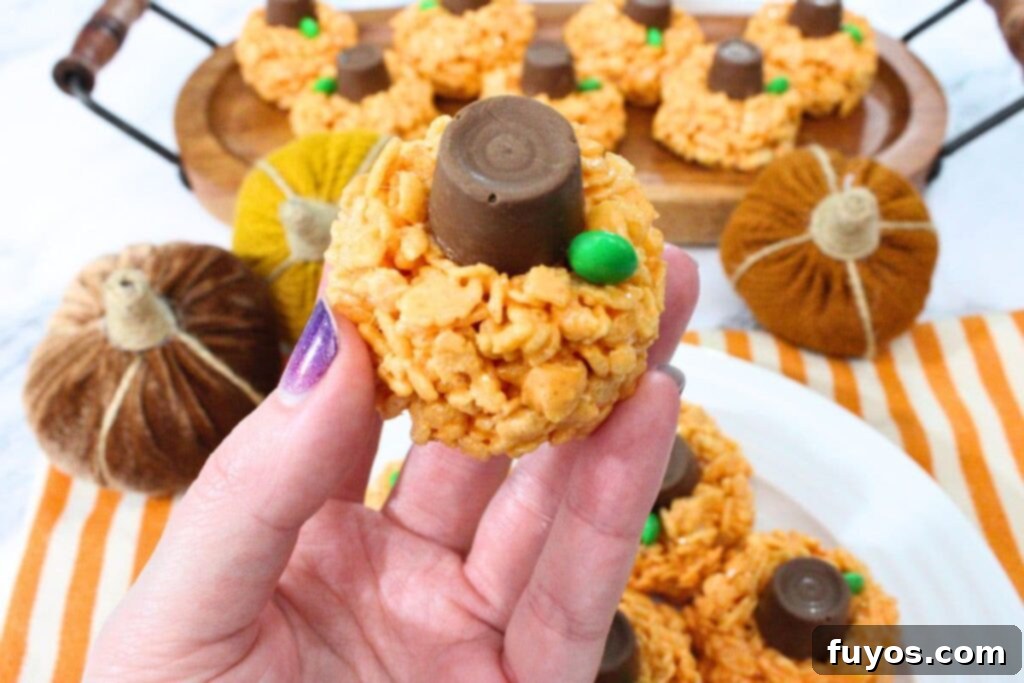
- **Add Stems and Leaves:** This is where your pumpkins truly come to life! **Gently press one unwrapped Rolo candy into the top center of each Rice Krispie ball to form the stem.** You might need to lightly cup the sides of the “pumpkin” with your free hand to prevent it from spreading out too much as you press. Immediately after, **press a small green candy (like an M&M) vertically next to the Rolo** to create a charming little leaf. Repeat for all your treats.
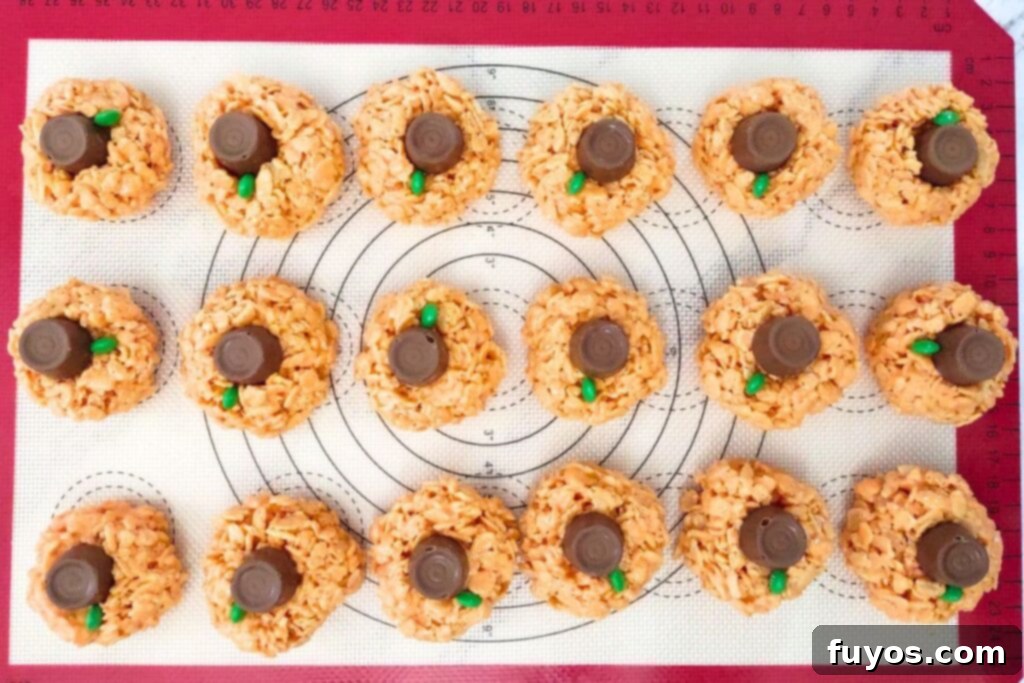
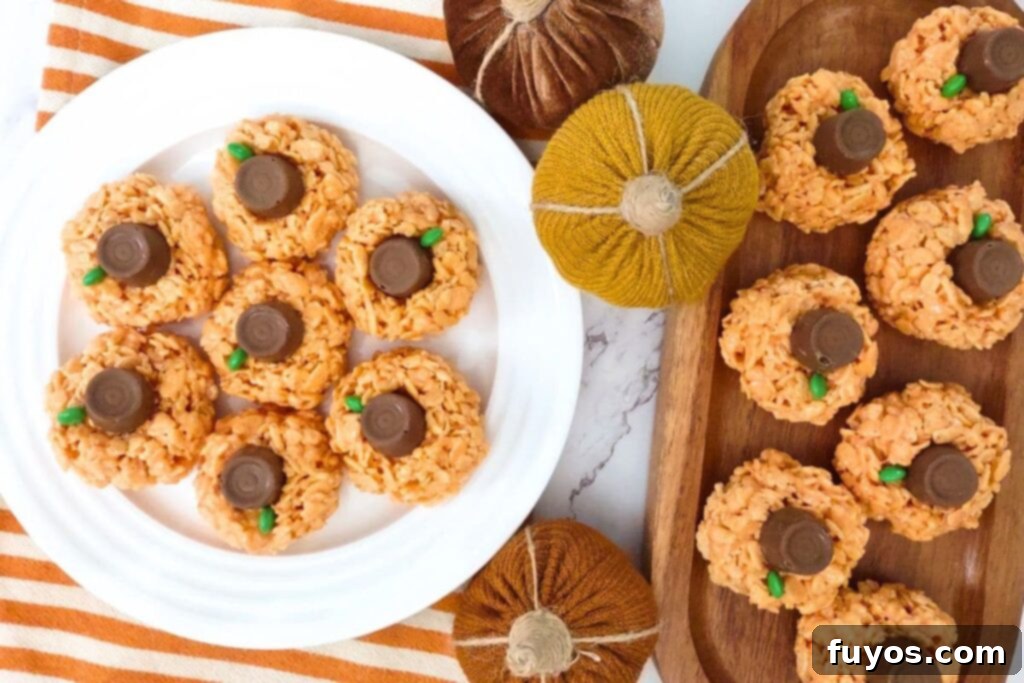
- **Cool and Enjoy:** Once all your pumpkins are adorned with their stems and leaves, **allow them to cool completely** at room temperature. This will help them set and become firm enough to handle and stack without losing their shape. Once cooled, they are ready to be served and enjoyed!
Other Tasty Microwave Treats
How to Make Jolly Rancher Grapes with Microwave Magic
How to Make Tanghulu in the Microwave – Easy Candied Fruit!
Easy Microwave Peppermint Bark Recipe for Holiday Sweets
Chocolate Covered Strawberry Yogurt Clusters: Sweet & Healthy!
Microwave Chocolate Covered Strawberries (Easy Recipe)
3 Ingredient Nutter Butter Ghosts: Spooky Halloween Treat
Recipe FAQs for Pumpkin Rice Krispie Treats
Can I Substitute Rolos With Another Candy?
Absolutely, you can substitute Rolos with a variety of other candies or even non-candy options to create the pumpkin stem. Excellent choices include Tootsie Rolls (trimmed to a small size), chocolate-covered nuts like almonds or cashews, or mini peanut butter or caramel cups. Each substitution will add its own unique flavor profile to your Rice Krispie pumpkins. For a non-candy alternative that offers a pleasant crunch and savory balance, consider using small pieces of pretzel sticks.
How Do I Prevent the Treats From Becoming Too Hard or Too Soft?
Achieving the perfect texture for your pumpkin Rice Krispie treats is key. **To prevent your treats from becoming too hard, the most crucial step is to avoid overheating the marshmallow mixture.** Marshmallows become brittle when overcooked. Melt them in short increments, stirring well after each, until they are just smooth and fully melted. Conversely, if your treats turn out too soft or don’t hold their shape well, it often indicates that you might have used too few marshmallows or not enough cereal. Adjusting the proportions of marshmallows to cereal slightly can help achieve your desired texture. Personally, I sometimes like to add an extra handful of marshmallows for an even gooier and chewier result!
Can I Use a Different Cereal Besides Rice Krispies?
Certainly! While Rice Krispies are the classic and traditional choice for this recipe, feel free to experiment with other crispy cereals to create unique flavors and textures. Cornflakes can offer a slightly different crunch, while a hearty granola could add more substance and flavor. You can also swap out half of the Rice Krispies for a larger-sized cereal to add visual interest. During the fall and Halloween season, keep an eye out for festive seasonal cereals – many of them are perfectly suited for these treats and can add extra color or fun shapes!
Are There Any Gluten-Free Options For This Recipe?
Yes, you can absolutely make delicious gluten-free pumpkin Rice Krispie treats! However, it’s essential to note that the popular name brand Rice Krispies cereal is NOT gluten-free. To make this recipe suitable for those with gluten sensitivities, you will need to use a certified gluten-free crispy rice cereal. Brands like Malt-O-Meal often offer gluten-free versions. Additionally, while most brands of marshmallows are naturally gluten-free, it’s always a good practice to double-check the labels on all your ingredients, including butter and food coloring, to ensure they meet gluten-free certification standards.
Recipe Pro Tips for Perfect Pumpkin Rice Krispie Treats
Even though this recipe is incredibly easy, a few expert tips can ensure your pumpkin Rice Krispie treats turn out perfectly every time, looking festive and tasting irresistible.
- **Cooling is Key:** If you’re struggling to form your pumpkin balls and the mixture feels too sticky or soft, it’s a clear sign that **your mixture hasn’t cooled enough yet**. Patience is a virtue here! Simply place the bowl with the cereal mixture into the refrigerator for a few minutes (start with 5-10 minutes) and then try again. The slight chill will firm up the marshmallow mixture, making it much easier to handle and shape without it sticking to your hands.
- **The Nonstick Spray Technique:** Working with marshmallow treats can be a sticky business. My go-to trick is using a standard nonstick baking spray on my hands before I start rolling. **Spritz a generous amount onto one hand, and then rub your hands together vigorously to distribute an even, thin coating across both palms and all your fingers.** This creates a protective barrier that significantly reduces stickiness, allowing you to shape the treats smoothly and efficiently. Don’t forget to reapply if your hands start to feel sticky again!
- **Uniformity for Appearance:** For a professional and consistent look, consider using a measuring spoon (like a ¼ cup or ⅓ cup) to scoop out uniform portions of the mixture. This ensures all your pumpkin treats are roughly the same size, making for a more appealing presentation when stacked on a platter.
Storage Tips for Freshness
To keep your festive pumpkin Rice Krispie treats fresh and delicious for as long as possible, proper storage is essential. Here’s how to store them for optimal taste and texture:
- **Room Temperature Storage:** For short-term enjoyment, **store your Rice Krispie pumpkins in an airtight container at room temperature for up to 3 days**. Ensure they are kept away from direct sunlight or heat, which can cause them to soften.
- **Refrigeration for Longer:** If you need to extend their freshness, transfer them to an airtight container and **store them in the refrigerator for up to 1 week**. Keep in mind that refrigeration can make them slightly firmer, so allow them to come to room temperature for a few minutes before serving for the best texture.
- **Freezing for Extended Storage:** For even longer-term storage, these treats freeze beautifully. Place them in a single layer on a parchment-lined baking sheet and freeze until solid (about 1-2 hours). Then, transfer the frozen treats to a freezer-safe airtight container or heavy-duty freezer bag. They can be **frozen for up to 2 months**. Thaw them at room temperature before serving.
- **Prevent Sticking When Stacking:** If you need to stack your pumpkin treats in a container, especially for longer storage or transport, **use sheets of wax paper or parchment paper between each layer**. This simple trick will prevent them from sticking to one another, making it easy to grab a single treat without disturbing the others.
More Pumpkin Themed Recipes
Delicious Air Fryer Pumpkin Pancakes: Fall Breakfast Favorite!
Air Fryer Pumpkin Hand Pies w/ Puff Pastry: Fall Delight!
Air Fryer Pumpkin Soup: Comforting Autumn Meal Made Easy!
3 Ingredient Air Fryer Pumpkin Waffles: Easy Fall Breakfast
Air Fryer Pumpkin Muffins: Baked in 15 Mins or Less!
- Pumpkin Fritters in the Air Fryer
Final Thoughts on These Delightful Pumpkin Treats
These adorable pumpkin-shaped Rice Krispie treats, complete with their charming Rolo stems, are truly a highlight of the fall and Halloween season. They are incredibly easy and quick to make, primarily utilizing your microwave, which minimizes stress and cleanup. Their delightful appearance makes them perfect for any festive autumn occasion, from school parties and family gatherings to office costume events.
While the traditional recipe focuses on their classic sweet taste, which most children adore, the option to add pumpkin pie spice and pumpkin puree allows for a genuine pumpkin flavor. However, from my experience, the non-pumpkin-flavored version tends to be more universally loved by younger palates. This makes them an ideal low-stress dessert that caters to a wide range of tastes.
Whether you’re looking for a quick and easy dessert for a busy weeknight or a show-stopping treat for your next fall celebration, these **microwave pumpkin Rice Krispie treats** are a perfect choice. They embody the joy and spirit of the season in every chewy, sweet bite. Give them a try – you won’t be disappointed!
katie’s tip
If you’re hosting an adult Halloween party, make sure to check out my Headless Horseman Cocktail for a spooky, sophisticated beverage or my easy Snake Calzone for a savory, eye-catching offering that will truly impress your guests!
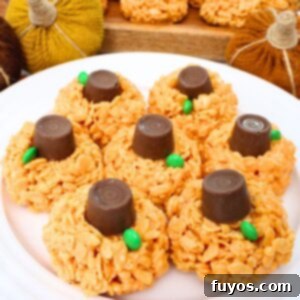
Pumpkin Rice Krispie Treats With Rolos: Easy Microwave Recipe
Equipment
-
Microwave
-
Large microwave safe bowl
-
Measuring cup
-
Spoon or spatula
-
Wax paper or silicone baking mat
-
Nonstick spray
Ingredients
- 6 Cups Rice Krispies cereal (or generic equivalent)
- ¼ Cup salted butter
- 10 Ounce bag mini marshmallows (or about 40 regular marshmallows)
- Red and yellow liquid food coloring (to make orange)
- 18-24 Rolo candies (unwrapped)
- 18-24 Mini M&Ms candies (green)
Instructions
-
In a large microwave safe bowl, melt the butter (about 30-45 seconds on high)¼ Cup salted butter
-
Add the mini marshmallows and stir. Then, microwave again in 30 second increments, stirring each time, until the marshmallows are melted and smooth (generally about 1-1 ½ minutes total)10 Ounce bag mini marshmallows
-
Drop in the food coloring and stir to blend the color thoroughly. I used 2 drops of red and 14 drops of yellow to get the pictured shade. However, amounts can vary by brand of color, and the exact amount of marshmallows you useRed and yellow liquid food coloring
-
Add the cereal to the marshmallow mixture, stirring with a spoon or spatula until it’s evenly coated. Allow it to cool for a few minutes so it firms slightly (this is a good time to unwrap your Rolo candies)6 Cups Rice Krispies cereal
-
Spray your hands with nonstick spray (to prevent sticking) and then grab some of the mixture in your hands and press it into a ball (I find the pressing method works better than trying to roll it like a meatball). The amount of treats you’ll make depends on the size you choose to make them. I do about ¼ cup and get 21, but larger ⅓ cup pumpkins net about 18
-
Place the rolled Rice Krispie treats onto a sheet of wax paper or a silicone baking mat
-
Gently press in the Rolo candy on top (you may need to hold the sides with your free hand to keep the “pumpkin” from spreading too much), and then press an M&M in vertically next to it to form the “leaf”18-24 Rolo candies, 18-24 Mini M&Ms candies
-
Allow to cool completely, then enjoy!
Notes
- You may also use large marshmallows (about 40 of them) but I find that the mini ones melt more easily. If you like a softer, stickier treat, you can add more marshmallows (up to a 16 ounce bag)
- If you don’t like Rolo candies, you can substitute pretzel sticks broken into small pieces, Tootsie rolls trimmed into small pieces, chocolate covered almonds or cashews, mini peanut butter cups, or anything similar
- For the green candies, the mini M&Ms work great, but you can use any sort of small green candy. I particularly like candied seeds, but they’re often hard to find. You can also pipe on leaves with green icing if preferred!
- Pumpkin flavor variation: If you want them to actually be pumpkin flavored, add 1 tsp pumpkin pie spice and ¼ cup pumpkin puree to the mix
- I made my recipe in a 1000W microwave so cooking times are based on that. Other wattages will vary slightly in terms of needed time
- If you cannot get the pumpkin balls to form, your mixture hasn’t cooled enough yet. Stick it in the fridge for a few minutes and try again
- I use a standard nonstick baking spray for my hands when rolling. Spritz it on one hand, and then rub your hands together to distribute. This ensures you get a fairly thin, even coating. Don’t forget your fingers!
- Store Rice Krispie pumpkins in an airtight container at room temperature for up to 3 days, or in the refrigerator for up to 1 week. For longer term storage, freeze for up to 2 months
- Exact nutritional values will vary based on brand of ingredients, any swaps or additions, and size of each ball, so please consider this a guideline only
Nutrition
Number of total servings shown is approximate. Actual number of servings will depend on your preferred portion sizes.
Nutritional values shown are general guidelines and reflect information for 1 serving using the ingredients listed, not including any optional ingredients. Actual macros may vary slightly depending on specific brands and types of ingredients used.
To determine the weight of one serving, prepare the recipe as instructed. Weigh the finished recipe, then divide the weight of the finished recipe (not including the weight of the container the food is in) by the desired number of servings. Result will be the weight of one serving.

Did you try this recipe?
Mention @TheDinnersDoneQuick or tag #dinnersdonequick! for even more!
Pin Recipe
Leave A Review
