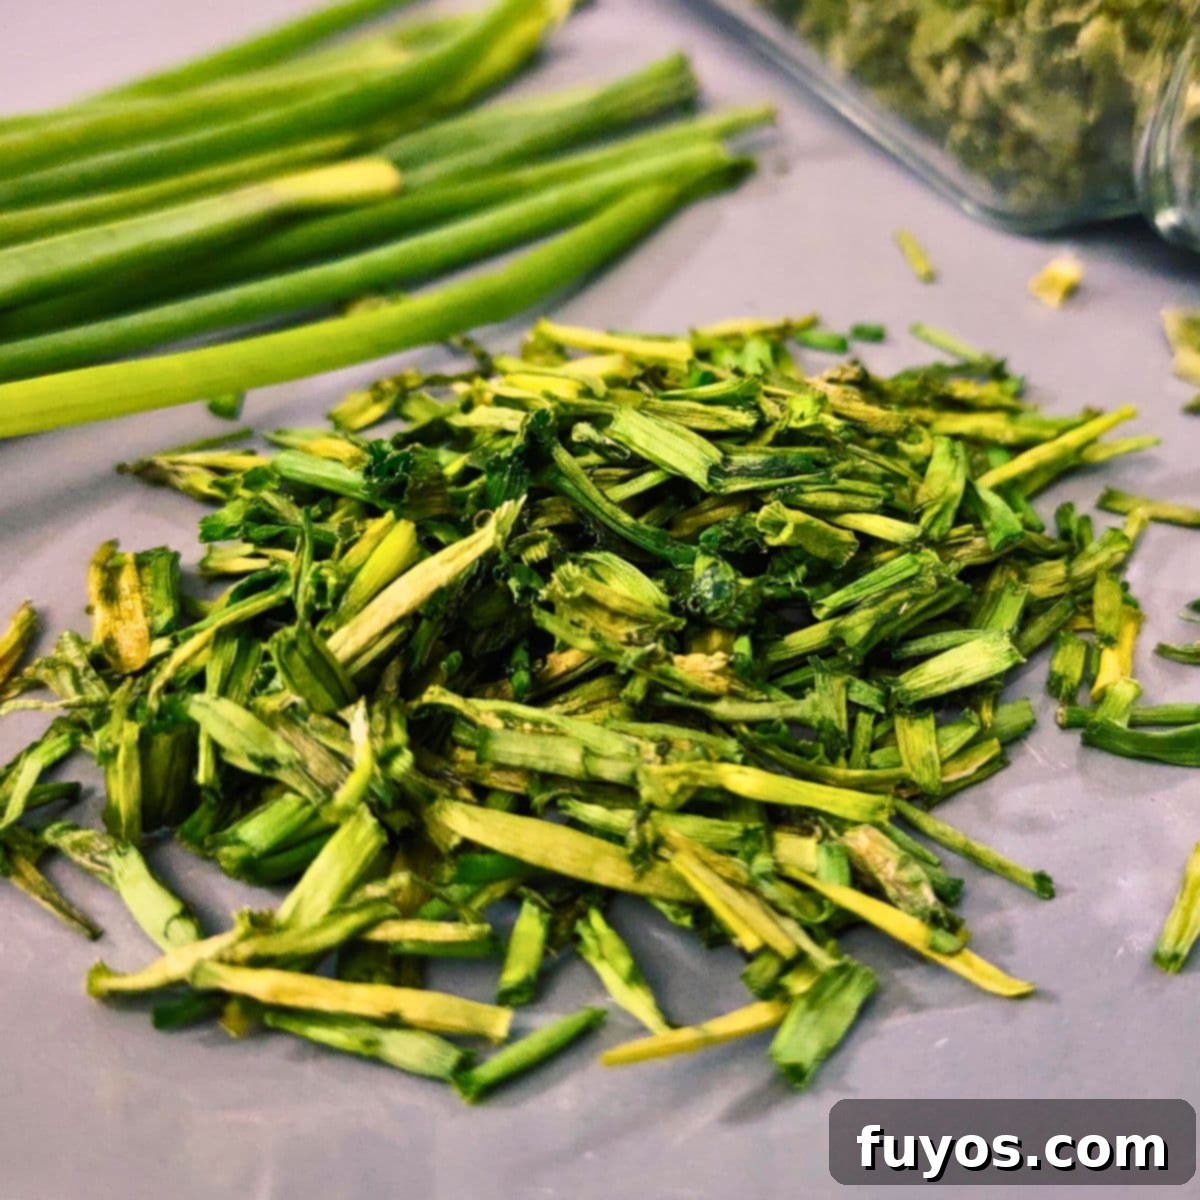
How to Dry Chives in the Microwave: A Fast & Easy Guide to Preserving Fresh Herbs
Chives are a delightful herb, renowned for their mild oniony flavor and vibrant green color, making them an excellent garnish and a particularly tasty addition to soups, salads, and countless other dishes. If you’re a home gardener, you’ll know that chive plants are not only easy to grow but also incredibly prolific, yielding an abundance of fresh green shoots from a mature plant. This bounty often leaves us wondering: what’s the best way to handle all those fresh chives before they wilt and lose their freshness?
Fortunately, preserving chives is as simple as growing them. Among the various methods available, drying them in the microwave stands out as a remarkably quick, easy, and efficient way to ensure you have a steady supply of this versatile herb all year long. This guide will walk you through the simple steps to successfully dry chives in your microwave, turning your fresh harvest into a pantry staple.
Katie’s Tip
If you happen to have an air fryer, there’s an equally great method for how to dry chives in the air fryer. Feel free to try both methods and see which one you prefer for preserving your herbs!
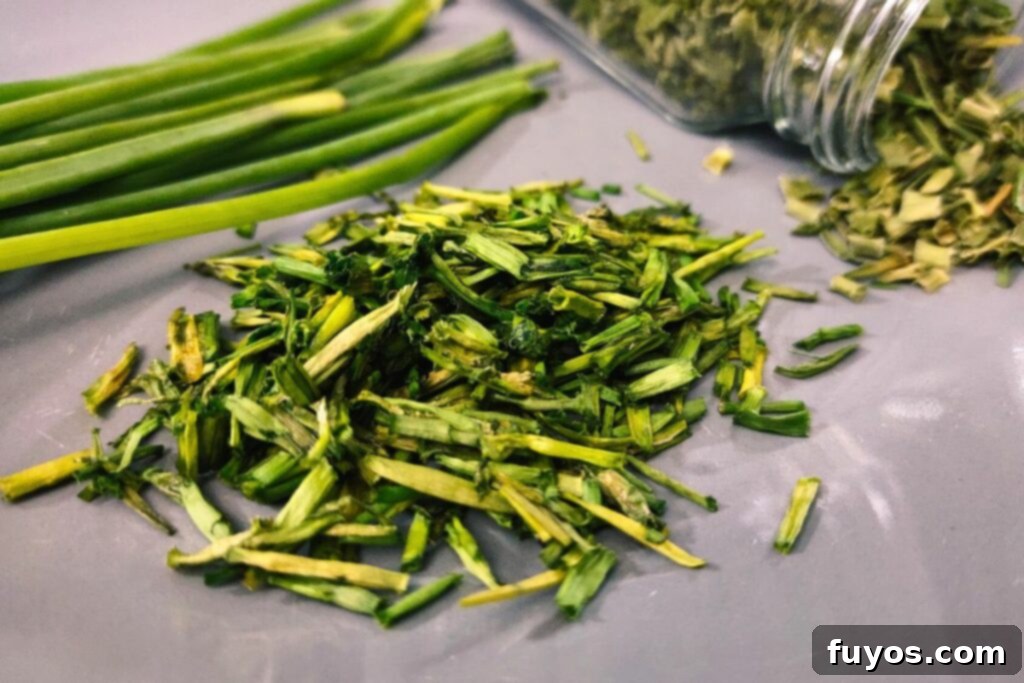
Can You Dry Fresh Chives in the Microwave? Absolutely!
Yes, you can absolutely dry fresh chives in the microwave, and it’s one of the fastest and most convenient methods available. The microwave’s rapid heating process effectively dehydrates the chives by evaporating their moisture content, making them perfectly safe to store for extended periods. This quick dehydration helps to lock in their delicate flavor and vibrant color, offering a superior alternative to store-bought dried chives which often lack the freshness of home-preserved herbs.
I frequently use my microwave to dry a variety of fresh herbs because of its unparalleled speed and ease. It’s a game-changer for anyone looking to make the most of their herb garden without investing in specialized equipment. Beyond chives, this technique works wonderfully for many other leafy herbs. You might want to explore other microwave drying guides, such as how to dry thyme in the microwave, how to dry rosemary in the microwave, or learning how to dry oregano in the microwave. Each herb might have slightly different drying times, but the general principles remain the same.
Quick + Easy Recipes
straight to your inbox
Why Choose Microwave Drying for Chives?
While several methods exist for drying herbs, microwave drying offers distinct advantages, especially for delicate herbs like chives:
- Speed: This is by far the fastest method. You can dry a batch of chives in just a few minutes, compared to hours in an oven, a dehydrator, or days for air drying.
- Convenience: Most households have a microwave, making this method accessible without needing additional, single-purpose kitchen appliances.
- Flavor and Color Retention: The quick drying process minimizes exposure to heat and air, which can degrade flavor and color. This often results in dried chives that retain more of their fresh aroma and vibrant green hue than those dried by slower methods.
- Energy Efficiency: For small batches, using a microwave for a few minutes is often more energy-efficient than running a large oven or dehydrator for hours.
- Ease of Monitoring: The short intervals allow for frequent checking, giving you precise control over the drying process and reducing the risk of over-drying or burning.
These benefits make microwave drying an ideal choice for anyone looking to quickly and effectively preserve their chive harvest.
Before You Begin: Essential Preparation for Drying Chives
Proper preparation is crucial for achieving perfectly dried chives that maintain their flavor and last long in storage. Here’s what you need to do before you even turn on the microwave:
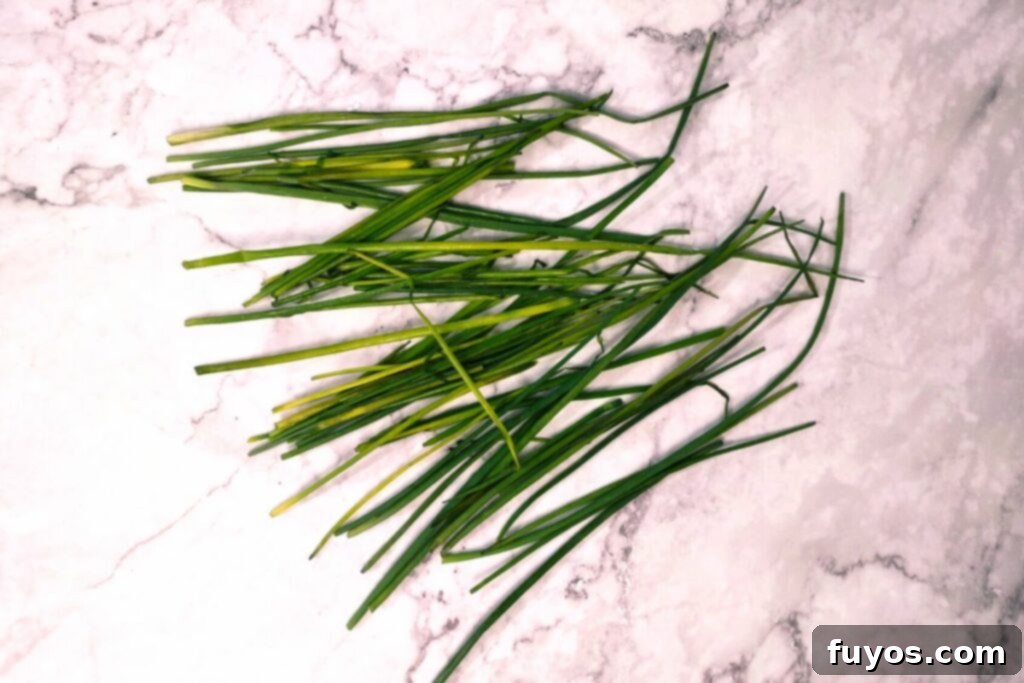
- Start with Clean, Dry, Fresh Chives: Begin with chives that are vibrant green and free from any wilting or discoloration. Rinse them gently under cool water to remove any dirt or debris. After rinsing, it is absolutely critical to dry them thoroughly. Excess moisture can lead to steaming in the microwave rather than drying, or even mold development during storage. Pat them dry with paper towels or use a salad spinner to remove as much water as possible. Trim off any dead, yellowed, or browned sections to ensure only the best parts of the herb are preserved.
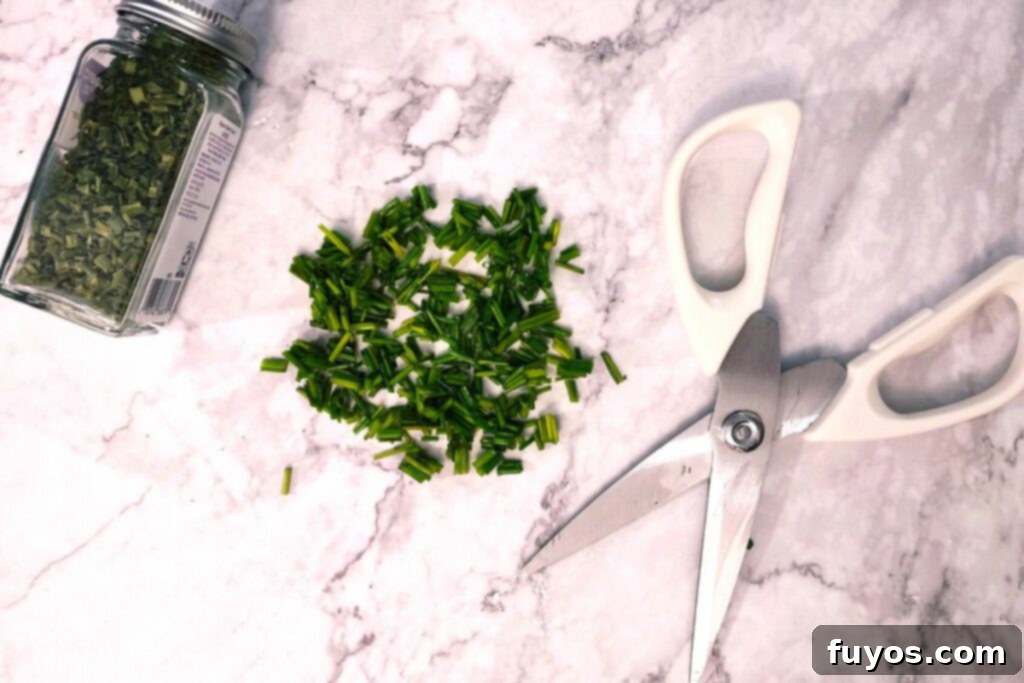
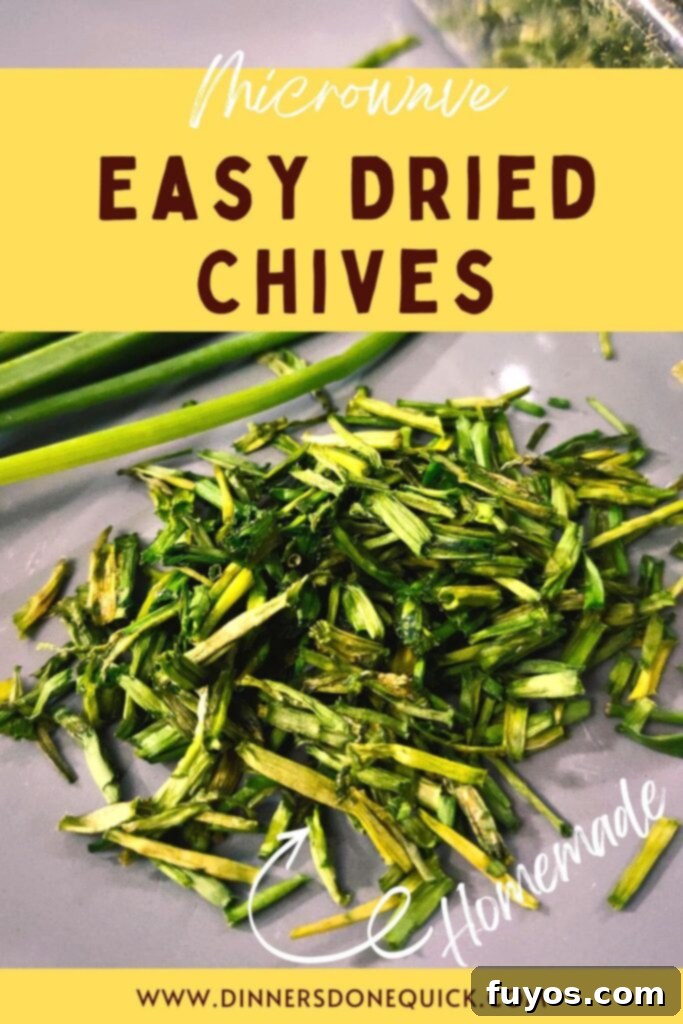
- Cut Your Chives into Small, Uniform Pieces: For optimal and even drying, cut your chives into small, manageable pieces, ideally between ¼ inch and ½ inch in length. Using kitchen shears or herb scissors makes this task quick and easy, ensuring uniform size. A sharp knife can also be used. Consistent piece size is important because it allows the chives to dry at the same rate. Larger pieces will take longer, potentially leading to some pieces being over-dried while others are still damp.
How to Dry Chives in the Microwave: Step-By-Step Guide
Now that your chives are prepped, let’s get to the microwave drying process. It’s incredibly straightforward:
- Prepare Your Microwave Plate: Lay a single sheet of paper towel flat on a microwave-safe plate. The paper towel serves a dual purpose: it absorbs excess moisture released during drying and prevents the chives from sticking to the plate.
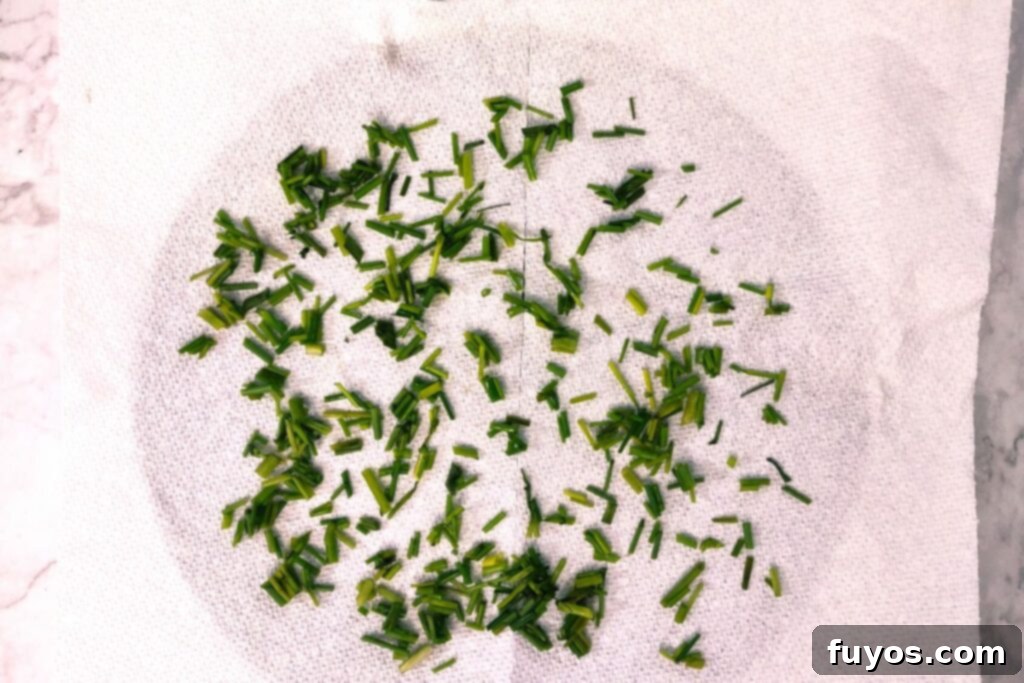
- Arrange Chives in a Single Layer: Carefully spread out your chopped chive pieces in a single, even layer on the paper towel. It is crucial not to overcrowd the plate. If you have a large quantity of chives, it’s far better to work in multiple small batches rather than stacking them. Overlapping chives will steam rather than dry, leading to uneven results and a risk of mold.
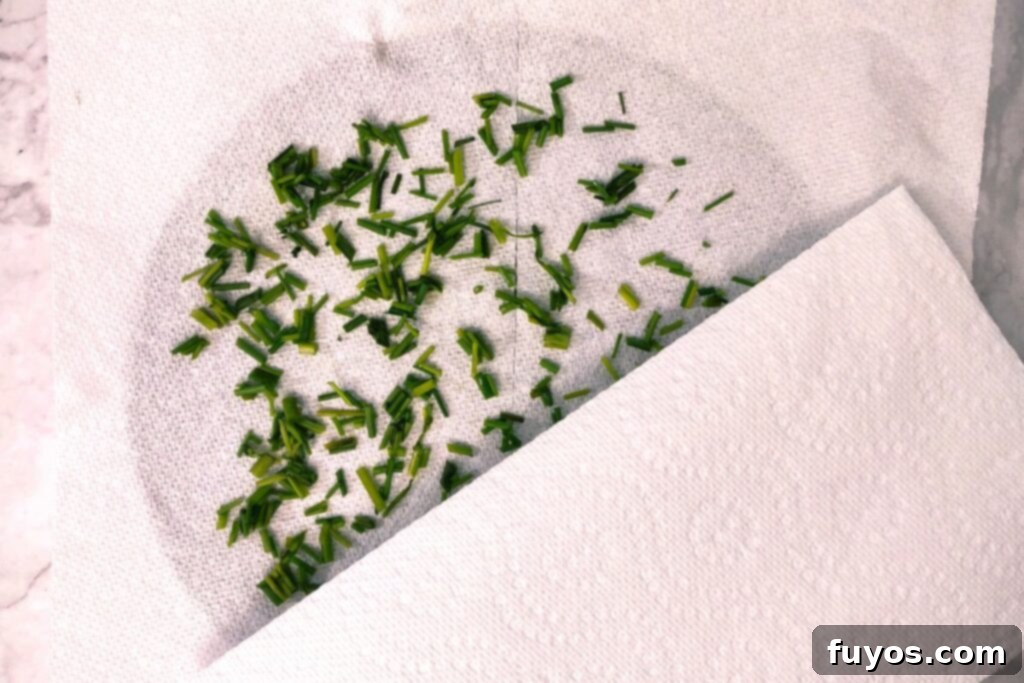
- Cover the Chive Leaves: Place a second paper towel over the chive pieces. This helps to absorb any moisture that evaporates upwards and also prevents the lighter chive pieces from flying around inside the microwave as they dry.
- Initial Microwave Blast: Place the plate in the microwave and heat on high for 30 seconds. After this initial interval, carefully remove the plate and check the chives.
- Continue in Short Intervals: Return the plate to the microwave and continue to heat in 30-second intervals, checking the chives after each one. The chives are fully dried when they are crisp, brittle, and crinkle easily when touched. They should feel completely dry and have lost all their flexibility. Be careful not to overcook, as burnt chives will lose their flavor and turn dark brown or black.
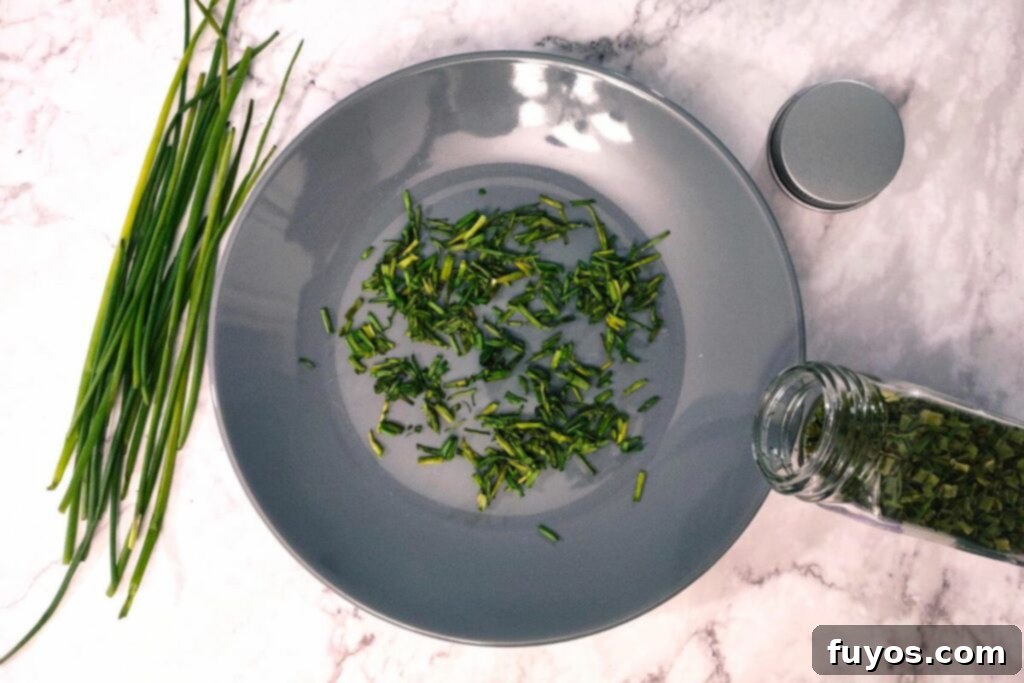
- Cool and Store: Once the chives are thoroughly dried, remove them from the microwave and allow them to cool completely on the paper towel-lined plate. Cooling is important because any residual warmth can create condensation in your storage container, which could lead to spoilage. Once cool, transfer the dried chives to an airtight container or a spice jar.
Understanding Microwave Wattage and Drying Times
The cooking times provided are generally based on a 1000W microwave. On average, I find it takes about 2 minutes in total to dry a batch of chives using this method. However, drying times can vary significantly based on your microwave’s wattage, the quantity of chives, and their moisture content.
- Lower Wattage Microwaves: If you have a lower wattage microwave (e.g., 700W or 800W), it will typically require more time to dry the chives. You might need to use 45-second or 60-second intervals, or simply more 30-second bursts.
- Higher Wattage Microwaves: Conversely, higher wattage units (e.g., 1200W) may take slightly less time. Always start with shorter intervals and check frequently to prevent burning.
- Visual and Textural Cues: Always rely on the visual and textural cues of the chives themselves rather than strict timing. They should be dry, brittle, and easily crumble. It’s normal for some leaves to turn a slightly duller green or grayish color during the drying process, but they should not be dark brown or blackened, which indicates overcooking.
I particularly appreciate that chives are cut ahead of time when drying them. This eliminates what I find to be the most tedious part of drying other herbs – painstakingly separating individual leaves from stems. While larger leaves, like those used for air fryer dried parsley, are easy to simply scrunch up, the smaller, more delicate herbs often require more effort.
How Long Do Dried Chives Last and How to Store Them?
Once properly dried and stored, your homemade dried chives will retain their potency and flavor for a significant period. Dried chives typically last between 2-3 years before they begin to noticeably lose their aromatic strength and vibrant taste. After this time frame, they are still perfectly safe to consume; however, you’ll find that they won’t impart as much flavor to your dishes, which can certainly be disappointing when you’re aiming for a specific taste profile.
To maximize their shelf life and preserve their delicate essence, proper storage is paramount:
- Airtight Containers: Always store dried chives in an airtight container or a clean, dry spice jar. Exposure to air is the primary enemy of dried herbs, as it leads to oxidation and rapid loss of flavor.
- Cool, Dark, Dry Place: Keep your stored chives in a cool, dark, and dry location, such as a pantry or a cupboard away from direct sunlight, heat, and moisture. Heat and light can accelerate the degradation of their essential oils, while moisture can lead to mold.
- Avoid Refrigeration: There’s no need to refrigerate dried herbs, as the moisture and fluctuating temperatures in a fridge can actually be detrimental.
- Labeling: For best practice, label your container with the date you dried the chives. This helps you keep track of their freshness and ensure you’re using them at their peak potency.
The last thing I want is to not taste one of the key components in my ham, cheese, and chive air fryer quiche, which was inspired by the delicious recipes found in our article on the best Emeril Lagasse air fryer recipes! Proper storage ensures that every sprinkle delivers the full, fresh flavor you expect.
Creative Culinary Uses for Your Dried Chives
Once you have a jar full of your perfectly dried chives, the culinary possibilities are endless! Dried chives are a versatile ingredient that can elevate the flavor profile of a wide array of dishes. While they won’t have the exact same texture as fresh chives, their flavor is concentrated and delightful. Here are some ideas to inspire your cooking:
- Soups and Stews: Stir dried chives into hot soups, stews, and casseroles during the last few minutes of cooking. The heat will help rehydrate them and release their flavor. They are particularly wonderful in potato soup, creamy tomato soup, or a hearty beef stew.
- Egg Dishes: Elevate your breakfast or brunch by adding dried chives to scrambled eggs, omelets, frittatas, or quiches. Their mild oniony flavor pairs perfectly with eggs.
- Dressings and Dips: Whisk dried chives into homemade salad dressings, creamy dips, or spreads. They’re excellent in ranch dressing, a sour cream and onion dip, or a herb cream cheese spread.
- Flavored Butters: Combine dried chives with softened butter to create a savory compound butter. This can be used on roasted vegetables, grilled meats, baked potatoes, or simply spread on crusty bread.
- Baked Potatoes and Mashed Vegetables: Sprinkle liberally over baked potatoes with sour cream, or stir into mashed potatoes, mashed cauliflower (as seen in our best microwave cauliflower recipes – yes, your microwave can cook that, too!), or any pureed vegetable for an extra layer of flavor.
- Roasted Vegetables: Toss dried chives with olive oil and your favorite vegetables (like carrots, broccoli, or zucchini) before roasting for a fragrant side dish.
- Seasoning Meats and Fish: Use dried chives as part of a rub for chicken, pork, or fish. They add a subtle, savory note that complements many proteins.
- Bread and Scones: Fold dried chives into bread doughs, savory muffins, or scones for a delicious herbal twist.
Remember that dried herbs have a more concentrated flavor than fresh herbs, so you might need to use a bit less. As a general rule, use about one-third to one-half the amount of dried chives compared to fresh chives in a recipe.
★★★★★ 5 from 2 votes
Simple Dried Chives in the Microwave
Dry your fresh chive leaves for later use quickly and easily with the help of your microwave.
Pin
Equipment
- Microwave
- Herb scissors or kitchen shears
- Plate designed for microwave use
- 2 Sheets paper towels
Ingredients
- 35-40 Leaves chives washed and dried if needed
Instructions
-
Start with clean, dry, fresh chives, trimming off any dead sections
Uses: 35-40 Leaves chives
-
Cut your chives into small pieces (between ¼” and ½”) using kitchen shears, herb scissors, or similar
-
Place a paper towel on a microwave safe plate
-
Spread out your chive pieces in a single layer on the paper towel (if you have a lot, you may need to do this in batches)
-
Cover the chopped chive leaves with another paper towel
-
Microwave on high for 30 seconds, then check
-
Continue to microwave in 30 second intervals, until chives are completely dry and crinkle when touched
-
Store dried chives in an airtight container or spice jar
Notes
- If you have a lot of chives, make sure to dry them in batches. Stacking up beyond a single layer won’t heat evenly and you’ll get some still wet while others burn.
- In a 1000W microwave, it takes me about 2 minutes on average, but times will vary based on your specific wattage and quantity used.
- It’s normal for some leaves to turn a gray color during cooking. Dark brown or blackened, however, means they’re overcooked.
- Dried chives keep well for 2-3 years. After which, they are still safe, but lose flavor and potency.
Nutrition
Serving: 0.2g | Calories: 1kcal | Carbohydrates: 0.1g | Potassium: 6mg | Fiber: 0.1g | Calcium: 2mg
Number of total servings shown is approximate. Actual number of servings will depend on your preferred portion sizes.
Nutritional values shown are general guidelines and reflect information for 1 serving using the ingredients listed, not including any optional ingredients. Actual macros may vary slightly depending on specific brands and types of ingredients used.
To determine the weight of one serving, prepare the recipe as instructed. Weigh the finished recipe, then divide the weight of the finished recipe (not including the weight of the container the food is in) by the desired number of servings. Result will be the weight of one serving.

Did you try this recipe?
Mention @TheDinnersDoneQuick or tag #dinnersdonequick! for even more!
Pin Recipe
In Conclusion: Enjoy Your Home-Dried Chives Year-Round!
Drying chives in the microwave is not just a quick and easy method; it’s a smart way to preserve the bounty of your herb garden and ensure that your dishes are bursting with fresh, homemade flavor all year round. This simple preservation technique empowers you to capture the essence of peak-season chives, making sure none of your hard work (or delicious herbs) goes to waste.
Having a stash of dried chives in your pantry means you’re always ready to add a touch of pizzazz and a delicate oniony note to all sorts of dishes, from weeknight dinners to special occasion meals. It’s truly a versatile herb to have readily available in your cooking arsenal. So, next time your chive plant is overflowing, don’t hesitate! Grab a plate, some paper towels, and your microwave, and start preserving. You’ll thank yourself later for having these vibrant, flavorful dried chives at your fingertips.
