Ultimate Guide to Cleaning Your Ninja Air Fryer: Maintain Performance & Hygiene
Air fryers have rapidly become a staple in modern kitchens, celebrated for their ability to deliver crispy, delicious meals with significantly less oil than traditional frying methods. Among the leading brands, Ninja air fryers stand out for their versatility and efficiency, making healthy cooking accessible to everyone. From crispy fries and succulent chicken wings to roasted vegetables and baked desserts, these powerful appliances handle a vast array of recipes quickly and conveniently.
However, to ensure your Ninja air fryer continues to perform at its peak, remains hygienic, and serves you for years to come, proper and regular cleaning is absolutely essential. Neglecting this crucial step can lead to a build-up of food residue, grease, and even bacteria, which not only affects the taste and quality of your food but can also impair the appliance’s functionality and potentially shorten its lifespan. A dirty air fryer can even lead to issues like unpleasant odors or, worse, smoke during operation.

Understanding how to clean a Ninja air fryer effectively is a key part of owning one. While it might seem daunting at first, especially with all the nooks and crannies, the process is straightforward and quick once you know the right steps. This comprehensive guide will walk you through everything you need to know about thoroughly cleaning your Ninja air fryer, ensuring it stays in pristine condition and is always ready for your next culinary adventure.
Once your air fryer is sparkling clean, you’ll be ready to get cooking! We can also show you the right way to preheat a Ninja air fryer so you’re ready to cook anything with perfect results.
Why Regular Ninja Air Fryer Cleaning is Crucial
Before diving into the “how-to,” let’s briefly reinforce the importance of consistent cleaning for your Ninja air fryer. It’s more than just aesthetics; it impacts performance, food safety, and the longevity of your appliance:
- Food Hygiene and Safety: Over time, food particles and grease can accumulate, creating a breeding ground for bacteria. Regular cleaning prevents this build-up, ensuring that your meals are prepared in a safe and hygienic environment, free from harmful microorganisms.
- Optimal Performance: Accumulated grease and food residue, particularly on the heating element and in the basket, can hinder airflow and heat distribution. This means your air fryer has to work harder, potentially leading to uneven cooking, longer cooking times, and a less efficient appliance.
- Preventing Unpleasant Odors and Smoke: Leftover food and oil can burn during subsequent uses, leading to unpleasant smells permeating your kitchen and, in some cases, causing your air fryer to smoke. A clean air fryer produces fresh-smelling, delicious food every time.
- Extending Appliance Lifespan: Regular maintenance, including thorough cleaning, protects the internal components and non-stick coatings from degradation. This proactive care helps prevent premature wear and tear, ensuring your Ninja air fryer lasts longer and continues to provide excellent service.
- Maintaining Food Taste: Lingering flavors from previous meals can transfer to your new dishes, subtly altering their taste. A clean air fryer guarantees that each meal tastes exactly as it should, without any unwanted cross-contamination of flavors.
Understanding the Parts of Your Ninja Air Fryer That Need Cleaning
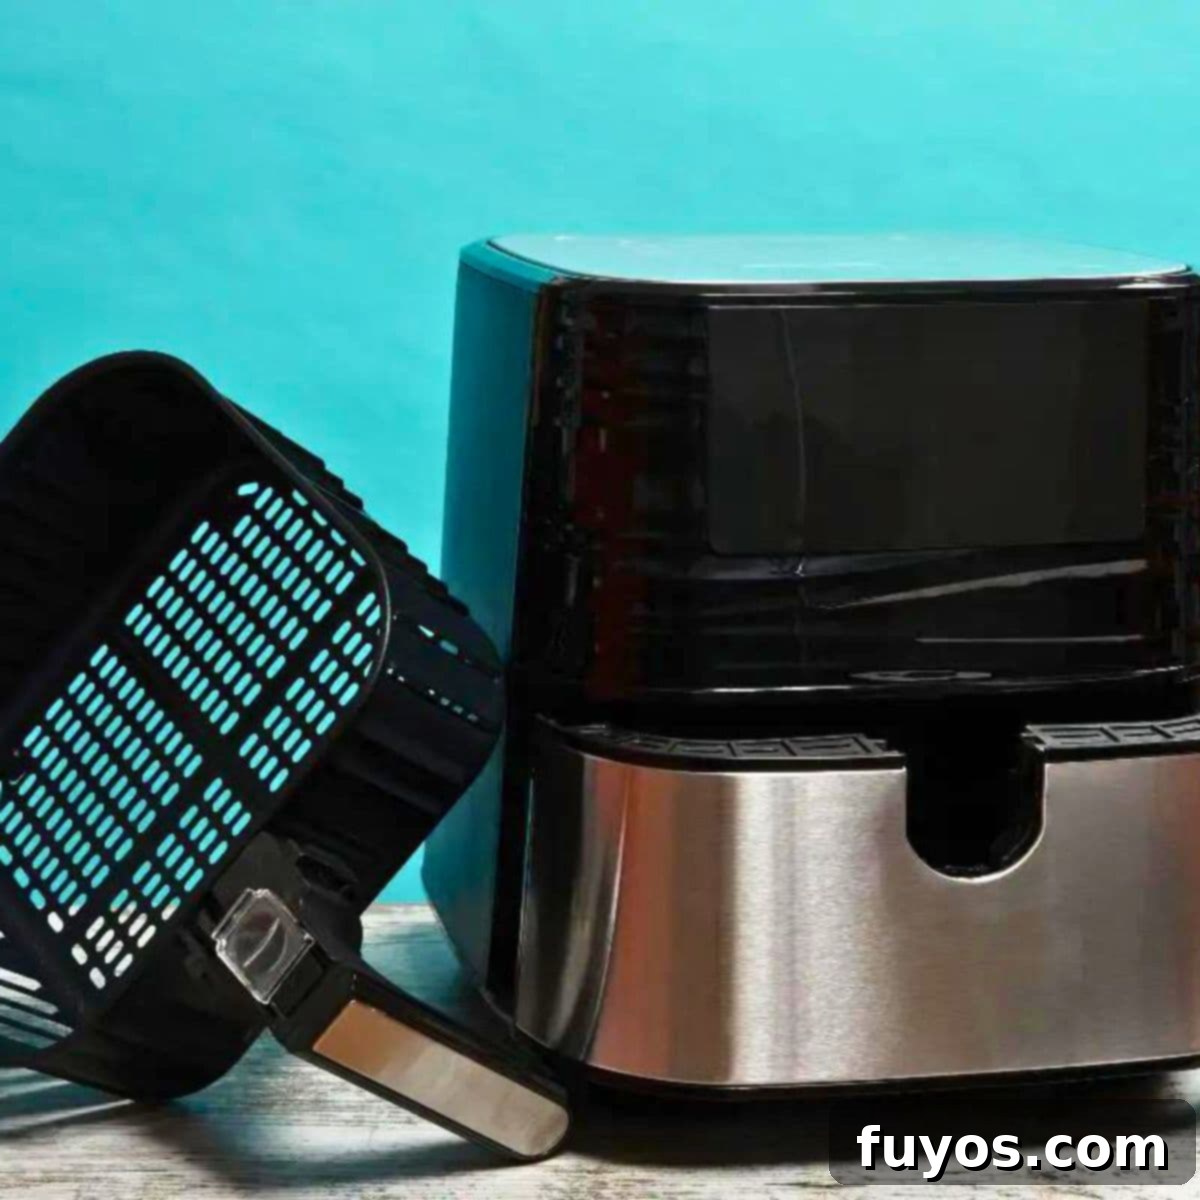
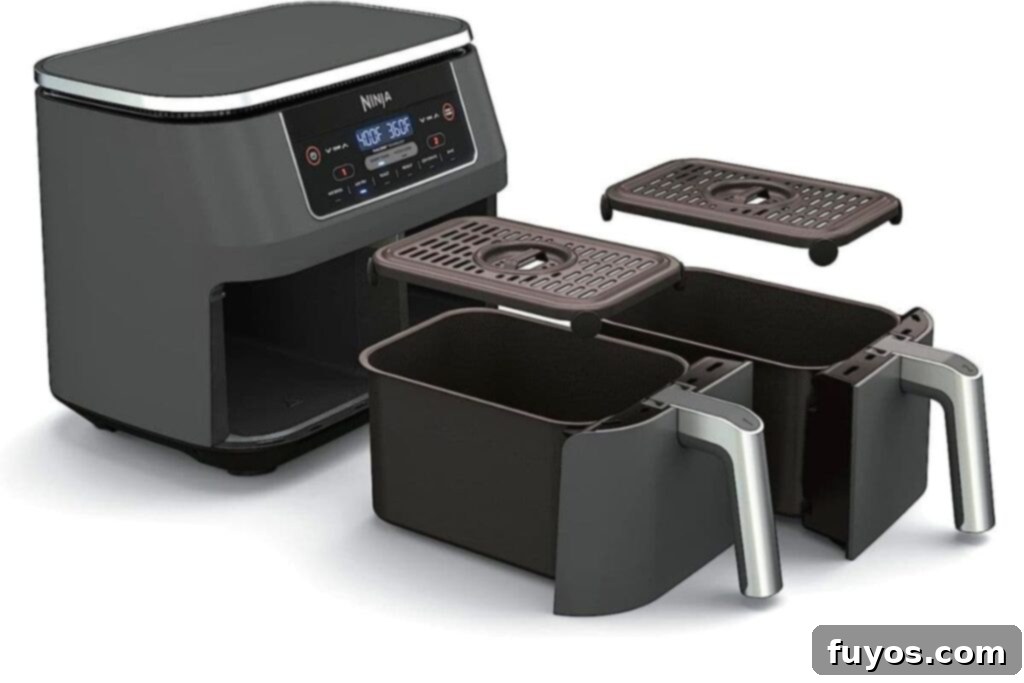
A Ninja air fryer, like most air fryers, comprises several distinct parts, each requiring specific attention during cleaning. Familiarizing yourself with these components will make the cleaning process much clearer. The three main parts you’ll be focusing on are:
- The Fryer Basket: This is the primary container where your food is placed for cooking. It’s typically removable and features a non-stick coating.
- The Crisper Plate (or Tray/Rack): Often inserted into the fryer basket, this perforated plate allows air to circulate evenly around your food, ensuring crispiness. It also typically has a non-stick coating.
- The Main Air Fryer Appliance (Outer Unit & Interior Cavity): This is the core unit containing the heating element, fan, and control panel. The exterior needs wiping, and the interior cavity, especially around the heating element, requires careful cleaning.
All of these parts come into contact with food during the cooking process and accumulate grease and crumbs. The fryer basket and crisper plate should ideally be cleaned after every single use due to direct food contact. The main body and heating element can be cleaned less frequently, but regularly, depending on usage and visible build-up.

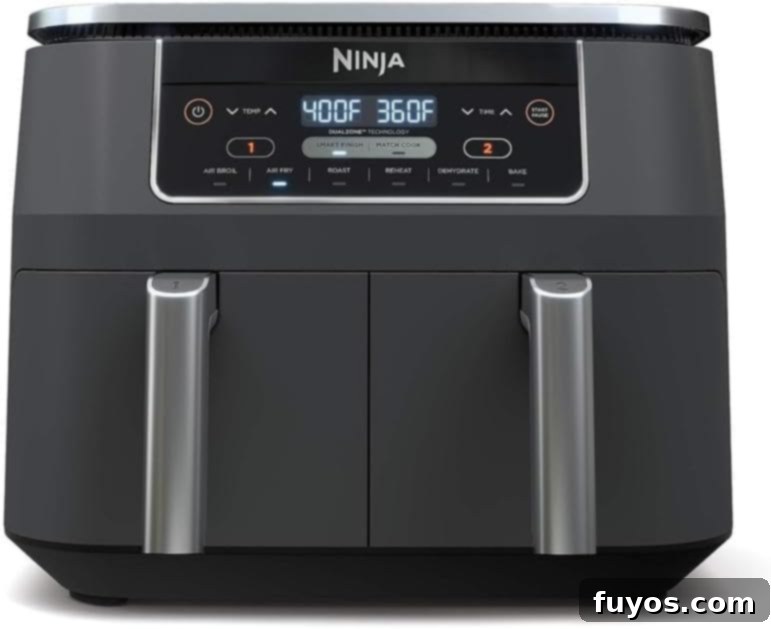
Our Top Pick: Ninja DualZone Air Fryer
Ninja DZ201 Foodi 8 Quart DualZone 2-Basket Air Fryer
The good news is that cleaning a Ninja air fryer is typically a quick and effortless process, meaning minimal downtime between delicious meals. Now, let’s get into the step-by-step instructions!
Katie’s Tip
The cleaning process described here is very similar to how to clean a Cuisinart air fryer. So, if you own a different brand, feel free to check that guide as well, as many principles are universal!
How To Clean Your Ninja Air Fryer In 5 Easy Steps!

Step One: Unplug and Let Cool Completely
Safety is paramount when cleaning any electrical appliance. Your very first step, without exception, is to turn off your Ninja air fryer and immediately unplug it from the wall socket. After use, the internal components, especially the heating element and the basket, can reach extremely high temperatures. Attempting to clean a hot air fryer poses a significant burn risk. Always allow your appliance sufficient time to cool down completely before you begin any cleaning tasks.
Depending on how recently you’ve used it, this cooling process could take anywhere from 15 to 30 minutes. If you’re in a bit of a rush and eager to get cleaning sooner, you can carefully remove the hot fryer basket and crisper plate from the main unit. Running these detachable parts under cool water can help them cool down faster. However, never attempt to cool down the main unit with water, as this could damage the electrical components.
Step Two: Washing the Basket and Crisper Plate in the Dishwasher
Once the detachable parts of your air fryer – the fryer basket and crisper plate – are cool enough to handle safely, cleaning them is often incredibly simple. Most Ninja air fryer baskets and crisper plates are designed to be dishwasher-safe. This convenience means you can simply place them on the top rack of your dishwasher, run a normal cycle, and let the machine do all the hard work for you.
This method is highly effective for routine cleaning, especially for everyday grease and food residue. It’s a fantastic time-saver and ensures a thorough clean. However, it is crucial to remember this key distinction: only the fryer basket and crisper plate are typically dishwasher-safe. The main air fryer appliance, which houses all the electrical components, should never be submerged in water or placed in a dishwasher. Doing so will cause irreparable damage and poses a severe electrical hazard.
Step Three: Washing the Basket and Crisper Plate By Hand
Whether you don’t have a dishwasher, prefer to conserve water, or simply favor hand-washing, cleaning your air fryer basket and crisper plate manually is just as easy and effective. These parts typically feature a durable ceramic or non-stick coating, which makes wiping away food residue almost effortless.
To hand wash, fill your sink or a basin with warm water and add a few drops of mild dish soap. Submerge the cooled basket and crisper plate, allowing them to soak for 5-10 minutes. This soaking period helps to loosen any stuck-on food particles or stubborn grease. After soaking, use a soft sponge or a non-abrasive cloth to gently scrub the surfaces. You’ll find that most residue comes off with minimal effort.
Important: Avoid using abrasive scouring pads, steel wool, or harsh chemical cleaners. These can scratch, damage, or strip the non-stick coating, making your basket and plate less effective and harder to clean in the future. After cleaning, rinse both parts thoroughly under running water to remove all soap residue and allow them to air dry completely or dry them with a soft towel before reassembling.
Step Four: Wipe Down the Main Air Fryer Unit (Exterior and Interior)
The main body of your Ninja air fryer, the part that remains plugged in, cannot be immersed in water. Instead, it requires a gentle wipe-down to keep it clean and looking new. Focus on two key areas:
- Exterior: Use a damp (not wet) cloth or paper towel with a small amount of mild dish soap to wipe down the exterior surfaces. Pay particular attention to the control panel, buttons, and handles, as these areas are frequently touched and can accumulate fingerprints and grease. For stubborn spots, a slightly damp microfiber cloth can be very effective. Finish by wiping with a clean, dry cloth to remove any moisture and streaks.
- Interior Cavity: After removing the basket and crisper plate, gently wipe down the inside walls of the air fryer. Crumbs and grease might collect here. A damp cloth or a paper towel can typically handle this. Be careful not to let water drip into any vents or electrical openings.
While you don’t need to perform this step after every single use, a regular wipe-down (e.g., weekly or every few uses) will prevent dirt and grease from becoming too entrenched, making future cleaning much easier.
Step Five: Clean the Heating Element with Care
The heating element, typically a metal coil located at the top interior of your air fryer, is a critical component that often gets overlooked. However, keeping it clean is vital for both performance and safety. Food splatters and oil residue can accumulate on this element, becoming baked on over time. This build-up can lead to:
- Reduced Efficiency: A dirty element won’t heat as effectively or evenly.
- Unpleasant Odors and Smoke: Burnt-on residue is a primary reason why your air fryer is smoking during the cook cycle.
- Potential Fire Hazard: In extreme cases, excessive grease build-up can pose a fire risk.
To clean the heating element:
- Ensure the air fryer is unplugged and completely cool.
- Turn the air fryer upside down for easier access to the heating coil.
- Gently wipe down the heating element with a damp, non-abrasive cloth or paper towel. For more stubborn, cooked-on residue, you can use a soft brush (like a dedicated cleaning brush or even a soft toothbrush) to lightly scrub. You can also make a paste of baking soda and a little water to apply to tough spots, letting it sit for a few minutes before gently scrubbing and wiping away.
- Be extremely careful not to use excessive water, and never spray water directly onto the element or into the interior. Ensure the element is completely dry before plugging the air fryer back in.
The heating element doesn’t need to be cleaned after every use, but it’s a good idea to inspect it regularly (e.g., monthly, or whenever you notice residue) and clean it as needed to prevent any issues.
Quick + Easy Recipes
straight to your inbox
Final Thoughts on Ninja Air Fryer Maintenance
And there you have it – a comprehensive guide to cleaning your Ninja air fryer from top to bottom! By incorporating these simple steps into your routine, you’ll not only keep your appliance sparkling clean but also ensure it operates at its peak efficiency for years to come. Regular cleaning is a small investment of time that pays off significantly in terms of food quality, appliance longevity, and overall kitchen hygiene.
Don’t let neglected residue diminish your air frying experience. With your newfound knowledge, you’re now equipped to tackle any mess and maintain your Ninja air fryer with confidence. Put these instructions into practice, and you’ll have a clean, ready-to-go air fryer in just a few minutes.
Now that your Ninja air fryer is perfectly clean, why not put it to good use? Check out our list of the 5 best Ninja Foodi Dual Zone air fryer recipes to get started on your next delicious meal!
Katie’s Tip
For newcomers to air frying, regardless of your model, we also compiled a guide on how to use a Bella air fryer, which covers many basic operational principles that are helpful for any air fryer user.
