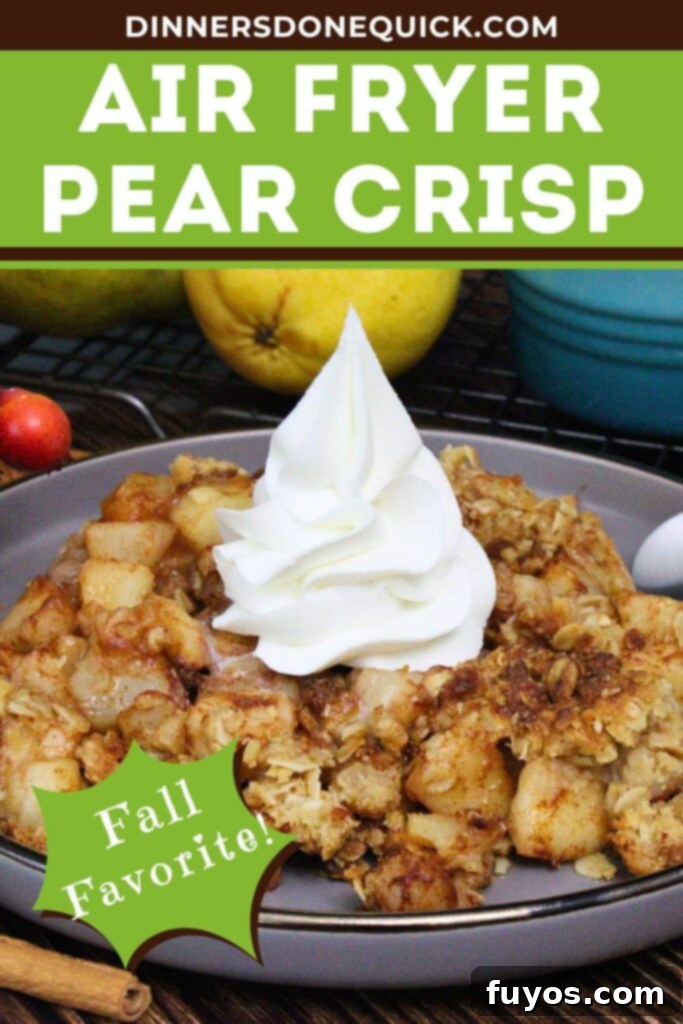
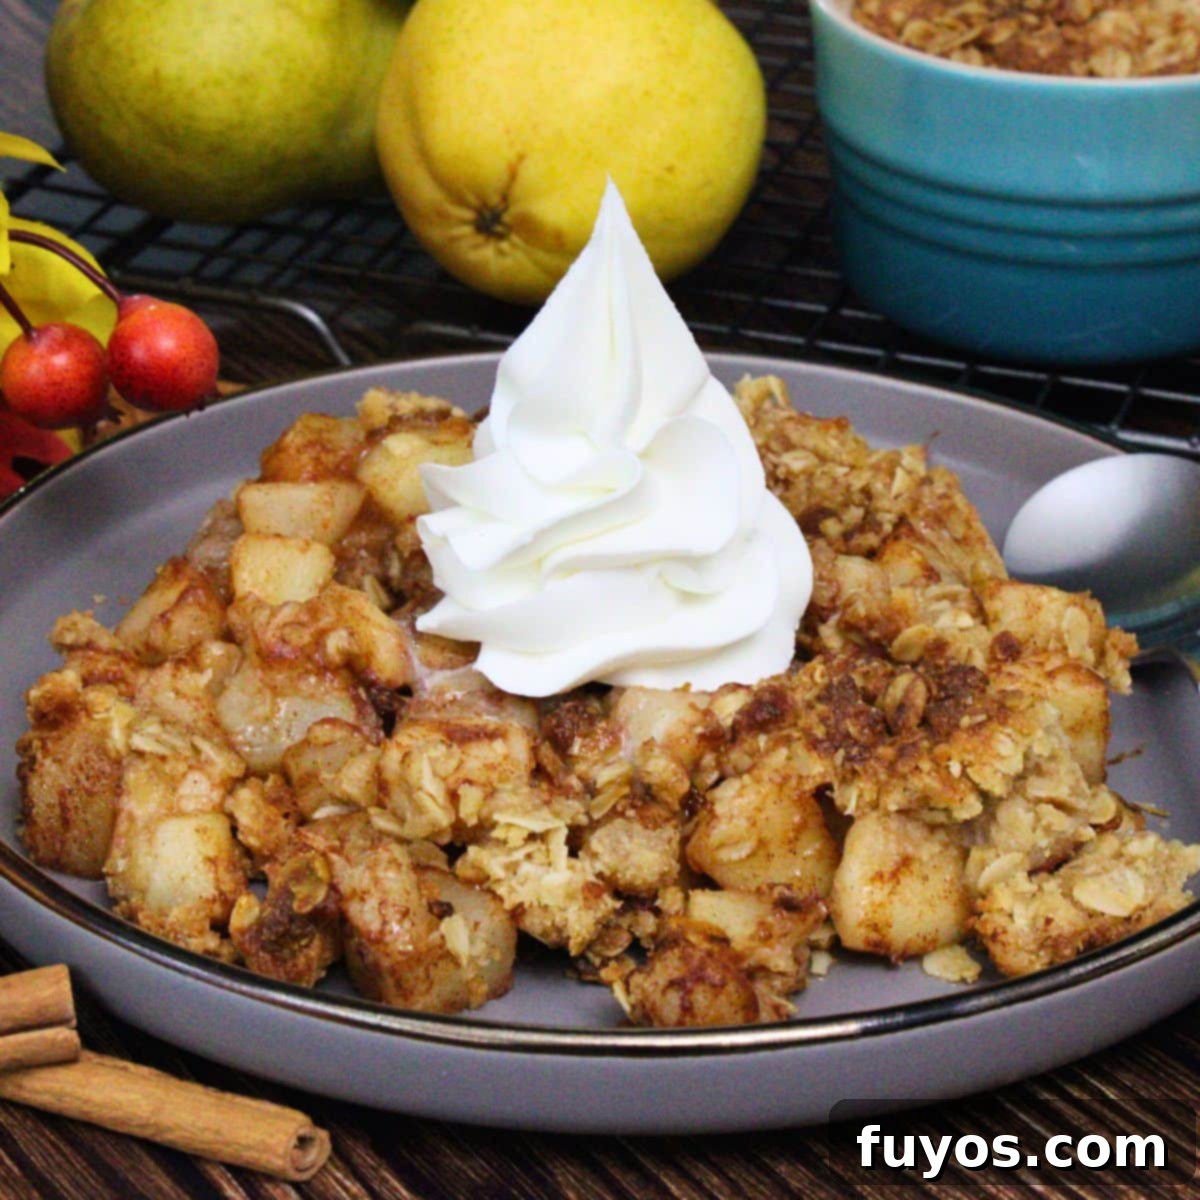
Delicious Air Fryer Pear Crisp: Your Quick & Easy Fall Dessert Recipe
There’s an undeniable magic in the combination of tender, cooked fruit and a perfectly crisp, crunchy topping. It’s a texture and flavor symphony that simply delights the senses. That’s precisely why, as the autumn leaves begin to fall, a warm air fryer pear crisp becomes my go-to dessert. This delightful treat is not only wonderfully sweet and comforting but also incredibly quick, cooking in just about 20 minutes from start to finish. It’s the ideal way to enjoy the bounty of fall with minimal effort.
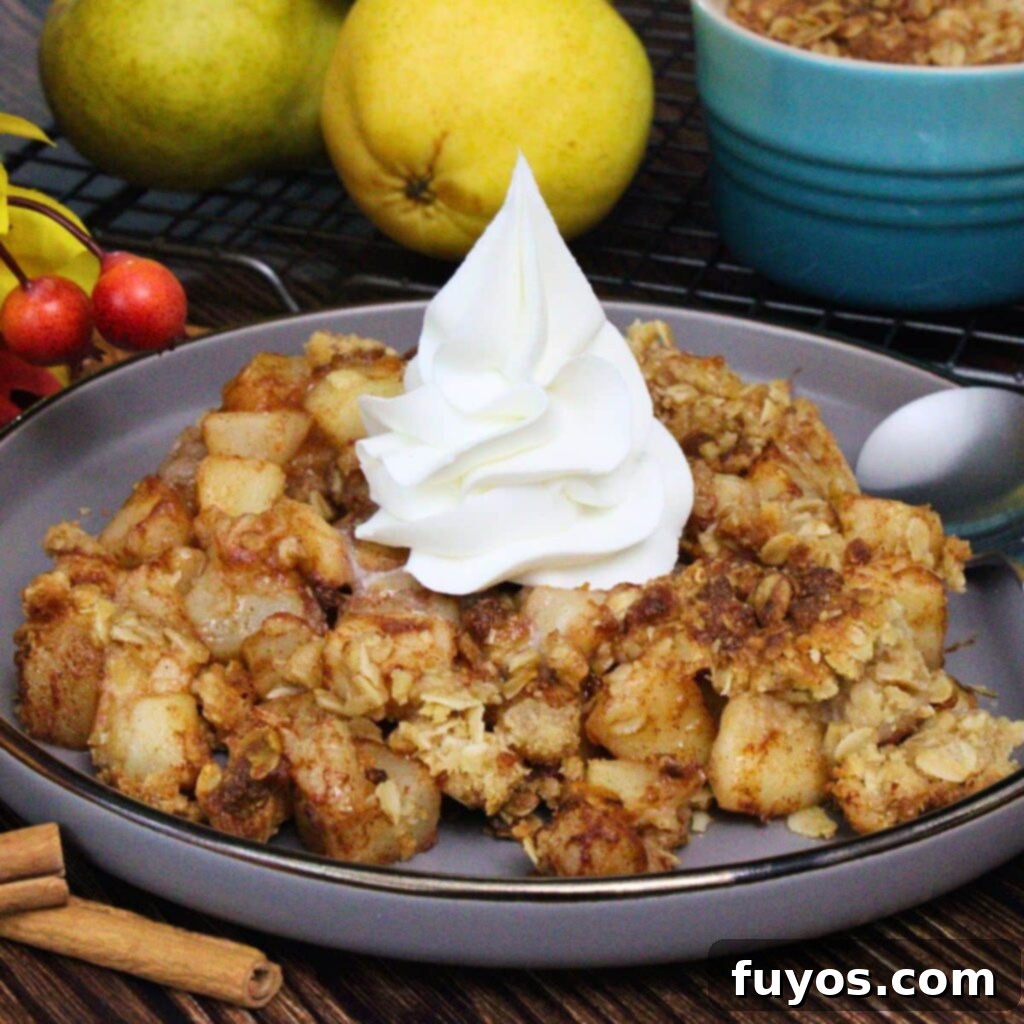
Why You’ll Love This Quick Pear Crisp Recipe
I genuinely appreciate recipes that rely heavily on common pantry staples. It means less planning and more spontaneous deliciousness! If you find yourself with an abundance of fresh pears, perhaps after a trip to the orchard or simply with some leftover fruit, this air fryer pear crisp recipe is an absolute gem for utilizing them creatively. It transforms simple ingredients into an extraordinary dessert.
A classic fruit crisp, like this pear version, features a soft, sweet, and gently cooked fruit filling – though you can even use pre-made pie filling for an even quicker hack. What truly defines a crisp, and sets it apart, is its signature crunchy, oat-based topping. This streusel-like layer provides a delightful textural contrast that elevates the entire dessert experience, making each bite a harmonious blend of tender and crisp.
It’s important to note the subtle differences between similar baked fruit desserts. While a pear crumble also boasts a crumbed topping, it traditionally omits oats, resulting in a finer, more cake-like texture. A fruit cobbler, on the other hand, is characterized by a scone or biscuit-like batter topping that bakes into soft dumplings. The fruit base is often quite similar across these delightful dishes; it’s the distinctive topping that provides the unique charm and name for each.
Katie’s Tip
If you’re craving a taste of summer, don’t miss my delicious Air Fryer Peach Crisp recipe!
Quick + Easy Recipes
straight to your inbox
Gather Your Ingredients and Essential Equipment
Making this delightful air fryer pear crisp requires just a handful of simple ingredients and some basic kitchen tools. You likely have most of these on hand already, making this an ideal last-minute dessert!
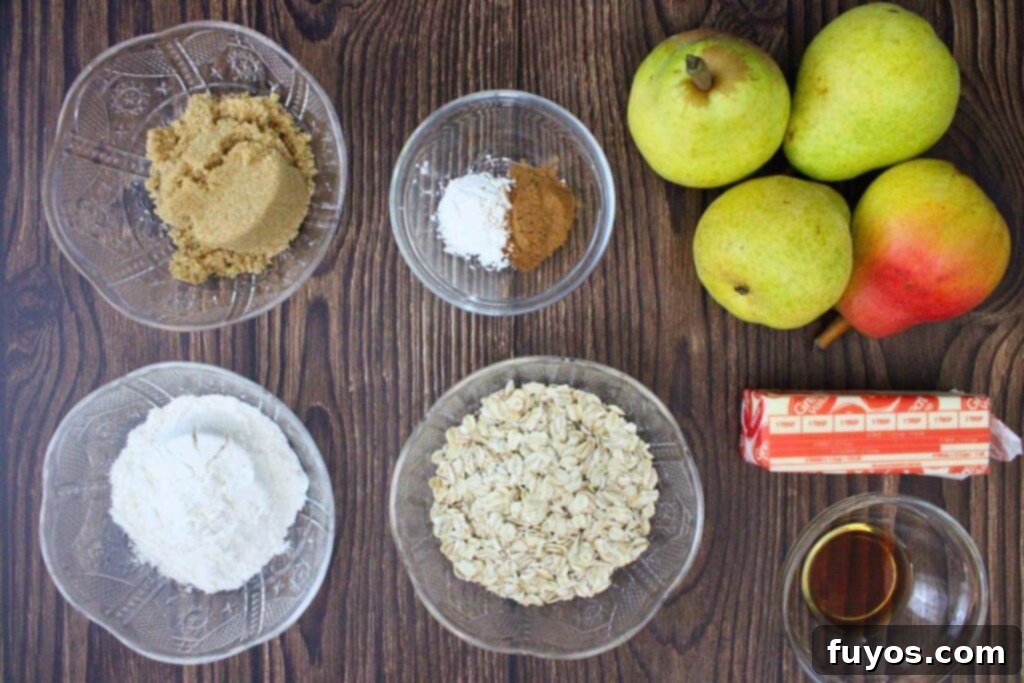
For the Pear Filling:
- 4 medium pears, peeled, cored, and diced into approximately ½” cubes (Bartlett pears are highly recommended for their juiciness and sweet flavor, though Anjou or Bosc also work beautifully).
- 1 tsp cornstarch (This acts as a thickening agent, ensuring your pear filling isn’t too watery).
- 1 tsp vanilla extract (Enhances the overall sweetness and adds a warm, aromatic note).
- 1 tsp ground cinnamon (A classic fall spice that pairs perfectly with pears. Feel free to adjust to your taste!).
For the Crisp Topping:
- ½ cup old-fashioned or rolled oats (These provide the signature chewy-crisp texture. Quick oats can be used but may result in a softer topping).
- ¼ cup brown sugar (Adds a deep, caramelized sweetness and moisture to the topping).
- ¼ cup cold salted butter, cubed (Using cold butter is crucial for a crumbly, tender topping. The small cubes make it easier to incorporate).
- ¼ cup all-purpose flour (Binds the topping ingredients together and helps create the crisp texture).
Special Equipment Note:
To make this delightful dessert, you’ll need an oven-safe dish that comfortably fits inside your air fryer’s basket or on its rack. I find that four 7-ounce ramekins are ideal for individual servings. Alternatively, you could use a couple of mini cake pans or even one larger casserole dish, depending on the internal dimensions of your specific air fryer model.
Ingredient Tips and Smart Substitutions
- You may use sliced pears instead of diced cubes if you prefer, but I’ve found that cubes tend to hold their shape and offer a better texture, whereas slices can sometimes become a bit too mushy during cooking.
- If you plan to peel and cut your pears in advance, a quick squeeze of lemon juice over them will prevent browning and keep them looking fresh.
- The cinnamon is a classic pairing, but feel free to experiment with other warm spices to create unique flavor profiles. Consider ground ginger, nutmeg, allspice, chai spice blend, pumpkin pie spice, apple pie spice, or even a hint of cardamom for an exotic twist.
- For an extra layer of crunch and nutty flavor in your streusel topping, you can easily add toasted nuts. Finely chopped walnuts or pecans are excellent choices that complement pears beautifully.
- If you’re out of brown sugar, you can substitute it with granulated sugar, though brown sugar adds a richer, molasses-like depth.
Choosing the Best Pears for Your Crisp
The success of your pear crisp largely hinges on selecting the right pears. The variety, ripeness, and overall quality of your fruit will directly impact the flavor and texture of your finished dessert. Here are some key considerations to keep in mind when choosing pears:
- Variety: Different pear varieties bring unique flavors and textures to the table.
- Bartlett pears are incredibly popular for crisps because they are juicy and become wonderfully sweet and tender when ripe. They also have a classic pear flavor.
- Anjou pears are slightly less sweet with a firm texture, which helps them maintain their shape well during baking.
- Bosc pears possess a denser, grainier texture that holds up exceptionally well under heat, making them perfect for baking applications where you want a distinct pear bite.
- While these are common choices, feel free to experiment with other varieties. Just be aware that each type will impart a slightly different nuance to your crisp.
- Ripeness: For optimal results, aim for pears that are ripe but still firm. To check for ripeness, gently press near the stem end of the pear. It should yield slightly to the pressure but not feel mushy or soft throughout. You should also detect a sweet, fragrant aroma at the stem. Avoid pears that are overly ripe or bruised, as they tend to turn into an unappealing mush when cooked. Save those for sauces, smoothies, or preserves instead!
- Color and Texture: Visually inspect your pears. Look for smooth, unblemished skin. While some varieties, like Bartletts, change color from green to yellow as they ripen, others such as Anjou and Bosc maintain their color. Always choose pears that exhibit the characteristic color for their specific variety and are free from any significant brown spots, which can indicate bruising or spoilage.
Beginning with the finest pears, perfectly ripe and with the right texture, will ensure your dessert is an absolute triumph. However, even if your pears aren’t absolutely perfect, this forgiving recipe will still yield a delicious result!
How to Make Air Fryer Pear Crisp: Step-by-Step Guide
Making this pear crisp in your air fryer is a straightforward process, delivering a warm, bubbly dessert with a golden, crunchy topping in record time. Follow these simple steps for a perfect outcome:
- Preheat your air fryer to 350°F (177°C) or the nearest available setting on your specific model. While it preheats, lightly grease the inside of your ramekins or chosen baking dish with cooking spray or butter to prevent sticking and ensure easy serving.
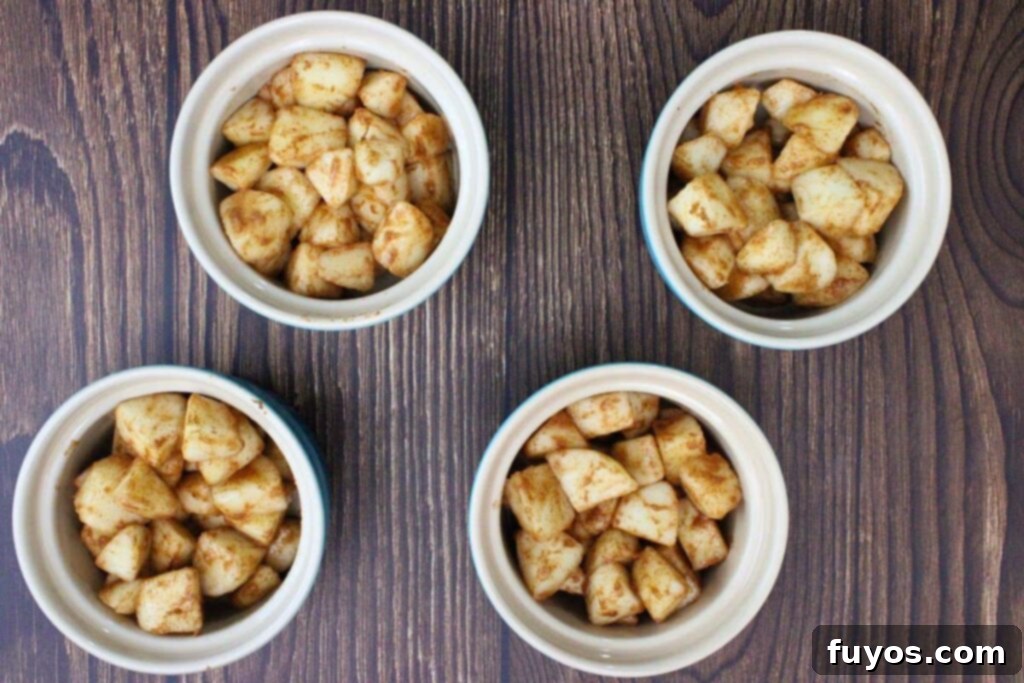
- In a medium-sized mixing bowl, combine the peeled, cored, and diced pears with the cornstarch, vanilla extract, and ground cinnamon. Stir gently but thoroughly until all the pear pieces are evenly coated. This coating helps distribute flavor and ensures the cornstarch can thicken the fruit juices. Once coated, spread the pear mixture evenly into the bottom of your prepared baking dish (or divide it equally among smaller individual dishes).
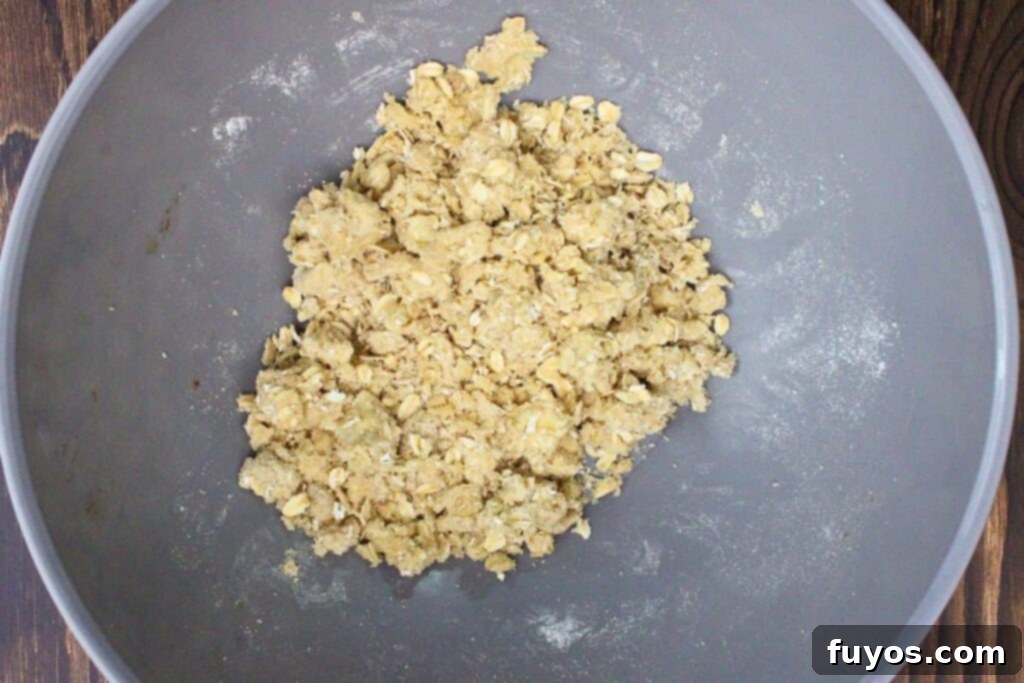
- Now, it’s time to prepare the delectable crisp topping. In a separate bowl, combine the old-fashioned oats, all-purpose flour, brown sugar, and the cold, cubed salted butter. Using a fork, a pastry blender, or your fingertips (which I find works best for me!), work the butter into the dry ingredients until the mixture resembles coarse crumbs. Some larger pieces of butter are fine and will create extra pockets of crispness.
- Evenly sprinkle the prepared streusel topping over the pear filling. Gently pat it down slightly with your hand or the back of a spoon; this helps prevent the lighter oat pieces from flying around during air frying and ensures a more cohesive crisp. Carefully place the filled baking dish into the preheated air fryer basket.
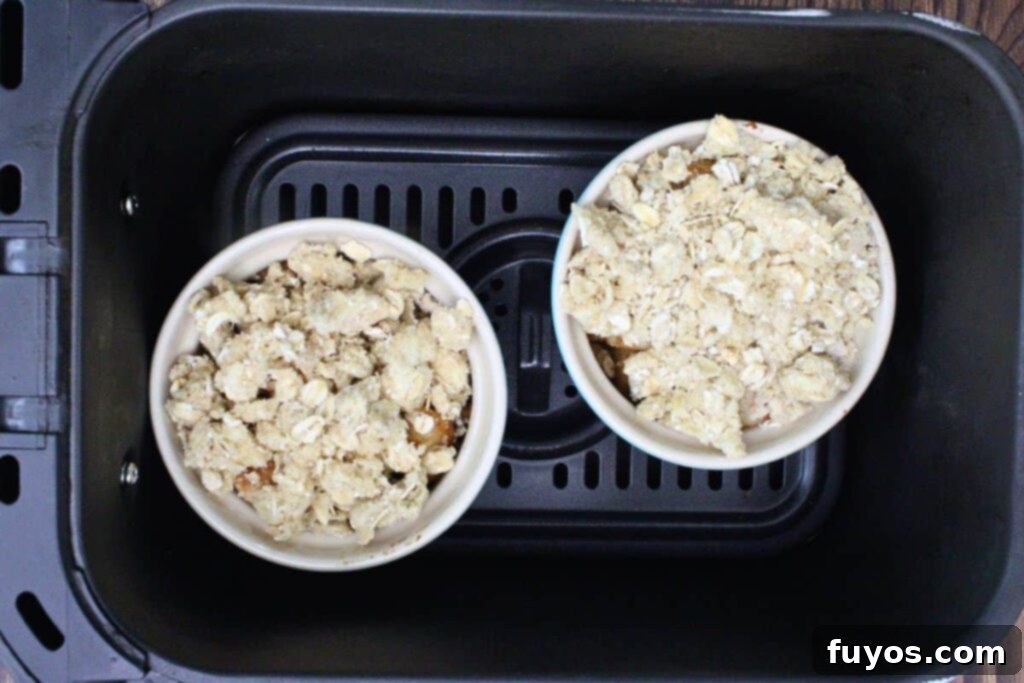
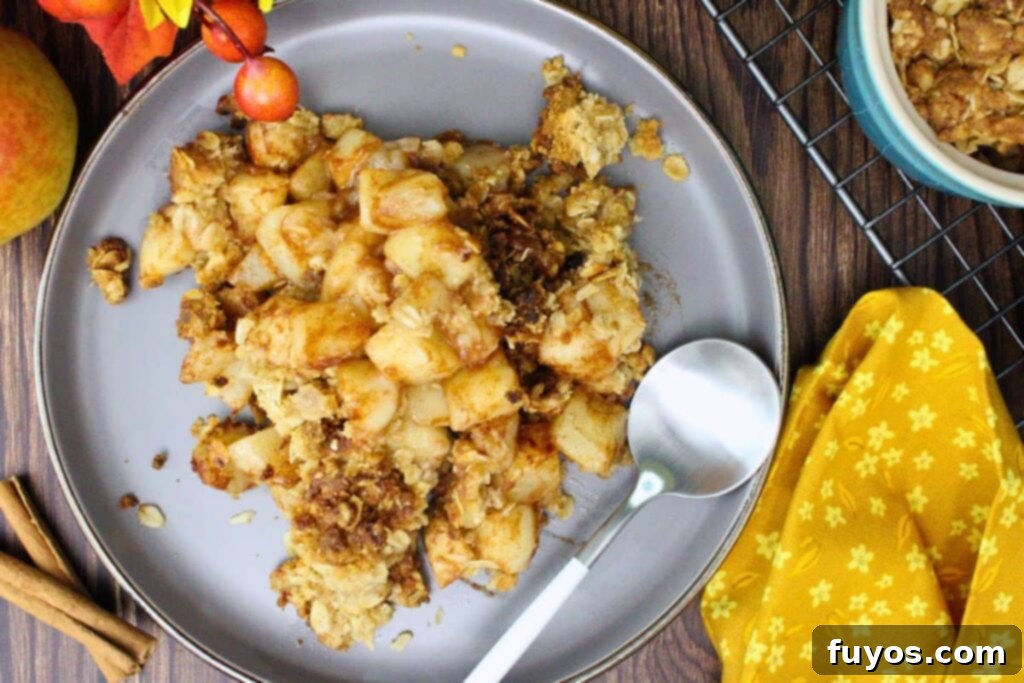
- Cook on the air fry setting for 10-15 minutes at 350°F (177°C). You’ll know it’s ready when the topping is golden brown and delightfully crisp, the fruit filling is visibly bubbling around the edges, and the pears are tender when poked with a fork. Keep in mind that cooking times can vary slightly depending on factors like the size and variety of your pear pieces, the dimensions of your baking dish, and the specific wattage and model of your air fryer.
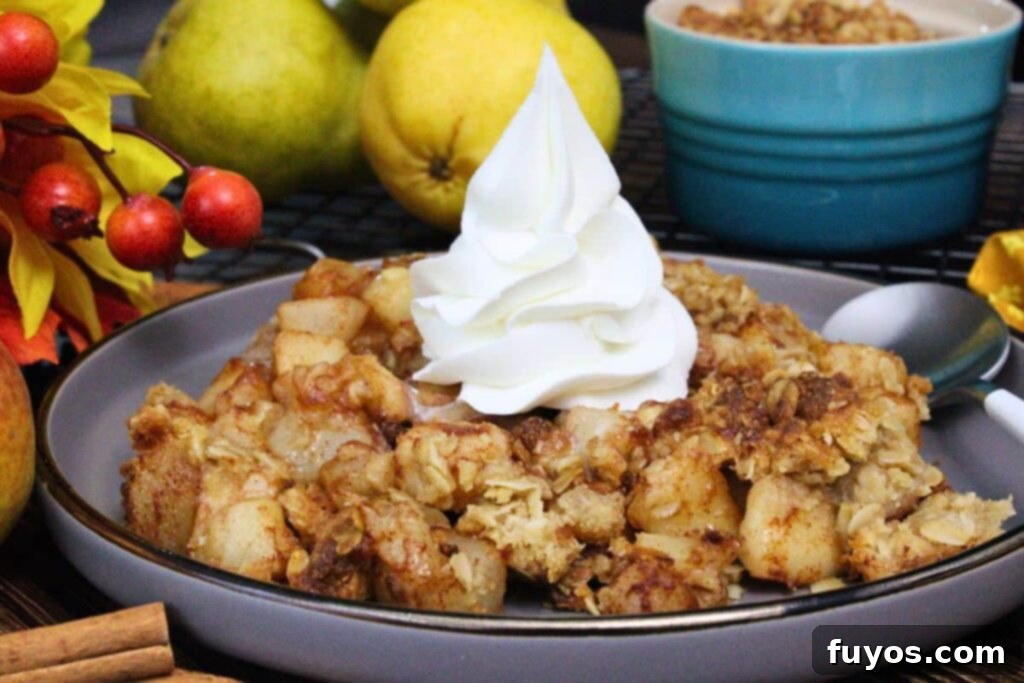
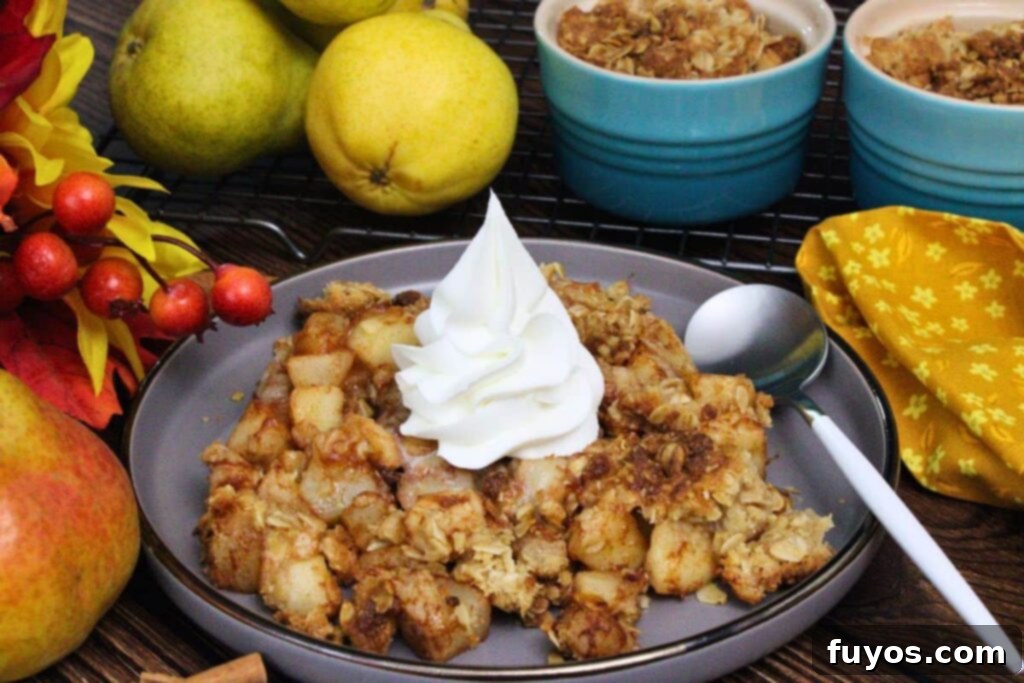
- Once cooked to perfection, carefully remove the hot crisp from the air fryer. For the ultimate indulgence, top with a generous scoop of vanilla ice cream or a dollop of freshly whipped cream. Serve immediately while still warm to fully enjoy the contrast of hot, bubbly fruit and cold, creamy topping.
Perfect Pairings: Serving Suggestions for Your Pear Crisp
While delicious on its own, an air fryer pear crisp truly shines when accompanied by the right toppings and beverages. Here are some ideas to elevate your dessert experience:
Suggested Toppings for Enhanced Flavor:
- Ice cream: A classic choice! Vanilla bean or caramel ice cream beautifully complements the warm pears.
- Whipped cream: Light and airy, a dollop of whipped cream adds a touch of elegance and creaminess.
- Greek yogurt: For a slightly healthier or tangier option, a spoonful of plain or vanilla Greek yogurt works wonderfully.
- Caramel sauce: A drizzle of rich caramel sauce enhances the sweetness and autumn flavors. Try my simple Microwave Salted Caramel Sauce for a quick homemade option.
- Chopped nuts: Toasted walnuts, pecans, or almonds add an extra layer of crunch and nutty depth.
- Fresh or dried berries: A sprinkle of fresh raspberries or dried cranberries can add a burst of color and a tart counterpoint.
- Honey or Maple syrup: A light drizzle can amplify the natural sweetness of the pears.
- Cranberry sauce: Particularly festive during the fall and winter, a dollop of cranberry sauce adds a tangy, seasonal touch.
- Crystallized ginger: A small amount of finely chopped crystallized ginger can introduce a delightful warmth and gentle spice.
For an extra special touch, consider serving with my Air Fryer Honey Roasted Pecans!
Refreshing Beverages to Pair With:
- Coffee: A warm cup of coffee or espresso makes a perfect after-dinner pairing.
- Tea: Herbal teas, especially spiced varieties, can be a comforting accompaniment.
- Chai latte: The warm spices in a chai latte echo the cinnamon in the crisp.
- Apple cider: Warm or cold, apple cider is a quintessential fall beverage that pairs naturally with pears.
- Cranberry juice: A tart and refreshing choice that cuts through the sweetness.
- Hard cider: For an adult pairing, a crisp hard cider can be a delightful match.
- White wine: A semi-sweet Riesling or a crisp Pinot Grigio can complement the fruit flavors.
- Pear cocktails: Embrace the pear theme with a specially crafted cocktail. Pair it with my Spiced Pear Margarita, a elegant Pear Gin Fizz, a sophisticated Spiced Pear Martini, a comforting Pear Whiskey Sour, or even a Cranberry Vodka Fizz!
Recipe FAQs
Can I Use Other Fruits Besides Pears for This Recipe?
Certainly! While pears are fantastic for this recipe, you can unleash your creativity and substitute them with other fruits like apples, peaches, berries, cranberries, or even a delightful combination of fruits to create your unique crisp.
When using a mix of fruits, remember to cut them into similar sizes to ensure they cook evenly and achieve that perfect tender consistency.
Can I Make This Dessert Gluten-Free?
Absolutely! Adapting this recipe to be gluten-free is quite simple. You’ll need to use certified gluten-free oats for the crisp topping and replace the all-purpose flour with a suitable gluten-free flour blend (such as almond flour, oat flour, or a commercial gluten-free baking blend).
It’s always a good practice to double-check that all your ingredients, even those naturally gluten-free, are certified as such to avoid any potential cross-contamination during processing.
Are There Vegan Options for This Recipe?
Yes, this recipe can easily be made vegan-friendly. The primary substitution required is to use a high-quality plant-based vegan butter or margarine in place of dairy butter for the crisp topping. If you plan to serve your crisp with whipped cream or ice cream, ensure you opt for dairy-free alternatives for those as well.
Also, make sure that other ingredients like brown sugar are certified vegan, as some sugars can be processed using bone char.
Can I Adjust the Sweetness of the Pear Crisp?
Of course! The sweetness level is entirely customizable to your preference. If you desire a sweeter fruit filling, feel free to add an extra 1-4 tablespoons of brown sugar or granulated sugar directly to the pears during the mixing step.
Alternatively, for a boost of sweetness after cooking, you can drizzle a touch of honey or maple syrup over the warm crisp before serving.
Can I Use Canned Pears Instead of Fresh Ones?
While using canned pears is a convenient option, keep in mind that fresh pears generally offer superior texture and flavor in a crisp. If you choose to use canned pears, it is crucial to drain them very well to remove excess syrup before incorporating them into the recipe, otherwise your filling may be too watery.
However, for the best possible results in terms of taste and texture, fresh pears are always recommended.
How Can I Prevent the Topping from Burning in the Air Fryer?
Air fryers can cook very quickly, and toppings can brown fast. If you notice your topping browning too rapidly before the pears are tender, you can loosely cover the crisp with a small piece of aluminum foil for the remaining cooking time. This will protect the topping while allowing the fruit to finish cooking.
Expert Tips For the Best Air Fryer Pear Crisp
To ensure your pear crisp turns out perfectly every time, keep these valuable tips in mind:
- If you prefer to skip preheating your air fryer (we all do sometimes!), simply add about 2-3 extra minutes to the initial cooking time. This accounts for the appliance gradually reaching the desired temperature.
- This recipe was meticulously created and tested in four 7-ounce ramekins within a Ninja Dual Zone air fryer. Please remember that cooking times can vary significantly based on your specific air fryer model, its wattage, and the size and type of baking dish you use. Always monitor your crisp closely.
- My pears were wonderfully soft and cooked through after just 10 minutes in the air fryer. However, I often add an additional 5 minutes to ensure the streusel topping achieves an extra deep golden brown and a super crispy texture. Adjust the final cooking time to your personal preference for topping crispness.
- Don’t overcrowd your air fryer basket. Allow sufficient space for air to circulate around your baking dish(es) for even cooking and optimal crisping.
Pear Crisp Storage and Reheating Tips
Enjoying your air fryer pear crisp fresh and warm is ideal, but here’s how to store and reheat any delicious leftovers:
- Storage: Allow any leftover pear crisp to cool completely before storing. Wrap it tightly with plastic wrap or transfer it to an airtight container. It will keep well in the refrigerator for 3-4 days. For longer storage, the crisp can be wrapped and frozen, either before or after baking, for up to 3 months. If freezing unbaked, it’s best to assemble it in a freezer-safe dish.
- Reheating: To reheat, place the cooled crisp back into the air fryer and cook for 3-5 minutes at 350°F (177°C), or until it’s heated through and the topping has re-crisped. If reheating from frozen (after it’s already been cooked), add an additional 3-5 minutes. While you can microwave individual servings for 30-45 seconds on high, be aware that the topping will lose its crispness and become soft.
More Fruit Desserts You’ll Love
Raspberry Sour Cream Muffins With Streusel: Taste the Magic!
Air Fryer Apple Crisp Recipe: From Orchard to Table!
Air Fryer Pumpkin Hand Pies w/ Puff Pastry: Fall Delight!
Air Fryer Apple Crumble: Crisp, Sweet, and Easy to Make!
Air Fryer Blueberry Crisp: Quick, Easy, and Tasty!
Air Fryer Mixed Berry Cobbler: A Burst of Summer Sweets!
Final Thoughts on This Delightful Air Fryer Pear Crisp
This air fryer pear crisp is truly a testament to how simple ingredients, combined with the convenience of an air fryer, can create an incredibly satisfying dessert. It’s remarkably easy to prepare, yet so utterly delicious and comforting!
Whether you’re looking to enjoy a cozy single serving from a ramekin after a long day or planning to bake a larger tray to share with family and friends, this recipe is guaranteed to be a hit. Its versatility makes it perfect for any occasion, from weeknight treats to holiday gatherings.
The beauty of using the air fryer for this crisp lies in its speed. This easy dessert cooks up in under 20 minutes, significantly saving you time and energy compared to traditional oven baking. This efficiency makes it an accessible treat even on busy days.
It’s one of my absolute favorite dishes to whip up during the vibrant fall season, when fresh, ripe pears are abundant and at their peak. While this classic pear recipe forms a perfect foundation, feel free to get creative! Sometimes, I love mixing pears with apples or cranberries for a delightful seasonal variety. No matter how you serve it, this quick air fryer pear crisp promises a warm, inviting, and truly unforgettable experience.
Simple Air Fryer Pear Crisp
Equipment
-
Air Fryer
-
Measuring cups & spoons
-
Mixing bowl
-
Vegetable peeler
-
Paring knife (or similar)
-
4 7-Ounce ramekins (or a larger single baking dish that fits in your air fryer)
Ingredients
For the Pear Filling
- 4 medium pears, peeled, cored and diced into approximately ½” cubes (such as Bartlett)
- 1 tsp cornstarch
- 1 tsp vanilla extract
- 1 tsp cinnamon
For the Crisp Streusel
- ½ cup old fashioned or rolled oats
- ¼ cup all purpose flour
- ¼ cup brown sugar
- ¼ cup cold salted butter (cut into cubes)
Instructions
-
Preheat your air fryer to 350°F (177°C) or the closest setting your specific air fryer has. Grease the inside of your ramekins or other baking dish
-
Combine the cubed pears, cornstarch, vanilla, and cinnamon, stirring to coat evenly. Then, spread them into the bottom of your baking dish (or divide evenly among smaller dishes)4 medium pears, peeled, cored and diced into approximately ½” cubes, 1 tsp cornstarch, 1 tsp vanilla extract, 1 tsp cinnamon
-
Prepare the topping by combining the oats, flour, brown sugar, and cold cubed butter in a bowl. Use a fork or your hands (I use my hands) to combine them until they form a crumbled looking mixture½ cup old fashioned or rolled oats, ¼ cup all purpose flour, ¼ cup brown sugar, ¼ cup cold salted butter
-
Spread the streusel evenly over the pears (give it a little pat to help prevent it flying around), then place the filled dish into the preheated air fryer basket
-
Cook on the air fry setting for 10-15 minutes at 350°F, or until the top is browned, the filling is bubbly, and the pears are soft. Note that times will vary slightly based on the size of your pear pieces, variety chosen, the baking dish size, and your specific air fryer
-
Top with ice cream or whipped cream if desired, and serve warm
Notes
- You may also slice your pears if you prefer instead of the cubes, but I like the texture of cubes the best (I find slices get a bit more mushy)
- If you want to peel and cut your pears ahead of time, use a squeeze of lemon juice to prevent browning
- The cinnamon can be swapped for other warm spices if preferred. Try ginger, nutmeg, allspice, chai spice, pumpkin pie or apple pie spice, or cardamom for unique twists
- If you don’t want to preheat your air fryer (I’m guilty of that too, sometimes), then just add 2-3 extra minutes to cooking time to account for that
- This recipe was created and tested in four 7-ounce ramekins in a Ninja Dual Zone air fryer. Note that other dish sizes and air fryers will vary in terms of cooking times
- My pears were perfectly cooked and soft after 10 minutes, but I added an additional 5 minutes to brown the topping more (but you can adjust to your liking)!
- Exact nutritional values will vary based on brand and variety of ingredients, any sauces or sides added, and quantity consumed, and should be considered a guideline only
Nutrition
Number of total servings shown is approximate. Actual number of servings will depend on your preferred portion sizes.
Nutritional values shown are general guidelines and reflect information for 1 serving using the ingredients listed, not including any optional ingredients. Actual macros may vary slightly depending on specific brands and types of ingredients used.
To determine the weight of one serving, prepare the recipe as instructed. Weigh the finished recipe, then divide the weight of the finished recipe (not including the weight of the container the food is in) by the desired number of servings. Result will be the weight of one serving.

Did you try this recipe?
Mention @TheDinnersDoneQuick or tag #dinnersdonequick! for even more!
Pin Recipe
Leave A Review
